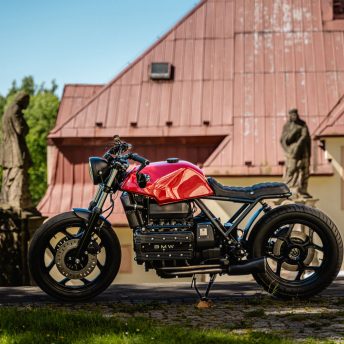
Taking on the restoration of a 1986 BMW K100, the builder dove into the project right after finishing another motorcycle. The bike was discovered not running and came with plenty of challenges, from major wiring issues to key parts that needed replacing. Early steps included diagnosing its problems, stripping it to a rolling chassis, and dealing with unexpected wiring complications, some of which resulted from extra accessories installed by a previous owner.
Throughout the process, the builder learned about working on water-cooled engines, used creative strategies to keep track of spare parts, and sought help with skilled welding for the frame. Cleaning and restoring each piece became an important routine, as did saving every part until the build was complete. This journey involved problem-solving, learning new methods, and adapting as unexpected situations came up.
Key Takeaways
- Successfully acquiring and diagnosing a non-running BMW K100 presented unique challenges.
- Careful disassembly, wiring management, and thorough cleaning were essential steps.
- Collaboration and creative solutions played an important role in the restoration process.
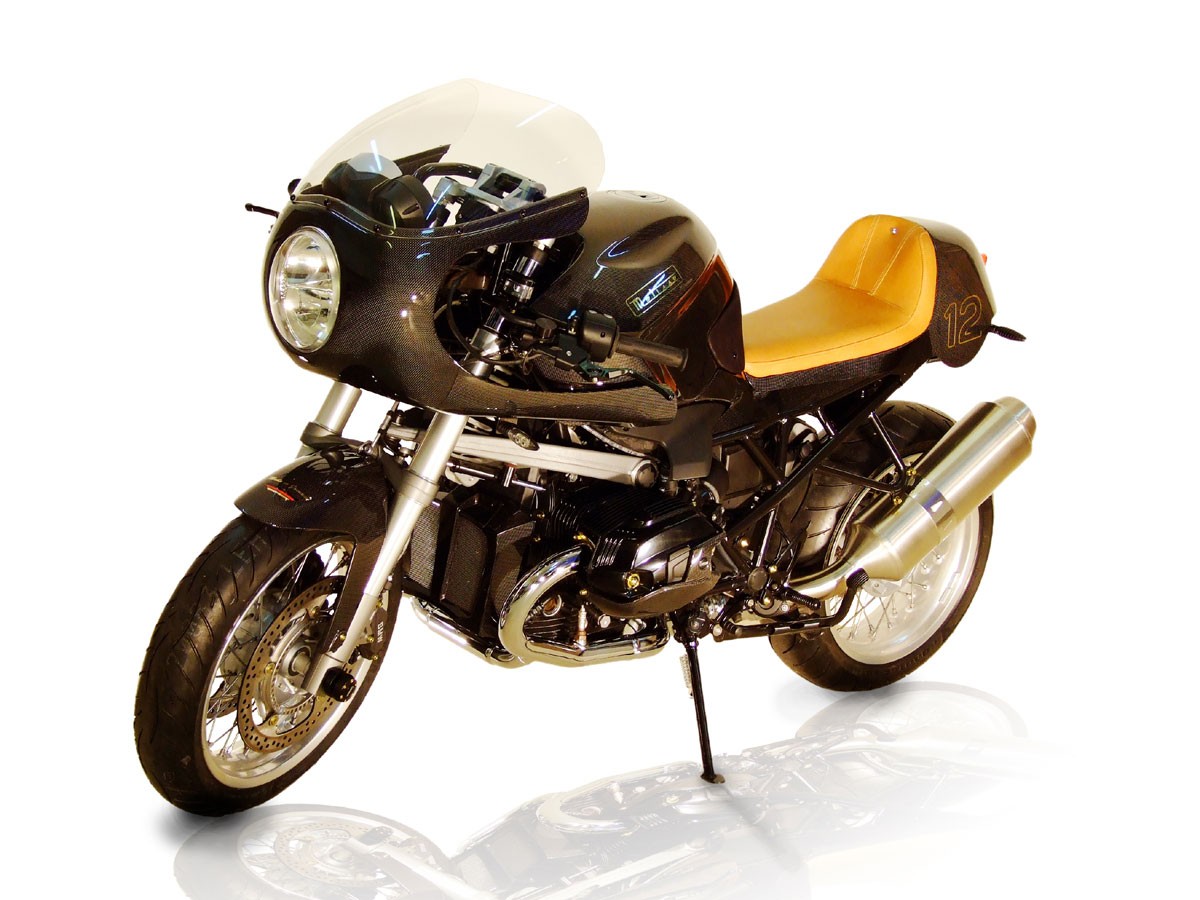
Getting the 1986 BMW K100
Searching for the BMW K100
He found the 1986 BMW K100 while browsing online listings, soon after wrapping up a previous motorcycle project. The bike showed up on Facebook Marketplace and drew his attention even though it wasn’t running. He noticed right away it came with extra parts—a plus when working with an older machine.
Choosing to Buy
After spotting the post, he sent a message to the seller with an offer for the bike. The owner accepted it, making the choice easier. His partner was supportive of getting the K100, especially when he described it as a good project to work on with his oldest son.
- Price: Modest offer accepted
- Condition: Did not run
- Support: Partner agreed, saw value in the project
Plans and Intentions
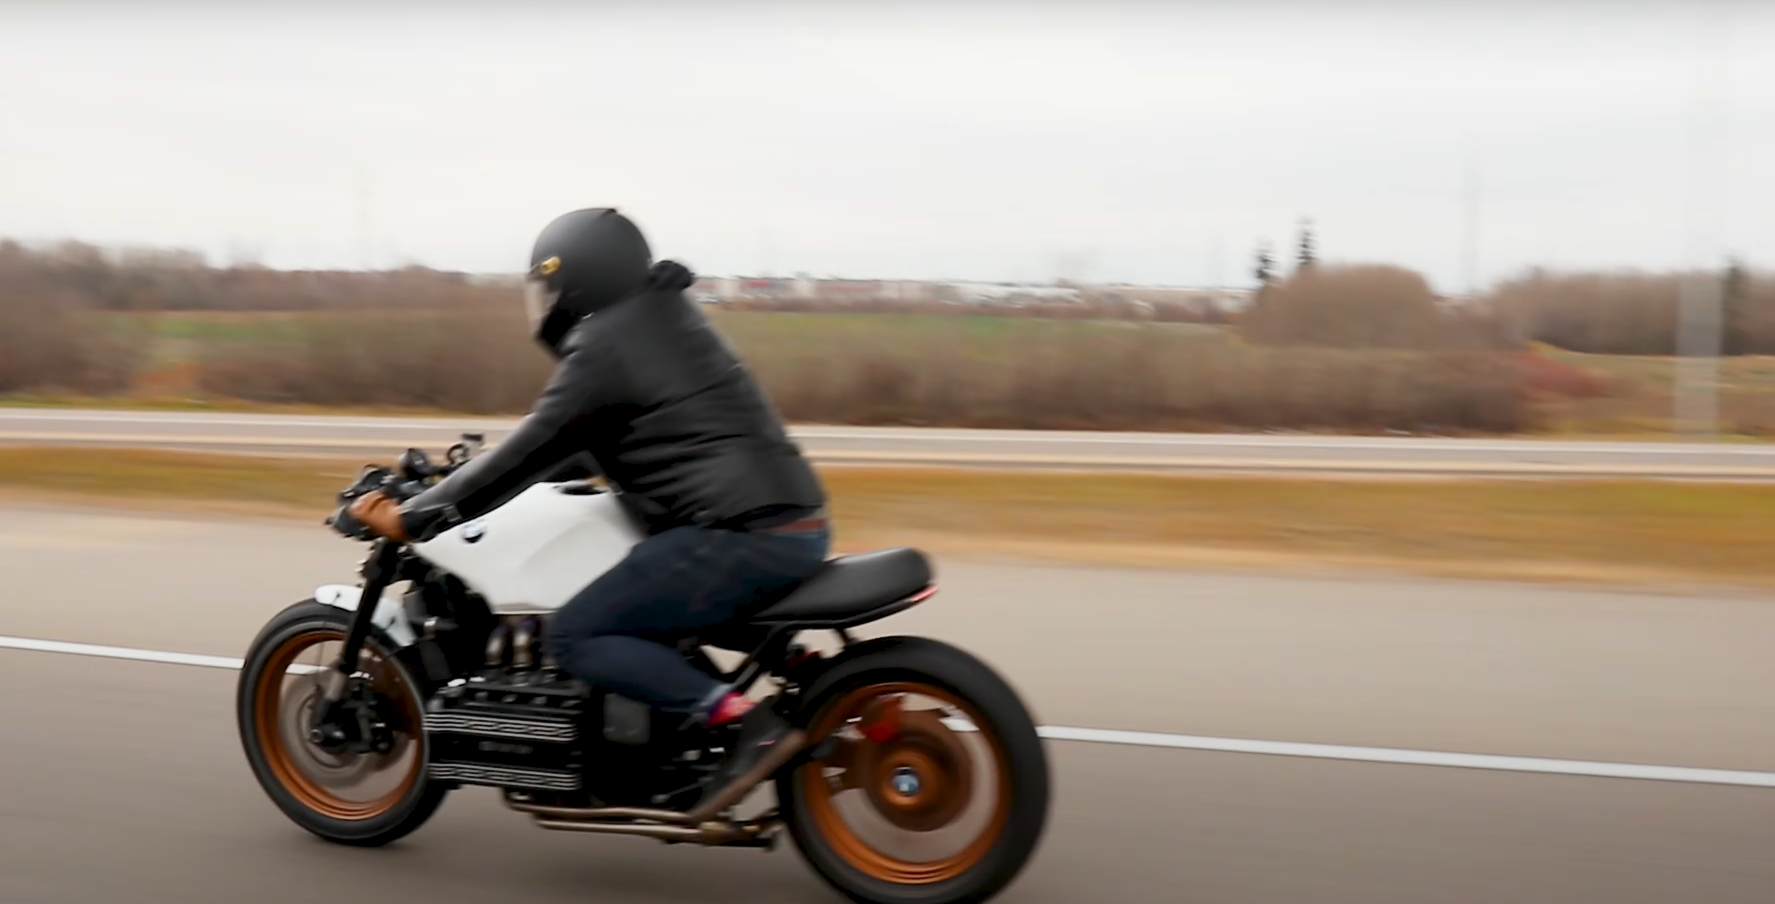
The first idea was to fix up the K100 and resell it for a profit. He also liked the idea of having a fuel-injected bike to work on, something different from his last build. The project became a way to learn, collaborate with his son, and turn an unused bike into something special.
| Task | Goal |
|---|---|
| Fix mechanicals | Make bike run and rideable |
| Strip parts | Prep for custom rebuild |
| Clear plan | Build and possibly sell |
Early Problem-Solving and Fixes
Swapping Out the Fuel System and Ignition Parts
The bike was bought in non-running condition, so one of the first steps was to figure out why it wouldn’t start. After checking things over, it was clear that two main parts needed to be replaced: the fuel pump and the ignition coil packs. These are common trouble spots on these bikes.
- Fuel Pump Issues:
The fuel pump on this bike sits inside the gas tank, which often causes problems if it gets clogged or the rubber boot breaks down. Luckily, extra parts were included with the bike, making the job easier. - Coil Pack Replacement:
New coil packs were installed because the old ones failed. This was necessary to get good spark and make sure the engine would run properly.
| Part | Problem | Solution |
|---|---|---|
| Fuel Pump | Clogged and breaking apart | Replaced with spare |
| Coil Packs | Failed (no spark) | Installed new ones |
Dealing with Wiring and Custom Additions
Handling the bike’s wiring turned out to be more challenging than expected. The previous owner had added things like heated grips and a stereo. This made the wires cluttered and hard to manage.
- Extra wires from the custom features were removed to make the bike simpler and easier to work on.
- He noticed that the wires to the fuel injectors looked burned and they even caught fire at one point, which made things riskier.
- The amount of wiring in this model was overwhelming at first. It was tough to keep track of which wires were necessary and which could be deleted.
- Not all changes were perfect—deleting the heated grips was later regretted, especially as riding in colder weather became uncomfortable.
Tips for Others:
- Always save every part until the project is finished.
- Keep enough wire length when making cuts to make repairs easier later.
- Consider using 3D-printed covers to protect engine parts during cleaning.
Breaking It Down to the Bare Frame
Removing Parts and Hardware
The project began by taking off all of the extras from the motorcycle, such as covers, fairings, unneeded wiring, and added accessories like the stereo and heated grips. Every bolt, bracket, and small part was kept in organized containers to avoid losing anything important. The brakes were disconnected. The process also meant pulling out the built-in features that the previous owner had installed.
A simple table for organizing removed parts:
| Part | Where Stored | Notes |
|---|---|---|
| Fairings | Bin A | Check for frame mounts |
| Wiring & Cables | Bag B | Label connectors |
| Stereo/Accessories | Box C | Discard or repurpose |
| Bolts/Fasteners | Tray D | Do not toss small hardware |
Tip: Keep all original parts until the build is finished. Sometimes, old fairings or pieces have mounting points or bolts that will be needed later.
A lot of time went into cleaning every section after each part was removed. Sticky grime, rust, and leftover fluids had built up over the years. The goal was to end up with a clean, simple base to start the actual build.
Planning the Classic Look
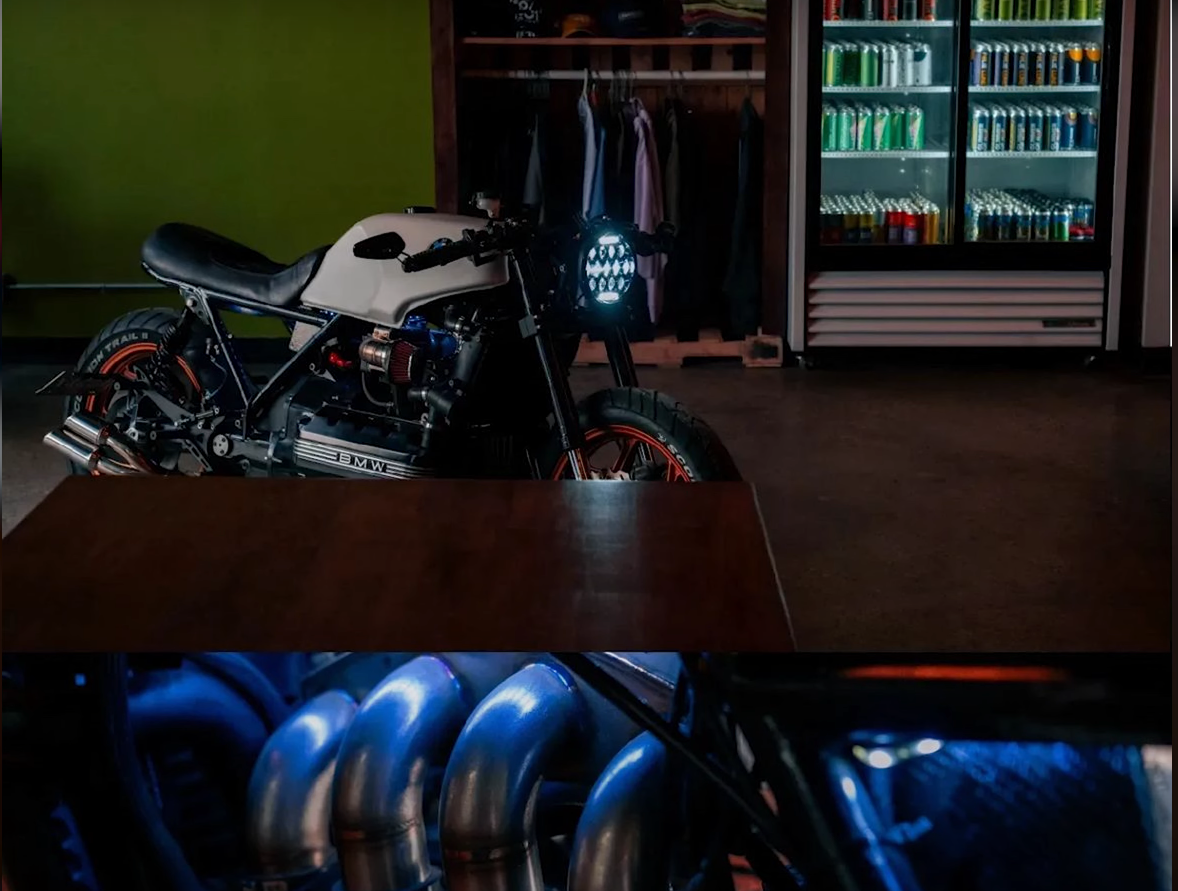
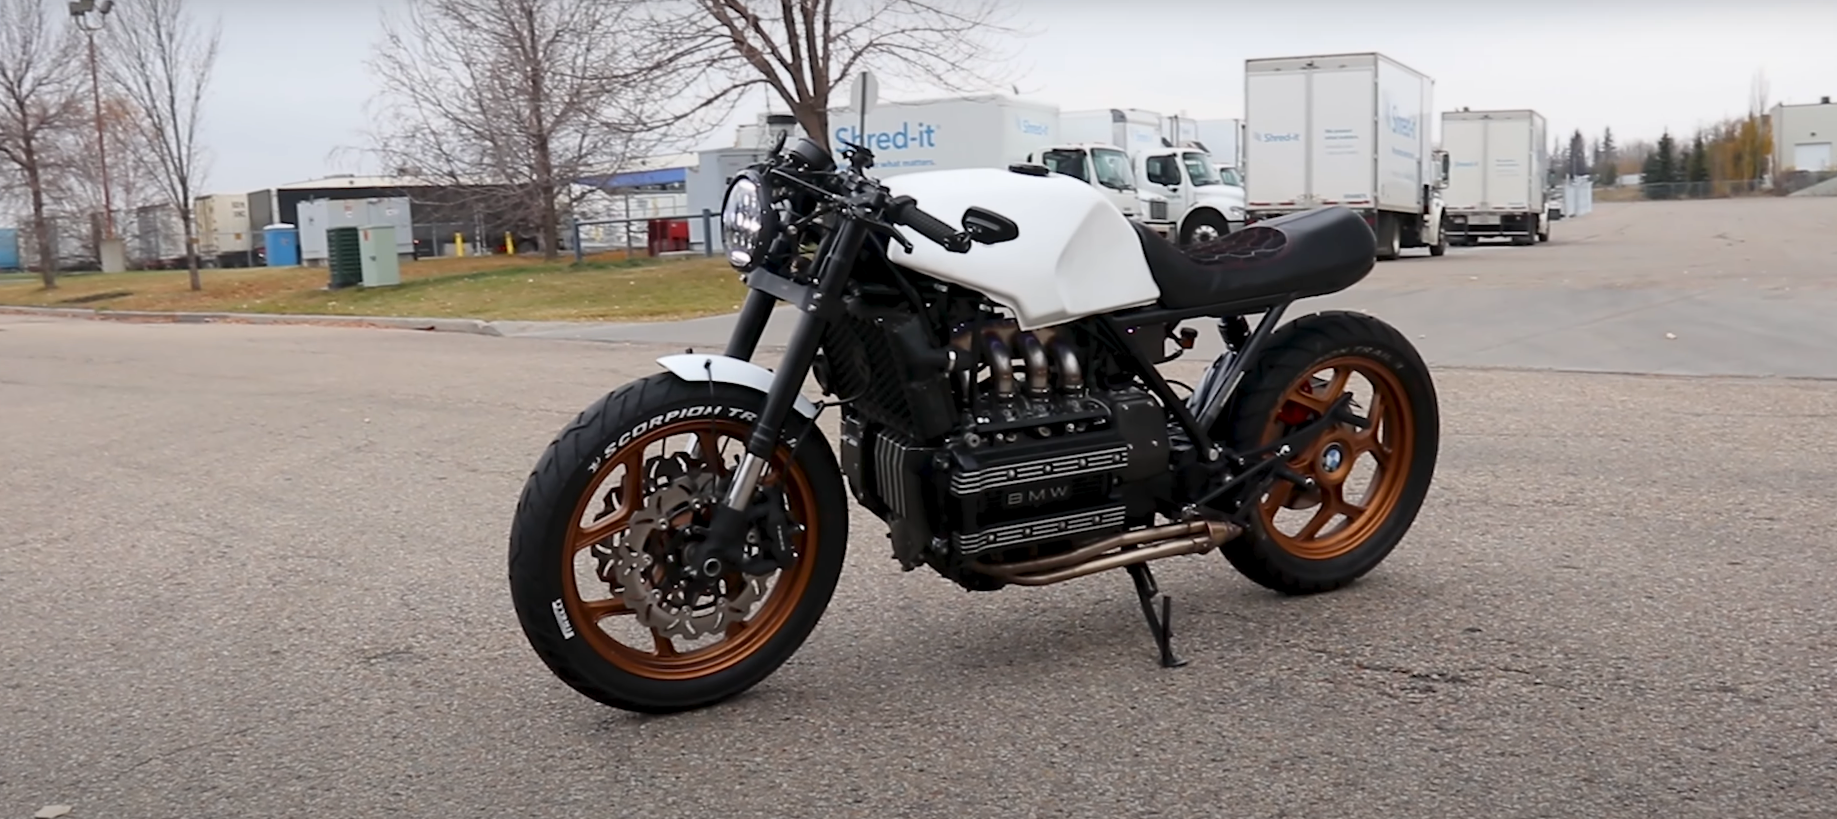
With all the unnecessary pieces gone, attention turned to the motorcycle’s basic lines. The bike was rolled out in its simplest form, just the frame, wheels, tank, and core mechanicals—an ideal setup to see the starting geometry and size.
This stage made it easy to picture what the finished project would look like as a café racer. Standing back and looking at the plain structure helped in making decisions about the stance, tank position, and what needed to be welded or changed.
They used this phase to spot what could be further removed, what needed to be fixed, and what details would shape the final style. Cleaners and temporary covers (some parts were 3D printed to keep debris out) protected the engine while ideas formed for the next steps.
Electrical Wiring Tips
Adjusting and Expanding the Wiring
Working with the wiring on this bike came with a lot of challenges. The original setup had extra features like heated grips and even a stereo, which made the wiring bulky and confusing. These additions created a web of wires that needed attention. Removing the parts that were not needed, such as the heated grips and stereo, helped to simplify things.
During the process, it was important to be careful when cutting any wires, especially around the connectors. Mistakes here can cause bigger problems later. One helpful tip is to leave extra length on any wires that are cut. This way, if a connection needs to be remade, there is enough wire left to work with.
Key Takeaways from Past Electrical Work
There were many lessons that came from working on the bike’s wiring. For example:
- Save all removed parts until the build is done. Sometimes, parts like mounting brackets or bolts are needed again for other sections of the bike.
- Do not rush when working with electrical systems. Taking things slow helps avoid costly mistakes.
- It is easy to underestimate the wiring on a bike like this, especially with extra features from past owners. Careful planning makes a big difference.
- Tools like a 3D printer can be helpful for making covers or protective caps while working on exposed areas.
Staying organized and patient made the process smoother, even when things became overwhelming. Mistakes did happen, but learning from them helped with future projects.
Cleaning and Restoration Steps
Intensive Washing Methods
To start, every extra part was removed from the motorcycle, leaving just the frame and essential pieces. This let them see all the areas that needed attention. They cleaned each component carefully, focusing on wires, connectors, and parts that had built-up dirt or grime from sitting unused. For stubborn areas, brushes and mild cleaners were used.
Small covers were made using a 3D printer to stop debris from falling into the engine while cleaning.
Tip: Keeping all removed parts organized helped later when certain bolts or mounts were needed again.
Refinishing and Painting Parts
A big part of making the BMW K100 look good again was painting its components. After a deep clean, key pieces—like the frame and tank—were painted to bring them back to life. This was not just for looks but also to help protect parts from rust or more wear.
It was important that all parts were free from oil and residue before painting. This made sure the new paint stuck well and lasted. Each part was checked after painting to make sure the finish was even and covered everything.
| Step | Task |
|---|---|
| Cleaning | Removing grime and old residue |
| Prepping | Ensuring parts are dry/clean |
| Painting | Applying even, protective coats |
| Final Check | Inspecting painted surfaces |
Working with Liquid-Cooled Motors
Adjusting to New Procedures
Learning to work on a motor that uses water for cooling can be different, especially for those with experience only on air-cooled models. Mistakes are common at first. For example, the radiator might need to be filled and refilled several times before getting it exactly right. Each step in taking care of the cooling system may require patience, trial, and error.
Some challenges include:
- Understanding how the cooling system connects throughout the bike
- Knowing when and how to refill coolant properly
- Watching for leaks or missed steps after service
Getting used to these steps takes practice, but it becomes easier over time.
Keeping the Radiator in Good Condition
The radiator needs regular attention to keep the engine from overheating. Here are a few things worth remembering:
1. Coolant Checks:
Check the coolant level after working on the engine and after every refill. Make sure all connections are tight and there are no leaks.
2. Refilling Tips:
It might take multiple refills before air bubbles clear out of the system. It is best to check the radiator cap and hoses after the BMW K100 has been started and run for a short time.
3. Signs to Watch:
If the BMW K100 is running too hot or the radiator is losing coolant, go back and check for loose hoses or missed steps.
A simple checklist for radiator care:
| Task | When to Do It |
|---|---|
| Check coolant | After each refill |
| Inspect hoses | After working on bike |
| Look for leaks | Before every ride |
By following these steps, they can make sure the engine stays cool and works well every time.
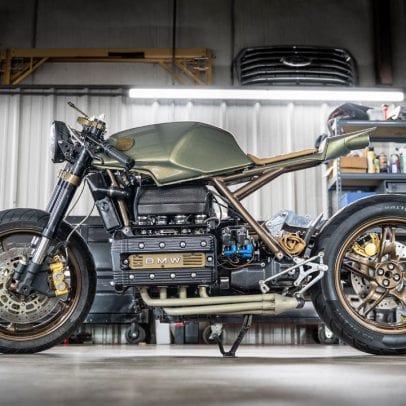
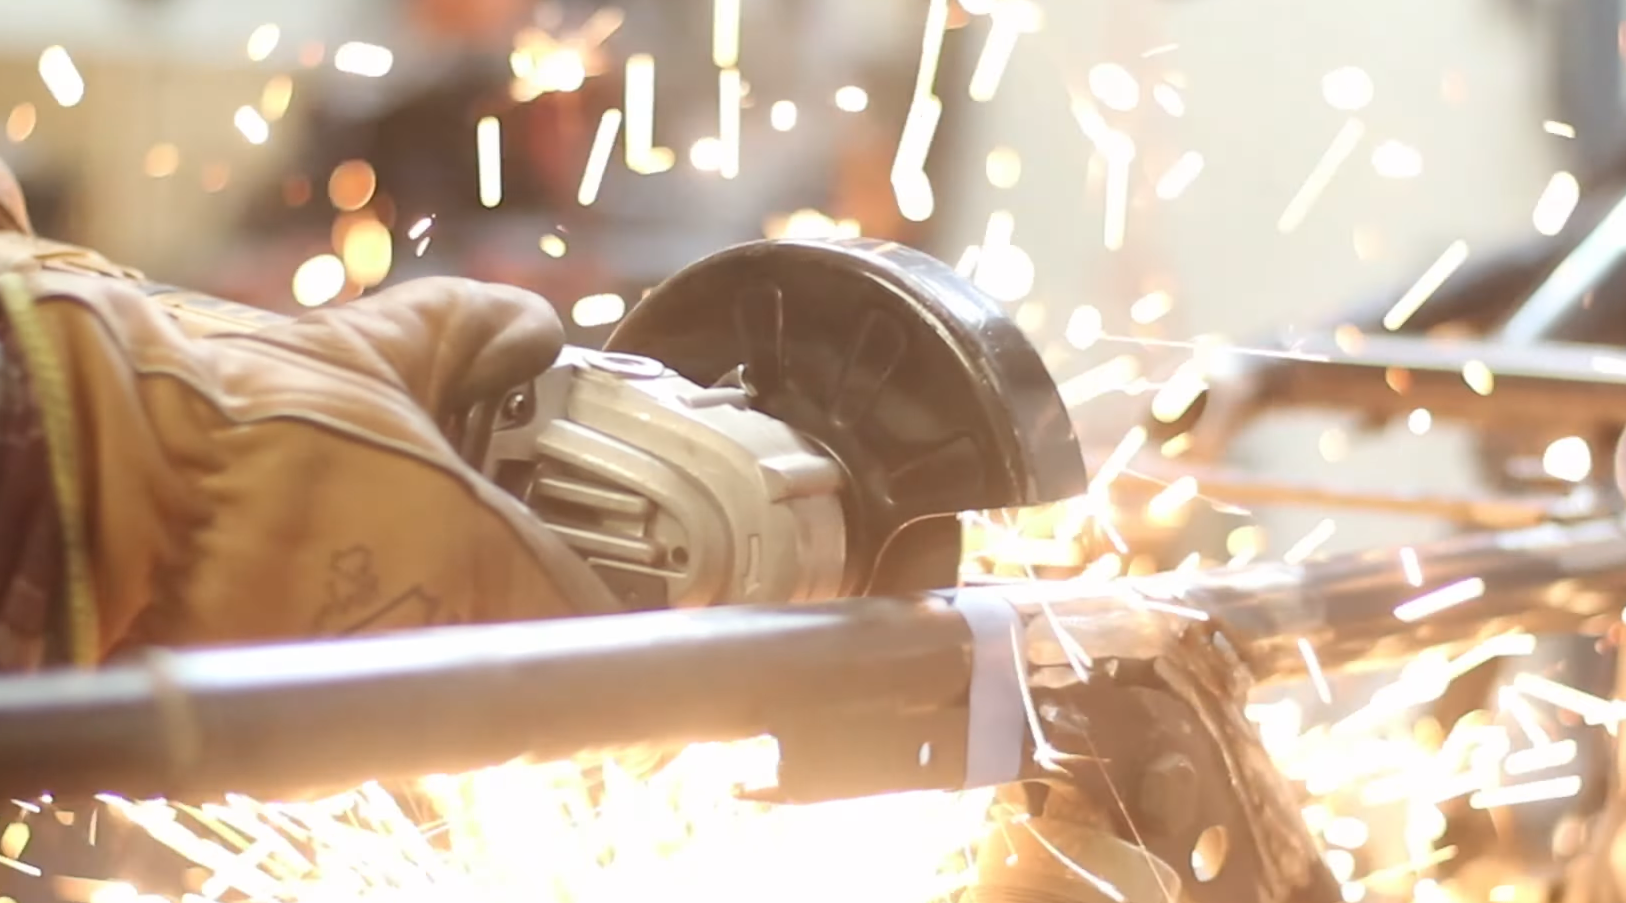
Frame Changes and Welding Work
Getting Welding Assistance
When it came time to change the back part of the frame, they loaded up the BMW K100 and brought it to a friend named Chris, who had welding experience. Having someone with the right skills was key because the frame needed important work. Chris handled the welding jobs, like rebuilding the rear section, so the rest of the project could move forward. Asking for help with welding made sure the job was done right and safely.
Why getting welding help matters:
- Proper tools and safety gear are required
- Expert welders can make strong, neat joints
- Saves time compared to learning from scratch
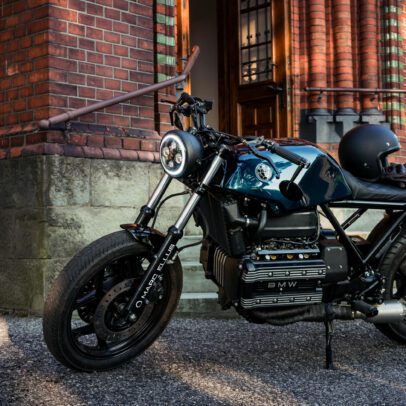
Leveling the Fuel Tank
Balancing the gas tank was another step that needed attention. On this specific BMW K100, the tank had to look even and sit flat on the frame. With help from Chris, they were able to line up the tank so it didn’t look out of place. Making the tank fit well improved the whole look of the build.
They took extra time to check that the tank sat level before locking it in place. This made a big difference in the bike’s appearance and gave it a finished, custom look.
| Task | Reason |
|---|---|
| Balance fuel tank | Ensures a clean, straight appearance |
| Adjust mounting | Prevents awkward slant |
| Check alignment | Improves final look |
Component Handling Methods
Keeping and Reusing Motorcycle Parts
It is important to keep every part that comes off the BMW K100 until the build is finished. Even items that seem unnecessary, like fairings or old bolts, often have hidden value. For example, mounting brackets or fasteners from older parts can be used in unexpected ways during the project.
Here is a list of reasons to keep parts:
- Can reuse hardware that fits perfectly
- Some parts include hard-to-find brackets or unique shapes
- Saves time searching for new replacements
Keeping parts until the project is done helps avoid wasting money and time later.
Using Custom Printed Solutions
Working with a 3D printer makes it possible to create custom covers and small pieces during the build. For example, custom caps can protect the engine while working or cleaning. This is useful when original parts are missing or when unique solutions are needed.
Benefits of 3D printed motorcycle parts:
| Reason | Example |
|---|---|
| Custom fit | Caps to cover engine openings |
| Quick replacement | Missing or broken small pieces |
| Cost-effective | No need to buy factory parts |
Using 3D-printed items can solve problems quickly and give more control over the final look of the project.
Important Lessons and Guidance
Helpful Hints for New Projects
- Strip the BMW K100 down to a bare frame to get a clear view for planning.
- Keep every part until the build is finished, even parts that seem unneeded. Mounting brackets and bolts from removed pieces can be useful.
- Cleaning and painting parts takes time. Be prepared for a lot of work in this step.
- If possible, find someone with a 3D printer to make custom covers or small parts.
- Save yourself trouble: Take pictures as you dismantle to remember where everything goes.
| Task | Tip |
|---|---|
| Wiring | Leave extra length on wire ends |
| Cleaning | Set aside extra time |
| Disassembly | Store and label all removed parts |
Frequent Errors to Watch For
- Deleting useful features by mistake, like heated grips, can be regrettable later.
- Cutting wires too close to the connector can make rewiring tough.
- Underestimating how much wiring is in the BMW K100 can create headaches.
- Forgetting to winterize or prepare for seasonal changes can cause problems.
- Not being cautious with fuel systems and old components may result in issues, like gummed-up pumps or accidental fire.
Key advice: Take your time, double check before removing or tossing anything, and don’t rush the planning. Mistakes like cutting the wrong wire or taking off needed parts can slow progress and create extra work.