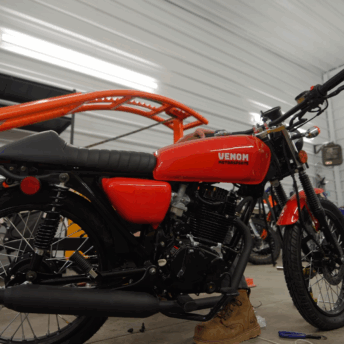
Tom John, the man behind Purpose Built Moto, has 13 years of electrical contracting work up his sleeves. This is evidenced by the bulletproof electrical systems he installs on his own custom bike builds. As part of my ongoing ‘Building a Cafe Racer’ series, I invited Tom to contribute a story about the most common issues he sees with custom bike electrics. His feature, titled ‘5 motorcycle wiring mistakes (and how to avoid them)’ is designed to help prevent home builders like you and me from making electrical mistakes that can cost valuable time and money. Over to you Tom…
“I know my way around motorcycle electrical systems. This has had a heavy influence on the products I design and make, especially my Black Box Control Modules. I enjoy working with bike electrics for the simplicity I can achieve. Comparative to the normally excessive wiring techniques used in a factory there are a few easy ways to create simplified motorcycle wiring while making sure you get the reliability you want. Listed below are the 5 most common wiring mistakes I find myself fixing on people’s bikes, and a few lessons on avoiding them which I learned the hard way.”
1. Electrical Grounding
The number one issue on my list of motorcycle wiring mistakes is “grounding” or “earthing”. Putting it simply, earthing is the method used to make sure that any conductive component on a motorcycle that isn’t linked to a positive voltage is connected to the negative or ground side of the battery.
When a bike frame has been stripped and painted the ground points can get covered by paint. This will lead to a bad connection. This can result in batteries not charging, lights or instruments not functioning properly and ignition issues. When you have an electrical problem start by testing whether the faulty component is properly grounded. This can be done by connecting a multi-meter set to OHMS between your negative battery terminal and any metal part on your bike. The rule of thumb is that there shouldn’t be a reading above 1.5 ohms between the battery and any part of your motorcycle.
When I wire my motorcycles I generally have 3 direct earth points using 2.5mm wire and one large gauge cable directly to the battery. For example:
- Front end of the bike (6mm bolt with lug)
- Mid or rear on the bike (6mm bolt with lug)
- Engine (lug on engine case bolt)
When connecting these make sure you remove any paint directly under the lug so it’s a clean, metal on metal connection.
2. Edge protection
Edge protection means having all of your cables properly protected against sharp edges or mechanical damage. Bikes with a lot of vibration such as big v-twins and single cylinders are more susceptible to this. This can be avoided however with some common sense and being aware of where problems may occur during assembly. Common places you’ll find sharp edges or pinch points on motorcycles include:
- Steering stops and places where cables move or flex when the handlebars are turned
- Between the frame and bikes seat
- At the places where your fuel tank mounts to the frame
Having pinched or worn cables can result in a serious short leading to a fire or intermittent problems that disappear and reappear randomly. Having a worn cable short out on the frame or other grounded parts will cause a lot of trouble. Unfortunately, the problems can also be very hard to trace.
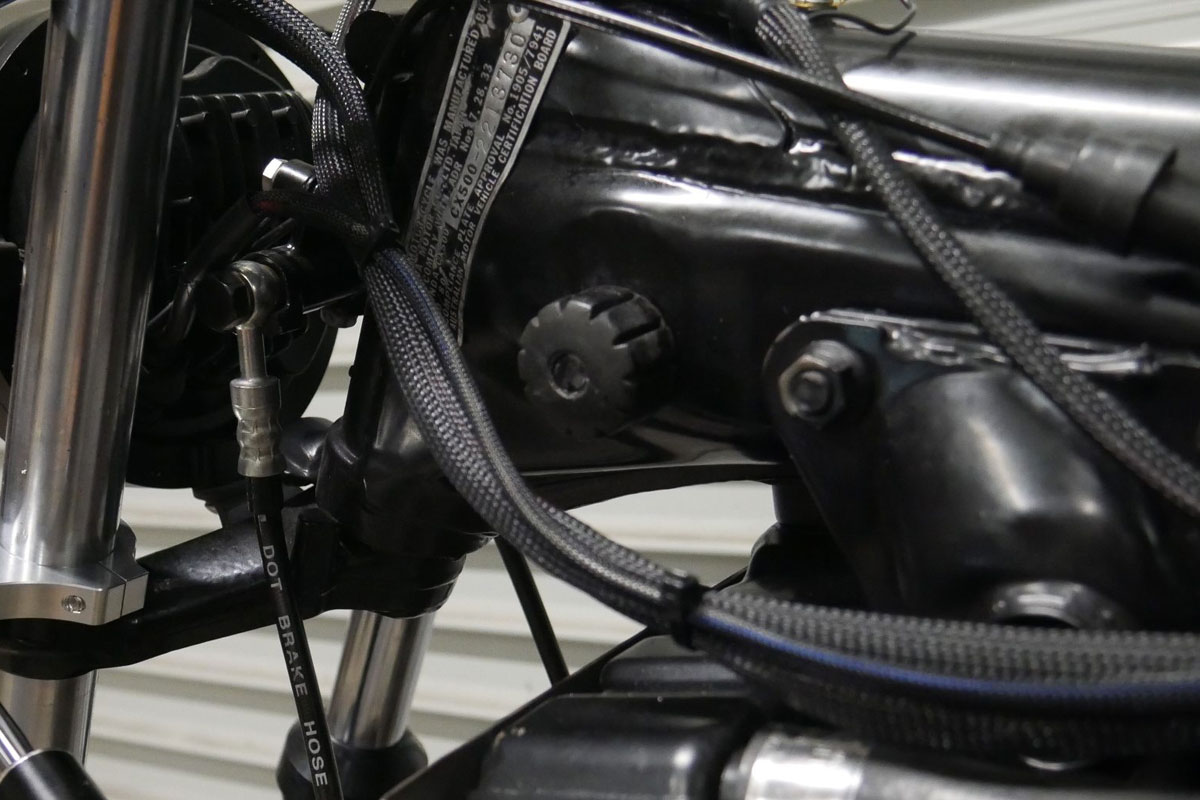
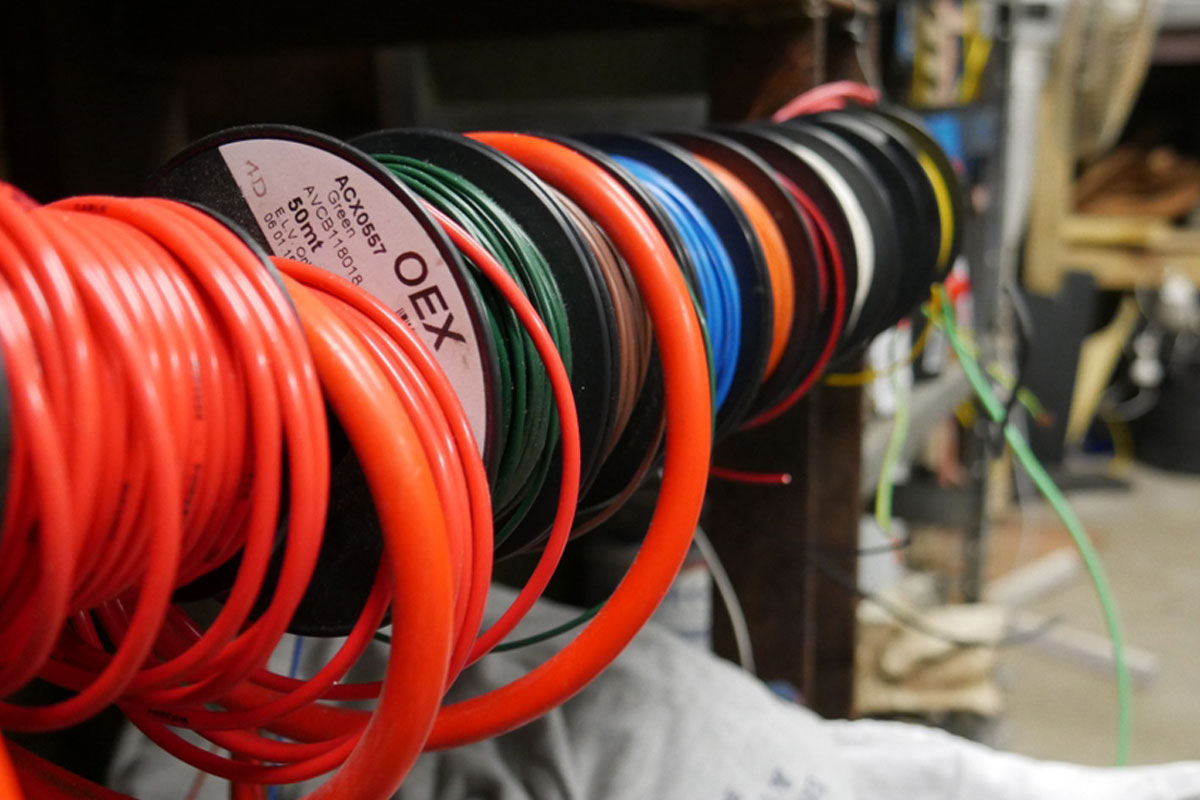
To make sure this isn’t an issue on your café racer or custom motorcycle build be smart about where you run your cables and use a good quality cable sleeve or “snakeskin”. Snakeskin is a tough woven plastic sleeve that’s flexible, but it’s not bulletproof. It is much more durable than an unprotected cable though. Sleeving your wires can also help to protect them against heat, but don’t rely on just that. Keep your cables as far away from hot surfaces (such as exhaust pipes) as possible.
3. Use of proper joins and connectors
There are 2 parts to this issue. First off, you should always avoid unnecessary joins in all electrical systems whether you’re working on a transmission line that links Mainland Australia to Tasmania, or your Vintage scooter. It’s a universal law. If a cable is too short or has multiple joins already, pull it out and replace it instead of creating a join. If you can’t, at least make sure your join is a good soldered join covered in heat shrink sleeve.
Second, use the correct connectors and crimps when you do need to join a cable. I rarely use bullet connectors for my lights, I prefer to solder the joins and heat shrink over the top. When using connectors and crimps invest in the correct crimping tool. I learned this the hard way with an SR400 that I re-wired. I used the wrong crimping tool and was forever chasing electrical issues. Lesson learned!
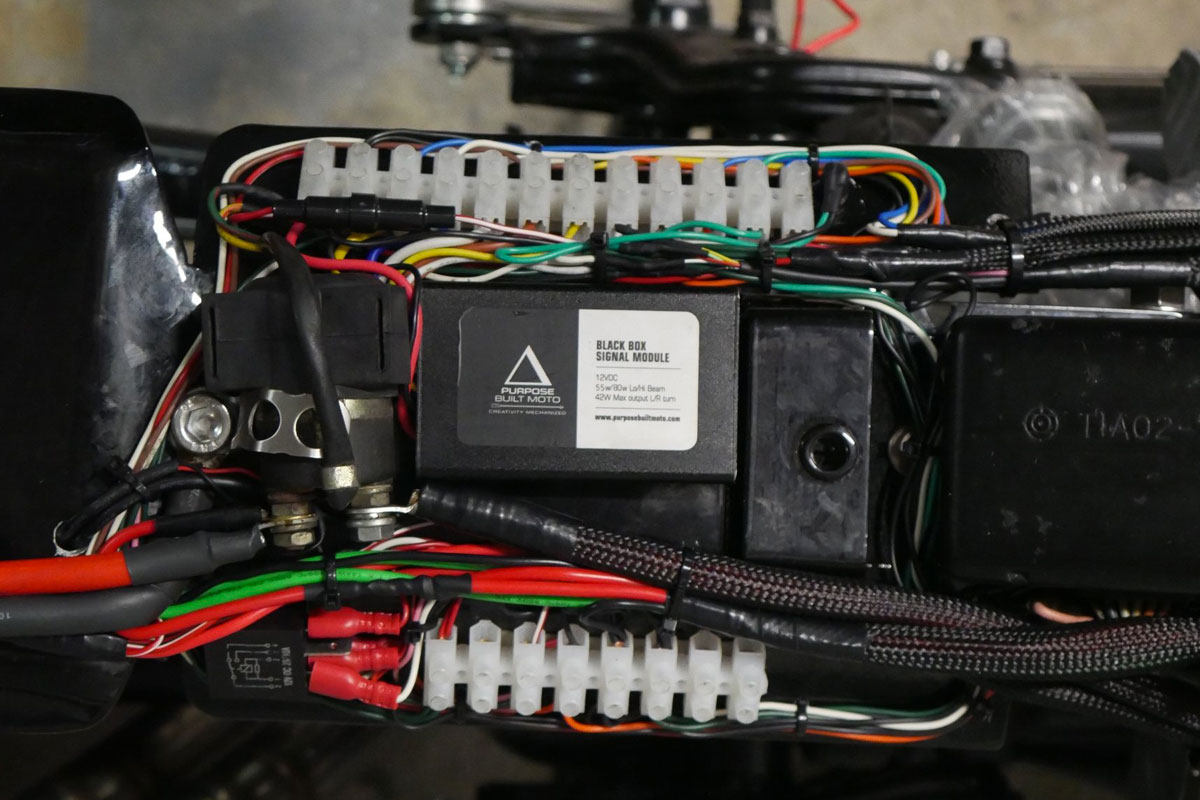
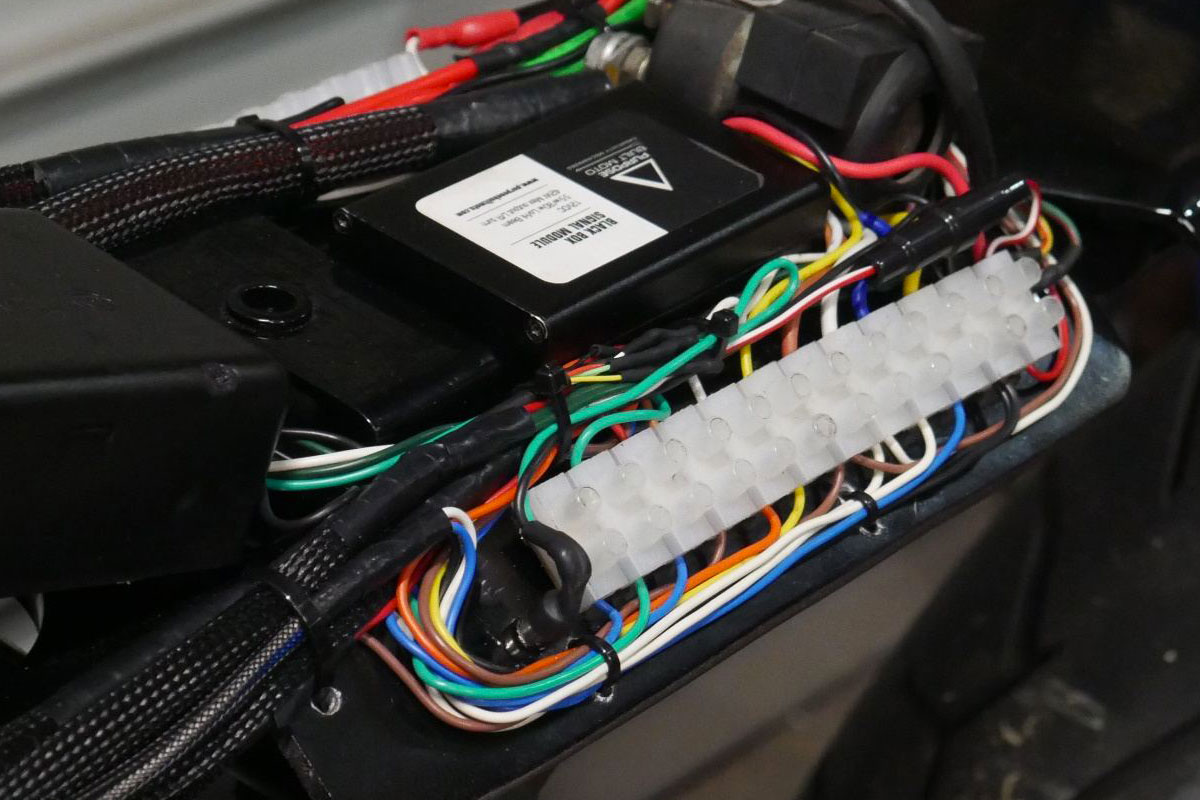
4. Over complicating
Over complicating an electrical system is usually the result of poor planning. The easiest way to wire a bike is to have all your connections in one place. This means you won’t have excess wires running up and down the bike with extra joins everywhere. Then if you do have any problems you only have one place to look. I have had quite a few people disagree with me here because it’s not conventionally how you wire a bike, but my logic is solid.
I’ve never been good at drawing, but before wiring a café racer project up, I put pen to paper. I draw out the electrical components and lighting then work out how to best link them up. Simplicity is such an important thing to me that I designed a component specifically to help people wire their bikes. The Purpose Built Moto Black Box will get those tidy handlebar switches and nice new lights working with only 11 wires.
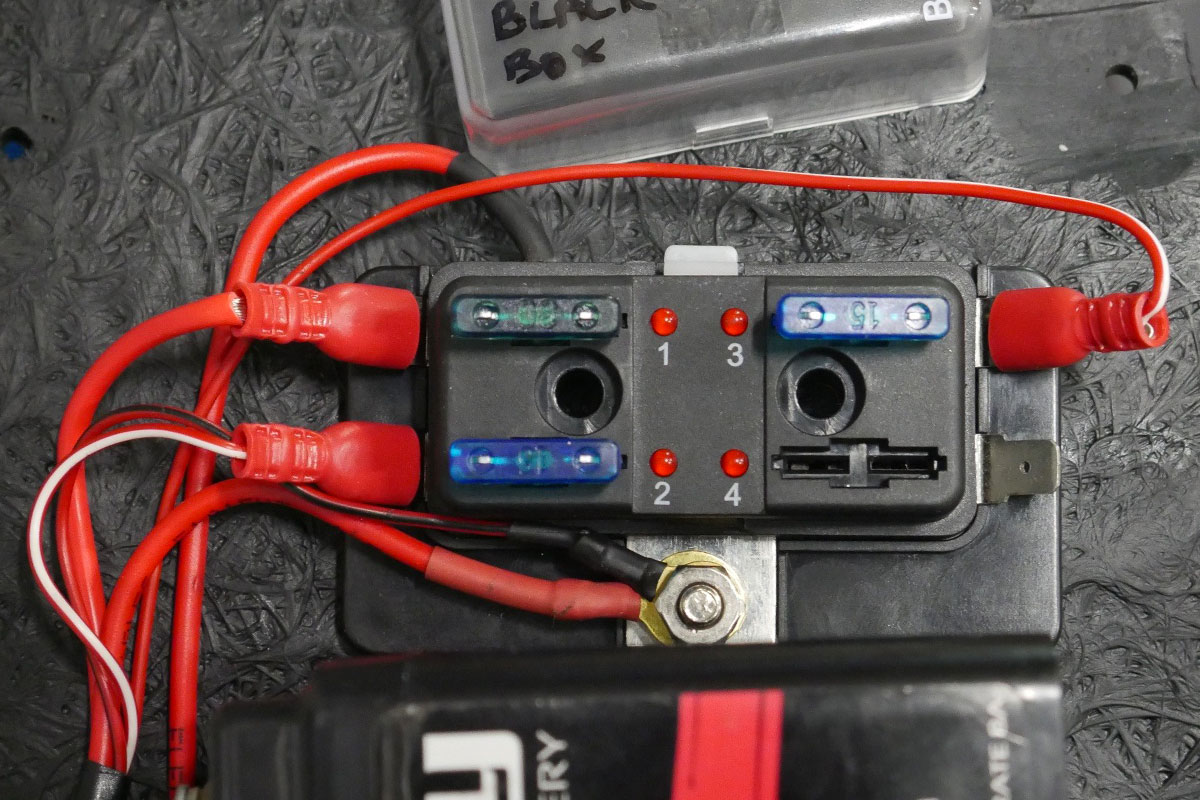

5. Wire size & fusing
This last mistake is a common one. I’ve seen many people fix repeated fuse blow issues by installing larger tolerance fuses. This can work as a bandaid for years or it could burn your bike to the ground. Normally there will be an underlying issue with any fuse blow and it will most likely be the result of one of the 4 mistakes listed above. It’s very important to use the right size wiring for the job, and even more important to fit the right size fuse.
Here is my guide to standard motorcycle wire gauge and fuse applications. Your particular motorcycle may be different so take this as a suggestion rather than any kind of rulebook. You should always work out the correct sizes using Ohms law and adding up the combined light wattage etc. If in doubt, ask an expert.
| Component | Wire Gauge | Metric |
| Ignition switch | 11 or 12 | 4.17mm² or 3.31mm² |
| Main fuse feeds | 11 or 12 | 4.17mm² or 3.31mm² |
| Lighting + Ignition fuse feeds | 12 or 13 | 3.31mm² or 2.63mm² |
| Ignition coil feed | 13 | 2.63mm² |
| Handlebar switches | 15 or 16 | 1.65mm² or 1.31mm² |
| Lighting | 15 or 16 | 1.65mm² or 1.31mm² |
| Brake switches | 15 or 16 | 1.65mm² or 1.31mm² |
| Circuit | Fuse size |
| Ignition switch/ Main feed | 25A or 30A |
| Lighting | 10A or 15A |
| Ignition/running | 15A |
“If you’ve stumbled across our 5 motorcycle wiring mistakes feature because you’re building a cafe racer and have some electrical issues I sincerely hope it has helped. If, on the other hand, you’re researching before attempting to re-wire your bike I know this will help!”
Tom has published several other bike electrics articles that are available on the Purpose Built Moto website. He also publishes regular how-to videos on Youtube and sells his own electrical components in the Purpose Built Moto store.