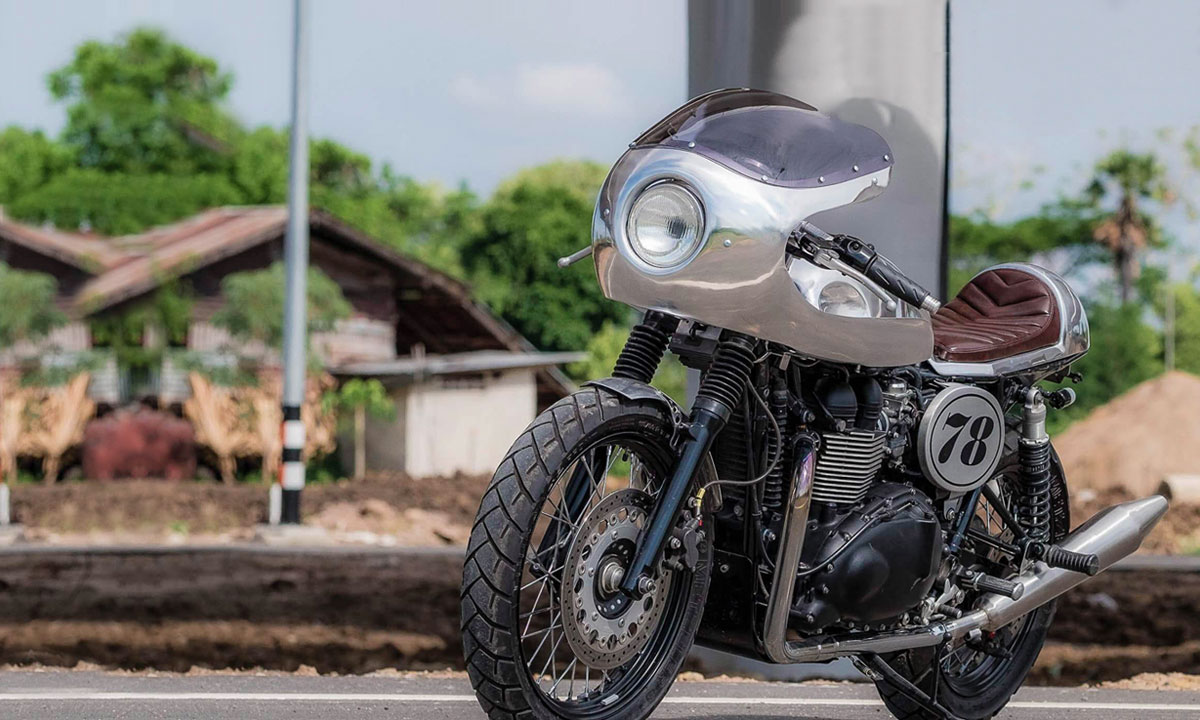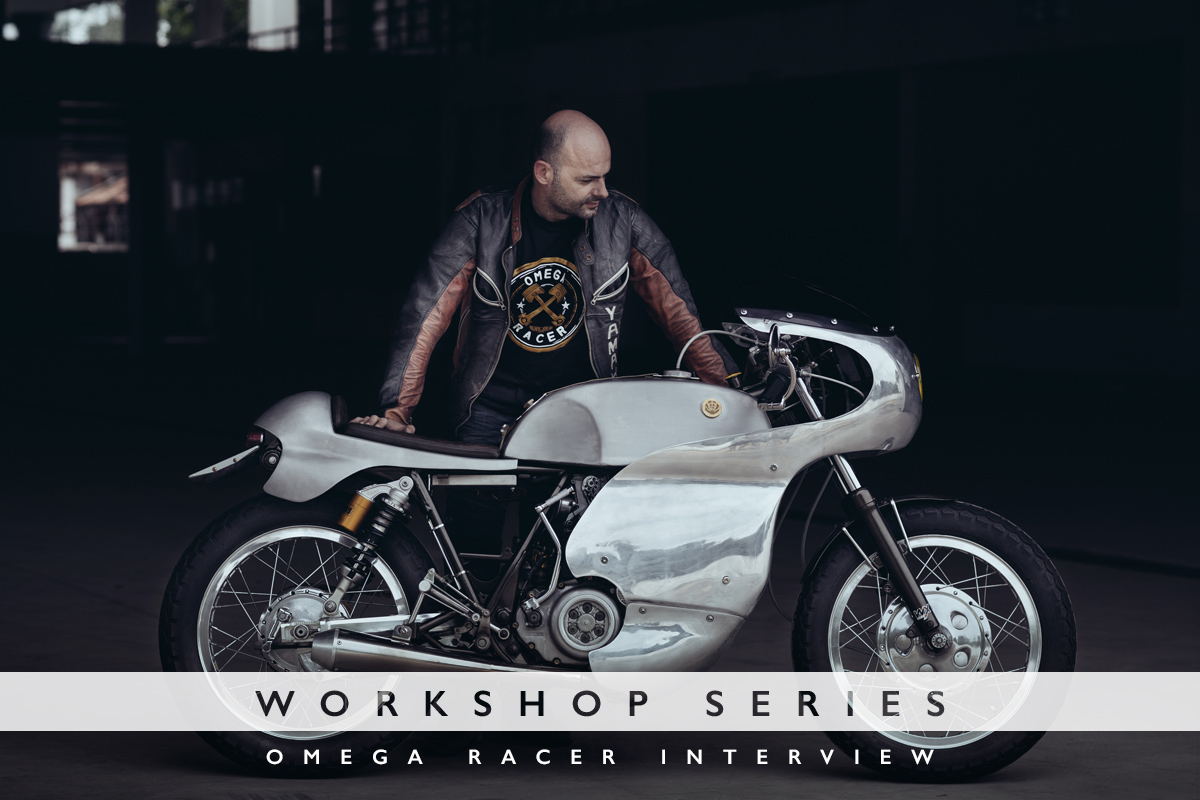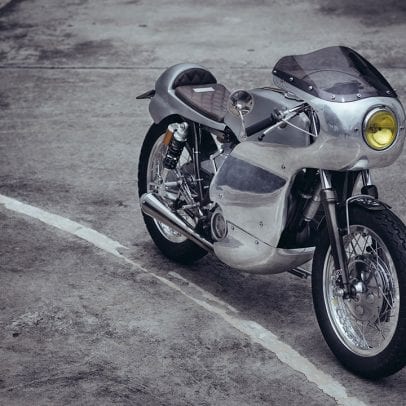
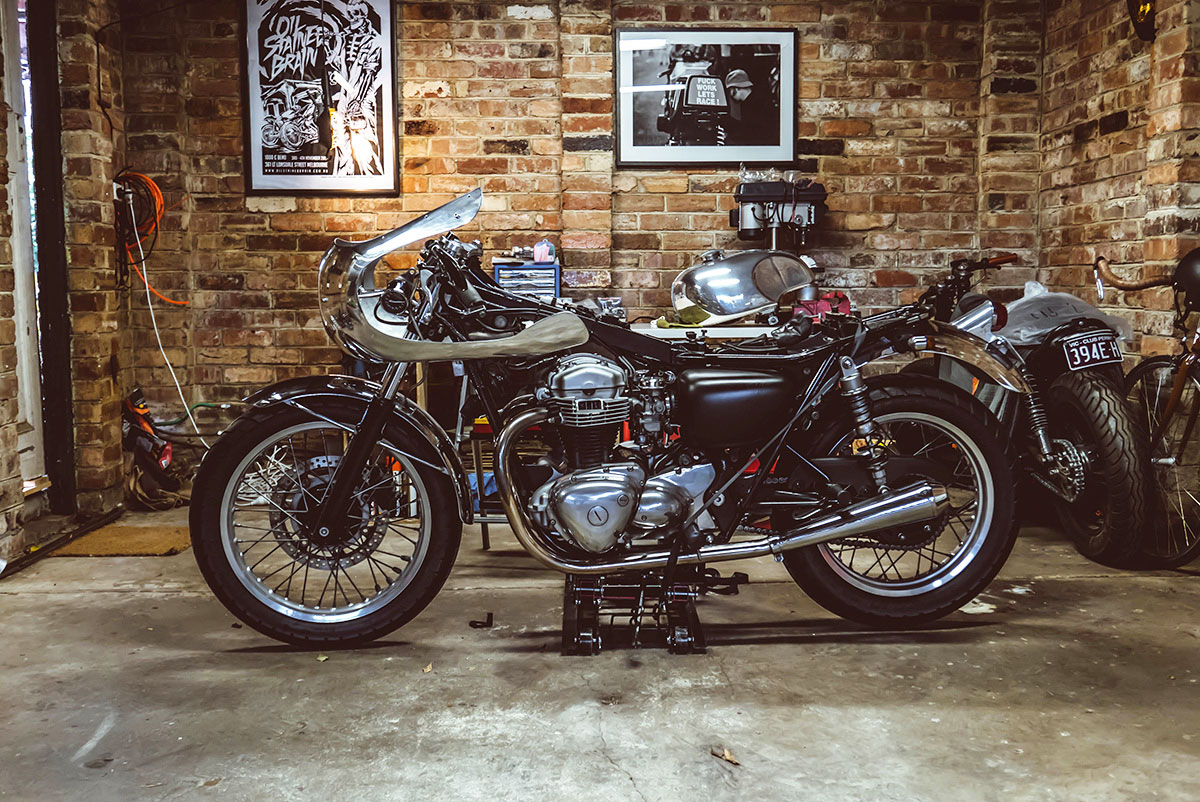
When I set out to build my first cafe racer 12 years ago I had always planned for it to be naked. In my eyes, this was the traditional cafe setup and my goal was to create a bike that would look right at home outside the Ace Cafe in the 1950s. Over the past few years, my opinion has relaxed somewhat so I decided it was time for a change. I began my search for a retro-styled fairing made of aluminium rather than fibreglass which lead me to Markus Pintzinger’s ‘Omega Racer’ store. It was there that I found exactly what I was looking for, a handmade full alloy fairing designed especially to fit my Kawasaki W650’s dimensions.

After a few emails with Markus, my order was placed and I waited while his skilled craftsmen shaped my new fairing by hand. A few short weeks later a box arrived on my doorstep and I wasted no time getting to work. Here’s how the install unfolded…
(It is also worth noting that Omega Racer offers this same fairing, with different mounting gear, for Yamaha SR400s.)
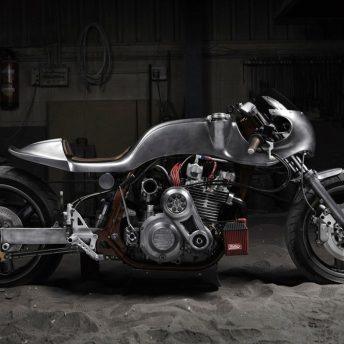
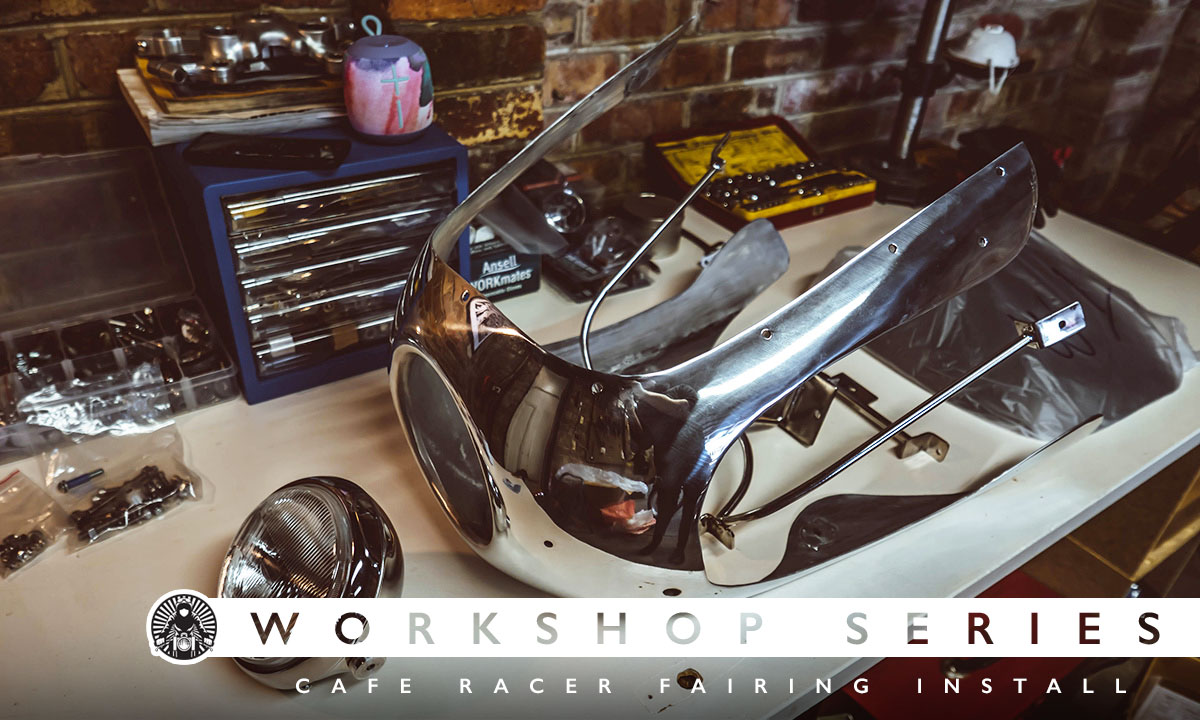
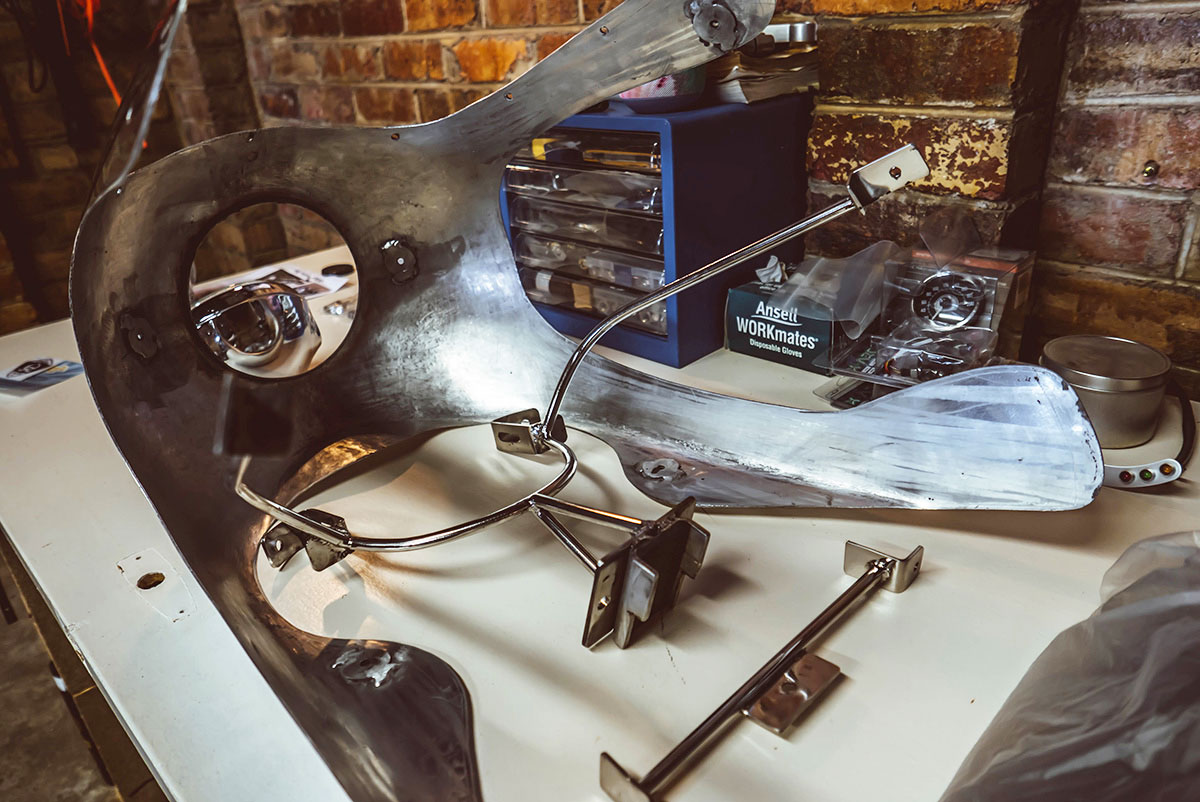
The Omega Racer fairing is a work of art that’s made from 2mm alloy sheet shaped to replicate the look of a 70s Ducati 900SS. Included in the (very reasonable) price of the fairing was all of the mounting gear required to fit it to my W650. This included the brackets and supports, smaller headlight, windscreen (clear or smoked) and all the associated fasteners. Although the kit is comprehensive it is not a straight bolt on solution and requires a few small fabrication tasks and some other parts to properly fit it.
Cafe racer fairing install – Before you begin…
Fitting a fairing to a W650, SR400, or any motorcycle necessitates several other modifications. These include installing low mounted handlebars, such as clip-ons, modifying your steering stop, re-routing or shortening cables and possibly having to fit new switch blocks. If you’re starting out with a stock bike be sure to consider these things before you begin. The last thing you want is for your bike to be off the road for weeks while you wait for other parts to arrive. Thankfully I had already made most of those modifications to my W650 when I converted it to a cafe racer years ago. This meant the install was a fairly straightforward process.
Preparing for the install
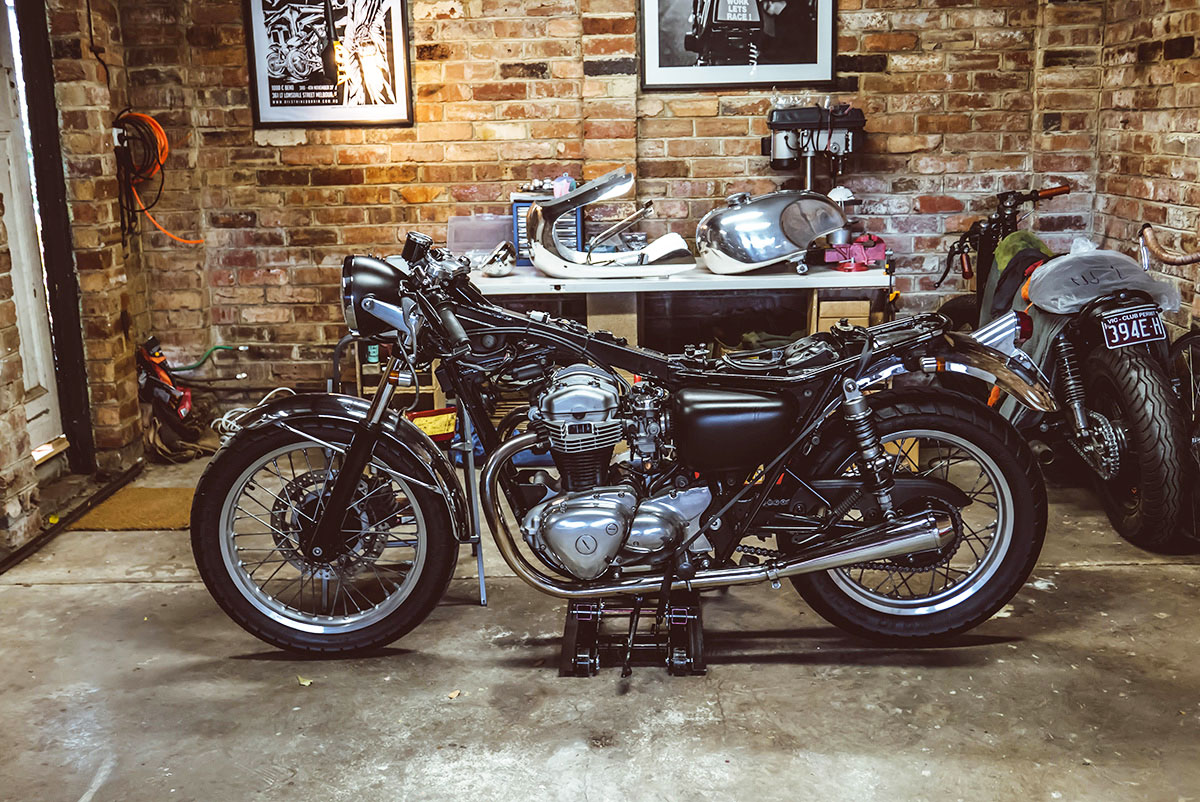
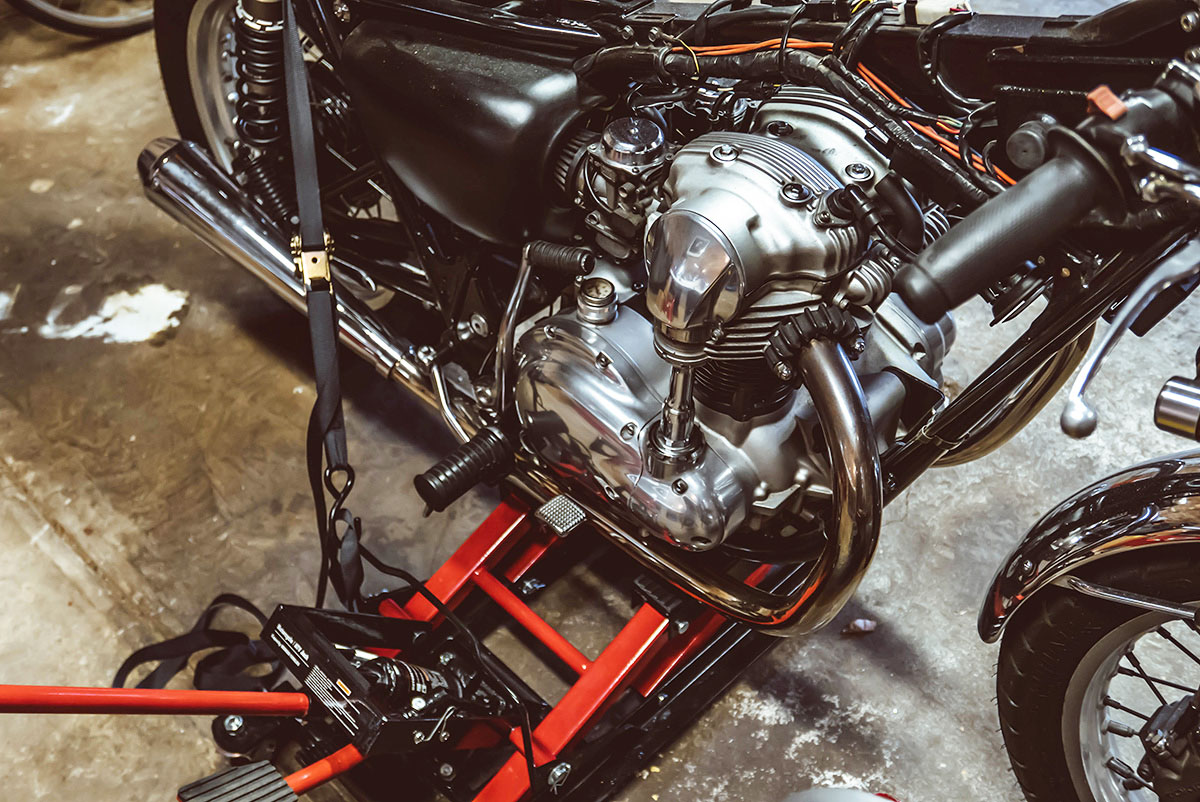
Obviously, this task involved the use of some tools. I used a metric set of spanners and sockets, an electric hand drill, wire strippers a heat gun, or in this case my wife’s ultra expensive hairdryer (please don’t tell her) and a soldering iron. Since I removed the centre stand from my W650 years ago I secured it to a bike lift using racket straps and raised it just enough to have the stand supporting it without lifting the wheels off the ground.
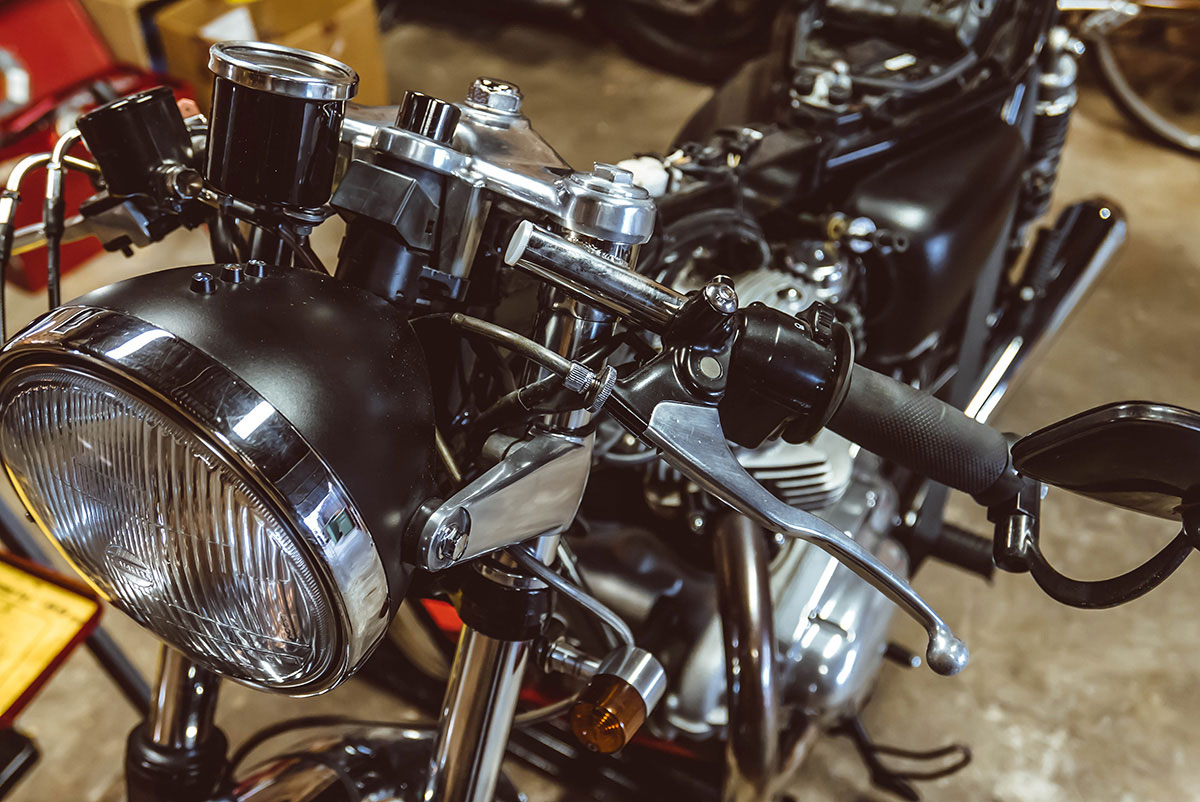
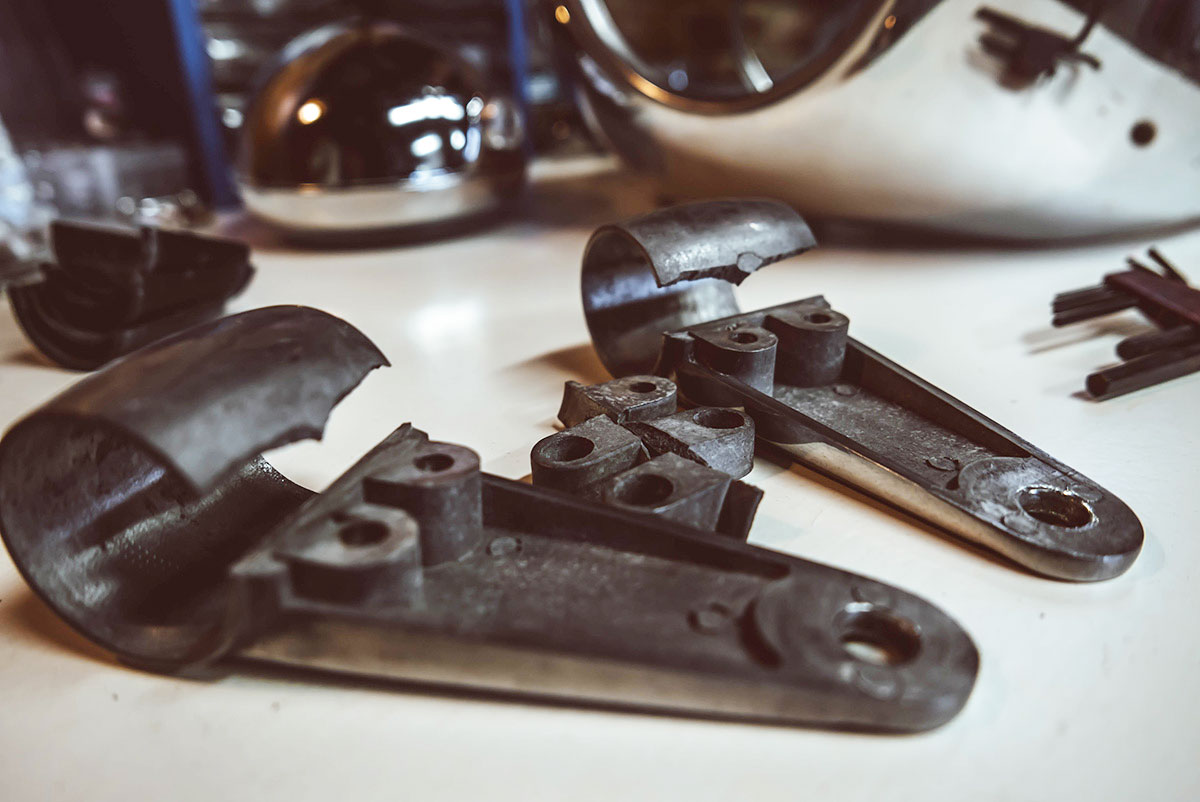
In order to fit the fairing, I then had to remove a few parts from the bike. These included the tank and seat, top triple clamp, clip-on handlebars, headlight assembly and the front indicators. I was able to leave the levers and cables attached to the handlebars to keep things simpler. Interestingly during this stage I discovered that my alloy headlight brackets had both cracked. Rather than throwing them in the bin I’m going to repurpose them during a future project when I plan to cast my own tank badges.
Installing the mounting hardware
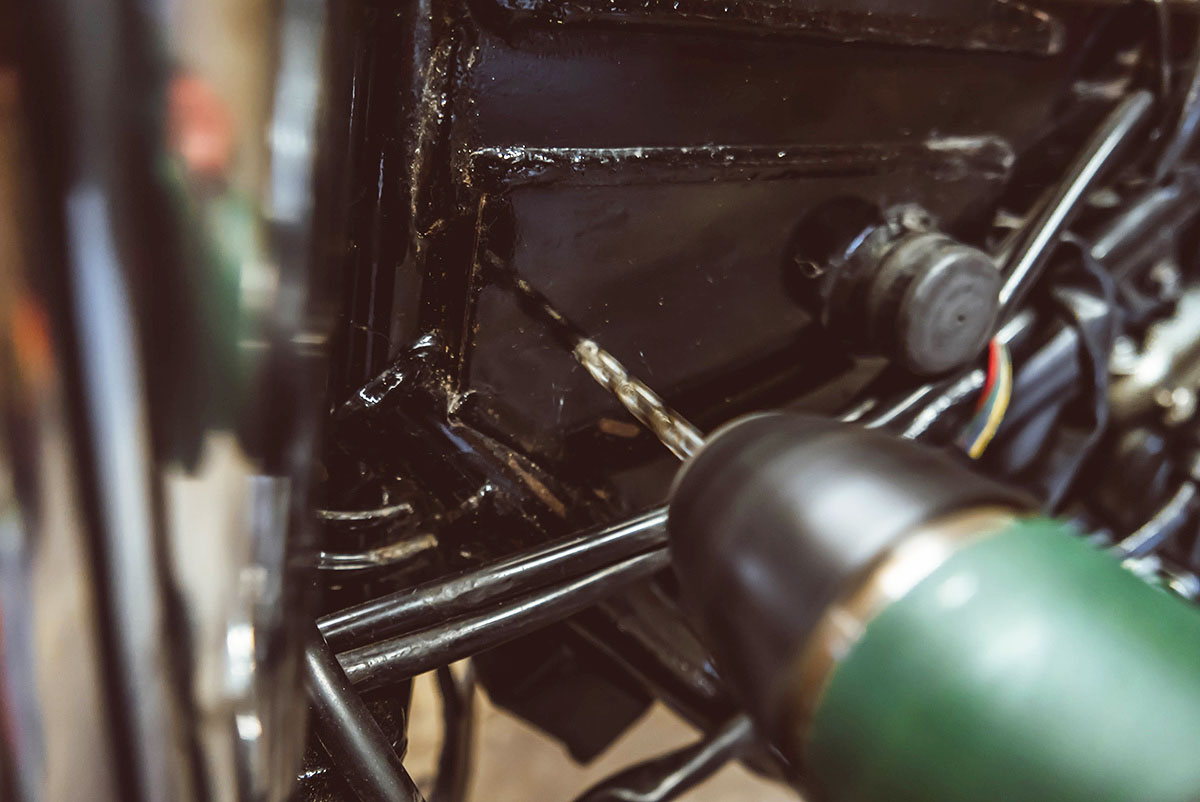
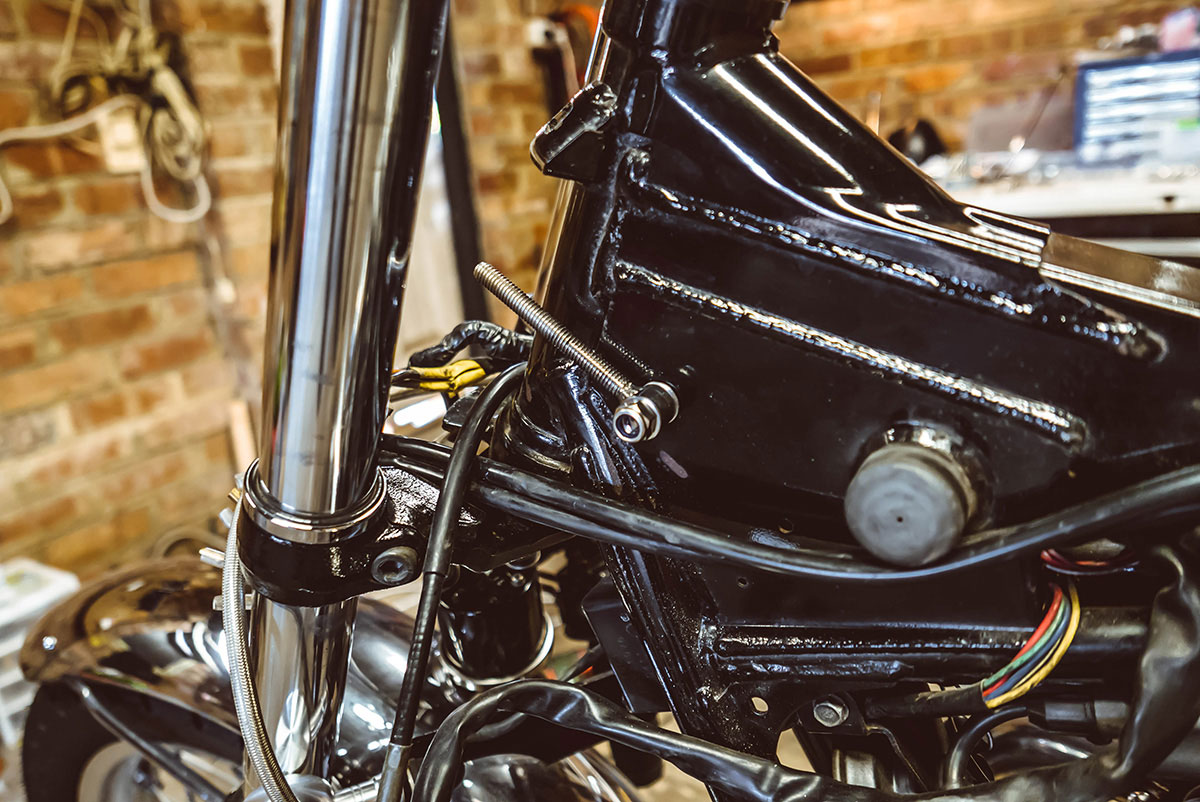
The first stage of installing the fairing is fitting the mounting bracket to the frame. The bracket is secured to the neck of the frame by 3 bolts, one that passes through the frame and two that hold it in place. To pass the bolt through the frame I had to first drill out 2 existing holes behind the neck tube. After drilling the holes I used a paint pen to cover the exposed steel to prevent rust. I then passed the bolt through the frame. As the bolt went in I installed the securing bolts, one on each side of the frame. I then held the padded plate against the neck of the frame and secured it using the bolts and nylock nuts, leaving them a little loose so that I could straighten everything once the fairing was in place.
The second bracket in the kit holds the lower arms of the fairing and utilises another existing hole as a mounting point. The hole was being used to hold part of the bikes electrical equipment so I simply relocated that part using another hole lower down on the frame.

Fitting the new headlight
The fairing bracket is designed to utilise a smaller headlight that comes with the kit. After removing the headlight ring and bulb it can be installed using the supplied alloy spacers. Again I left the headlight loose to allow me to adjust it’s position later.
Installing the aluminium fairing
Now comes the exciting part, fitting the fairing! There are 6 points on the fairing where it is fastened to the brackets. I began at the top and worked my way down. Once again it’s best to not tighten everything until you have all the bolts in place. This is a handmade part and you may find some holes are not perfectly aligned. Leaving things loose helps to get everything lined up.
With the fairing on the bike I was then able to position things by eye and tighten all of my fasteners. I was also able to position the headlight at the correct depth and angle before installing the perspex windscreen. This is where my wife’s hairdryer…sorry heat gun came in handy. Again due to the nature of handmade parts the fairing took a little convincing to line up. I used the “heat gun” to warm the screen and reduce the chance of it cracking while I flexed it into place.
Fun with cables and wires
So far this all sounds pretty easy, right? Well here comes the hard part.

With the fairing in place, you now have to get all your wiring and cabling sorted out. Again because of work I’d done in the past I didn’t have to remove a lot of length from my wiring loom. If you have a stock loom you will most likely need to trim a few things back as you can no longer use the headlight bucket as a hidey hole for all that spaghetti.
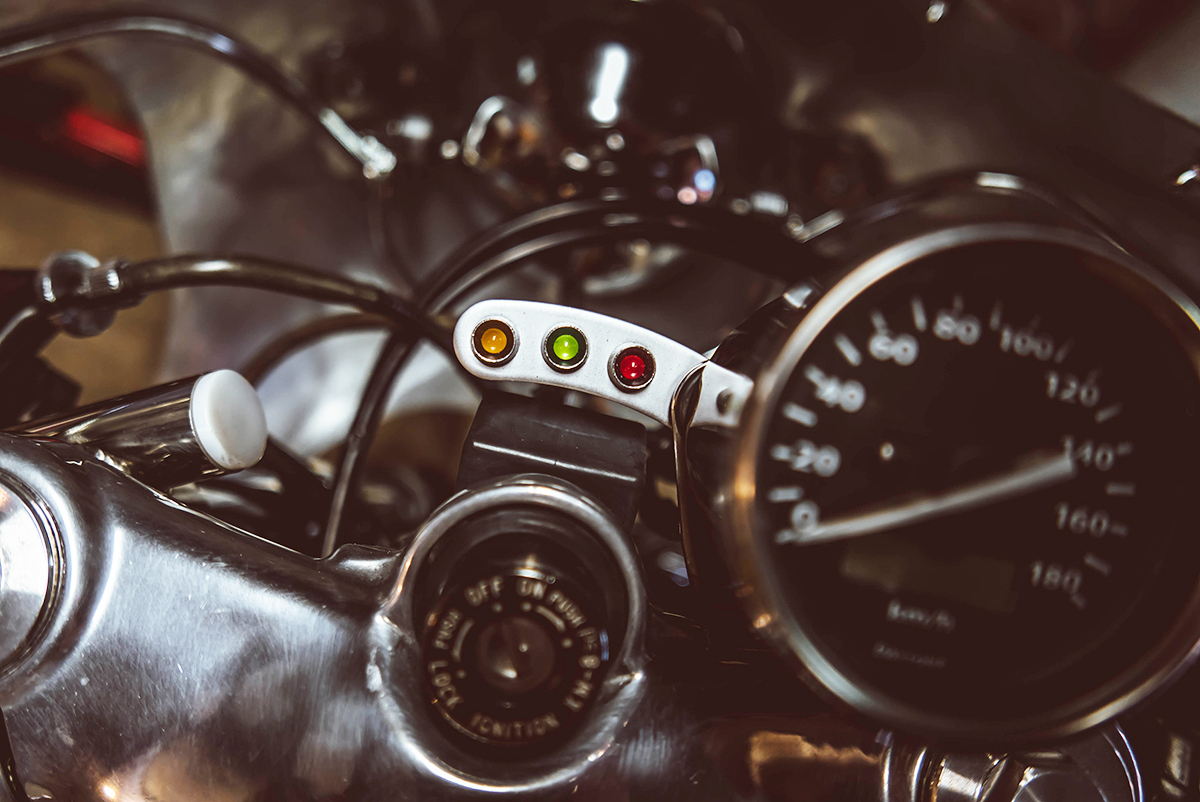
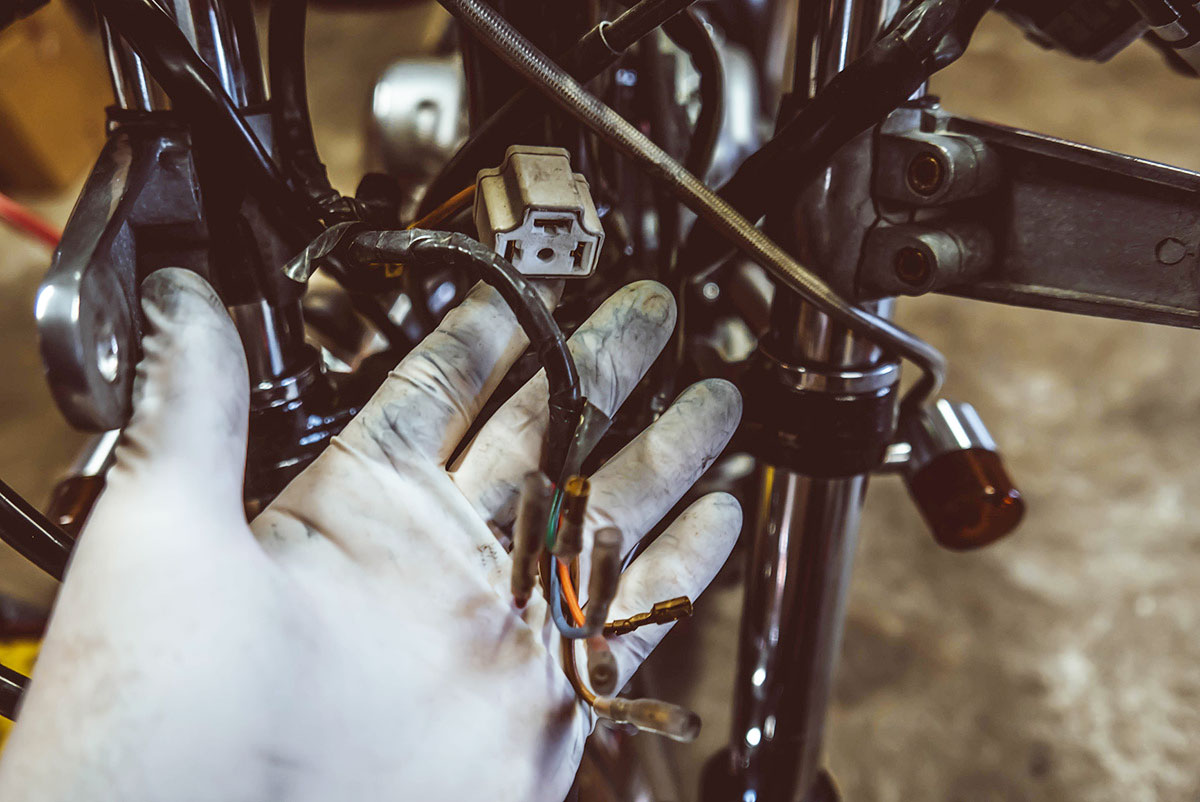
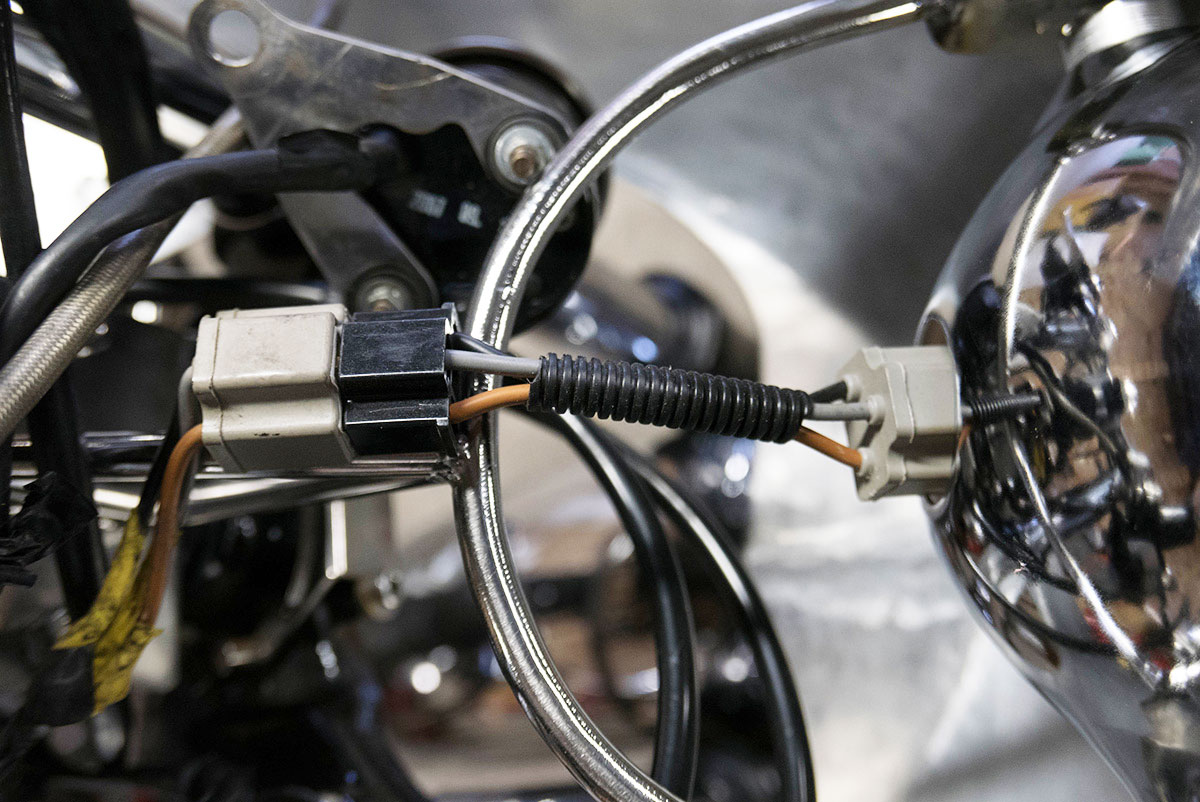
My main task here was installing an idiot light cluster because I had previously mounted them into my old headlight bucket and extending the headlight wires. The new headlight sits much further away from the frame so the standard headlight plug wouldn’t reach. Lengthening the wires was one option, but I already had an extension cable, which you can buy from most automotive electrical stores. I also took this opportunity to install a set of new, smaller LED indicators.
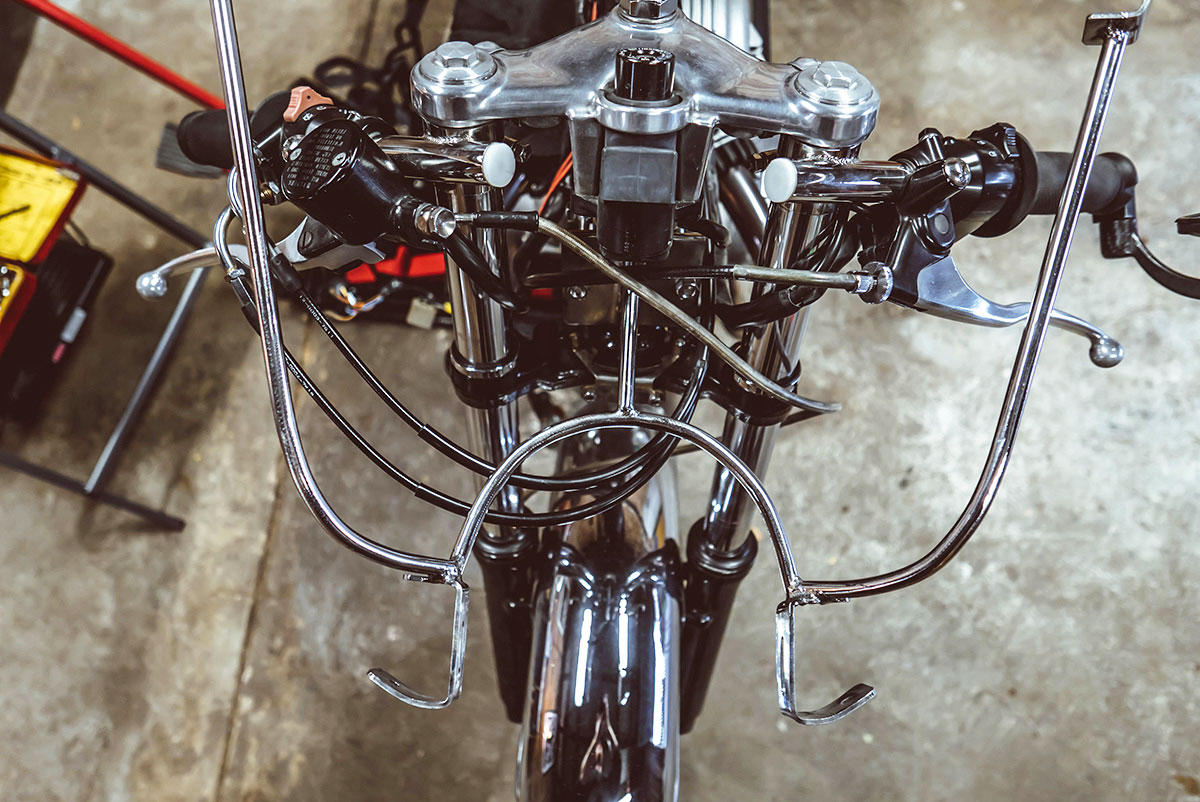
If you’ve ever messed with swapping handlebars before you’ll know that setting your cable length and routing can be frustrating. During this stage, it may be best to leave the windscreen off, but I chose to work around it. With the wiring, everything pretty much ran along the same route as before, but my clutch cable, brake line and accelerator cables needed work. The fairing and its bracket don’t turn with the handlebars and as a result, they can obstruct, catch or pinch the cables when you turn. This is something you definitely want to avoid!
The first step is getting the handlebars mounted correctly. I removed the lever assemblies and loosely bolted the clip-ons in place, checking that they didn’t connect with the tank or the fairing at full lock in both directions. Luckily I was able to get them into a comfortable position without having to consider changing the switches. With the handlebars secured, I then had to figure out the best way to run the cables. During my testing, if any cable became taught or pressed up against the brackets I had to search for an alternate route. To get the clutch cable right I had to reroute it from the engine up. It’s important to note that while fitting the accelerator cables it is important to fire up the bike and turn the handlebars full lock in either direction. If the idle changes, you’ll need to either find an alternate route or adjust their tension at the carbs or on the throttle assembly.
The all-important test ride
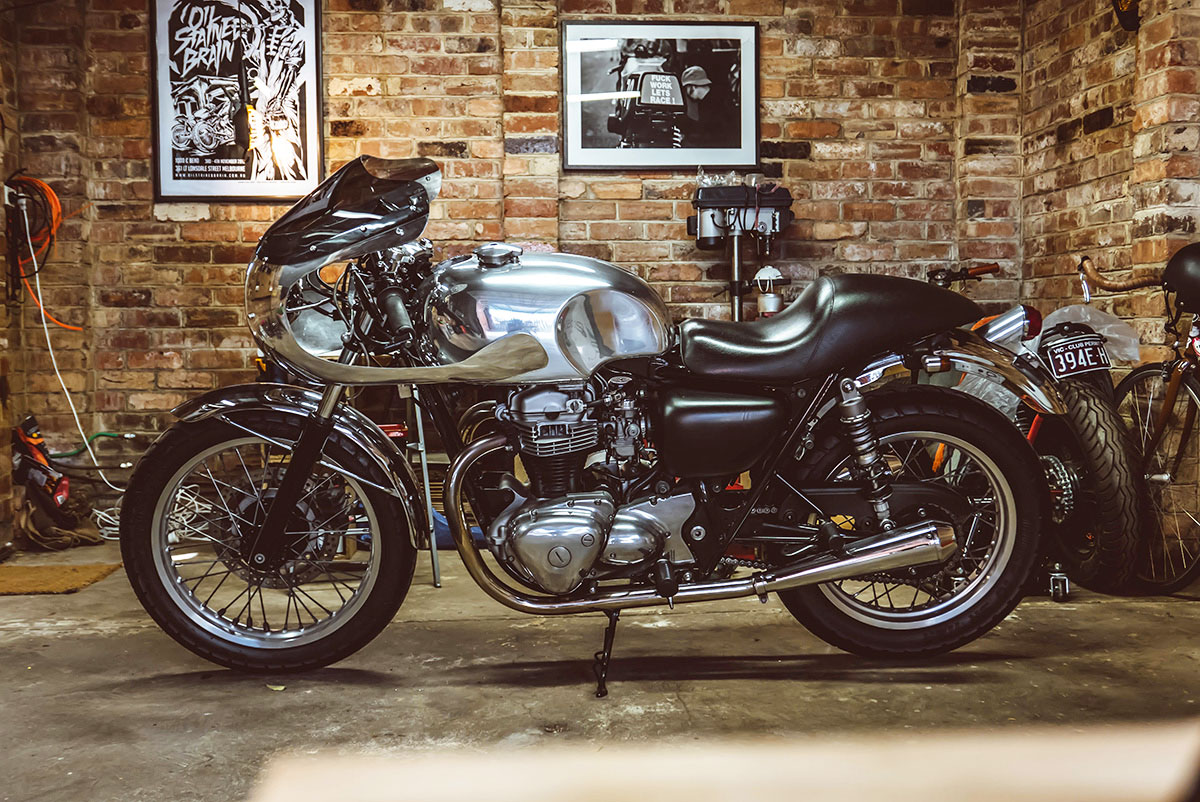
With my cafe racer fairing in place, I double and triple checked that everything was tight and functioning as it should. I always use caution with shakedown runs just in case something has been forgotten. A leisurely ride up and down my street put any concerns I had to rest so I headed for the highway. As you would expect the difference was huge in relation to wind buffeting and also how the bike now looks. Yes, I always loved how it looked in its previous naked form, but the Omega Racer fairing has given my Kawasaki cafe racer more of a classic race bike look which I love.
Along with the W650/SR400 fairings Omega Racer stock an impressive range of parts for these bikes and modern Triumphs. I had a great experience dealing with Markus and will be using his store again in the future. For now though I am getting plenty of enjoyment from tucking in behind all that beautiful, hand beaten alloy.