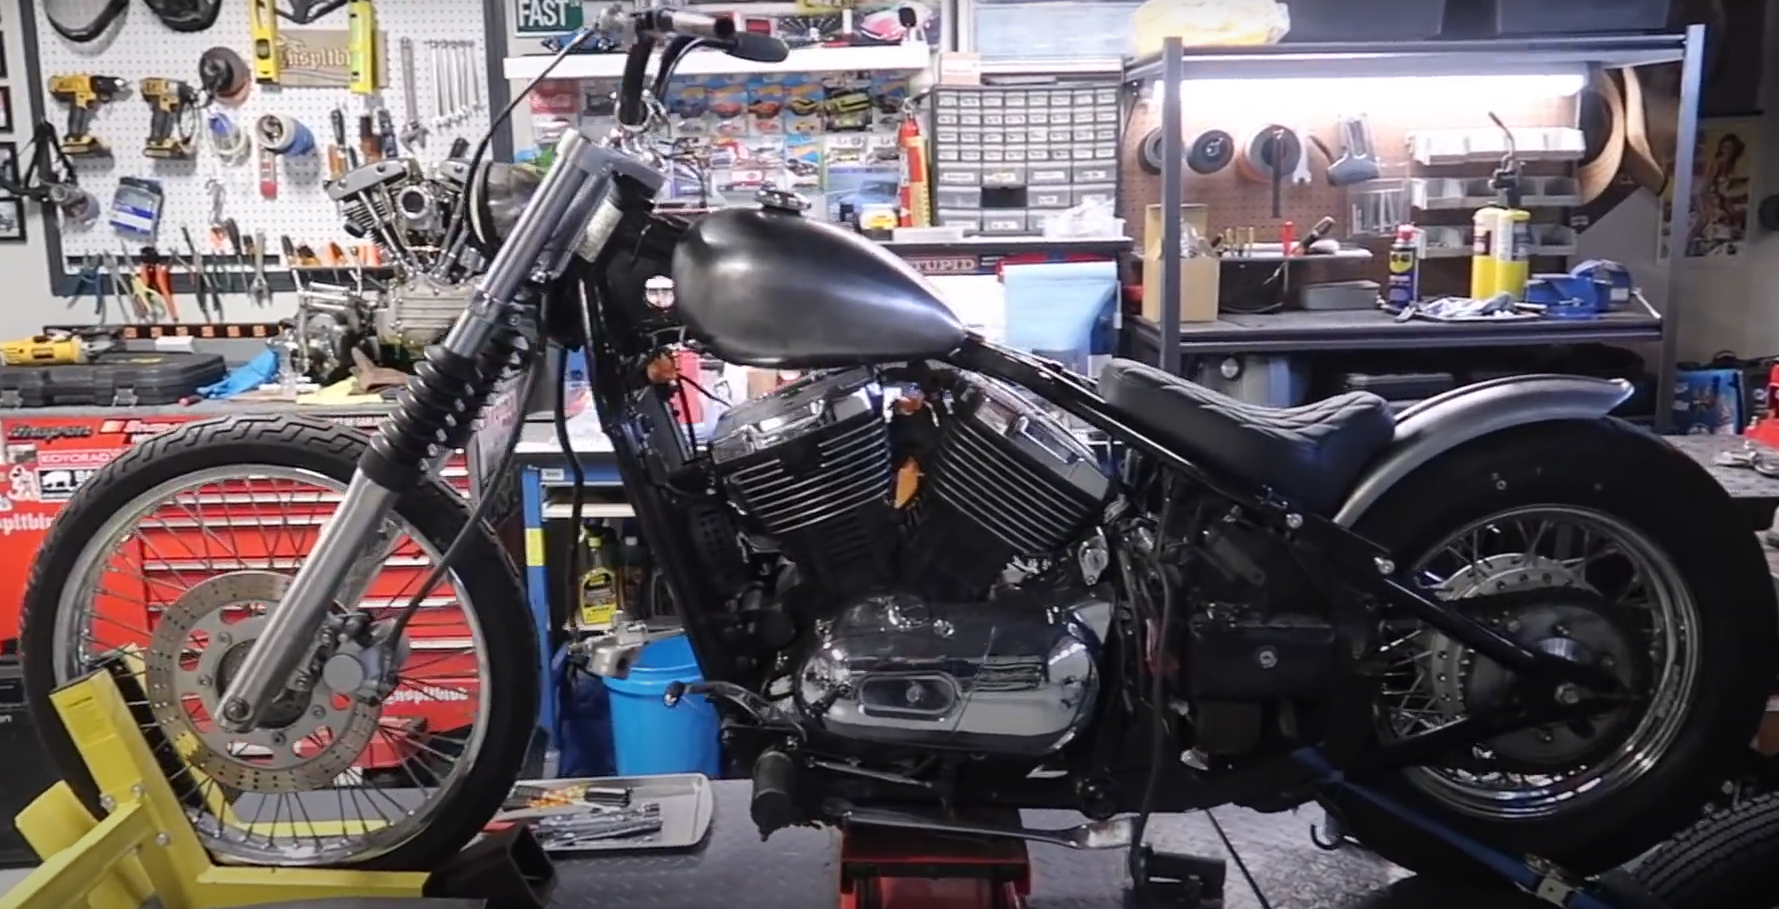
Today’s project focuses on making important changes to a Vulcan build. Early in the process, the team found an issue with the gas tank that did not allow for proper coolant line clearance. To fix this, they chose to use a different tank that will fit better and allow the lines to run smoothly.
After updating the tank plan, the team worked on mounting the seat and fender. They created sturdy brackets to make sure the seat and fender stay secure without using extra struts. The next steps include putting back the side covers and planning the exhaust pipes around these parts.
Key Takeaways
- The current gas tank needed to be switched due to clearance issues.
- Seat and fender mounting solutions were customized for stability and style.
- Final steps will include fitting side covers and planning the exhaust.
Vulcan Gas Tank Mounting Challenge
Comparing High Mount and Middle Mount Styles
There are two main types of tank mounts for the Vulcan: high mount and center mount. The high mount has its mounting tab near the top of the tank, while the center mount version places the tab closer to the middle.
| Mount Type | Tab Location | Effect on Installation |
|---|---|---|
| High Mount | Top | Can block coolant lines |
| Center Mount | Middle | Leaves space for lines |
The tank bought for this project was a high mount model.
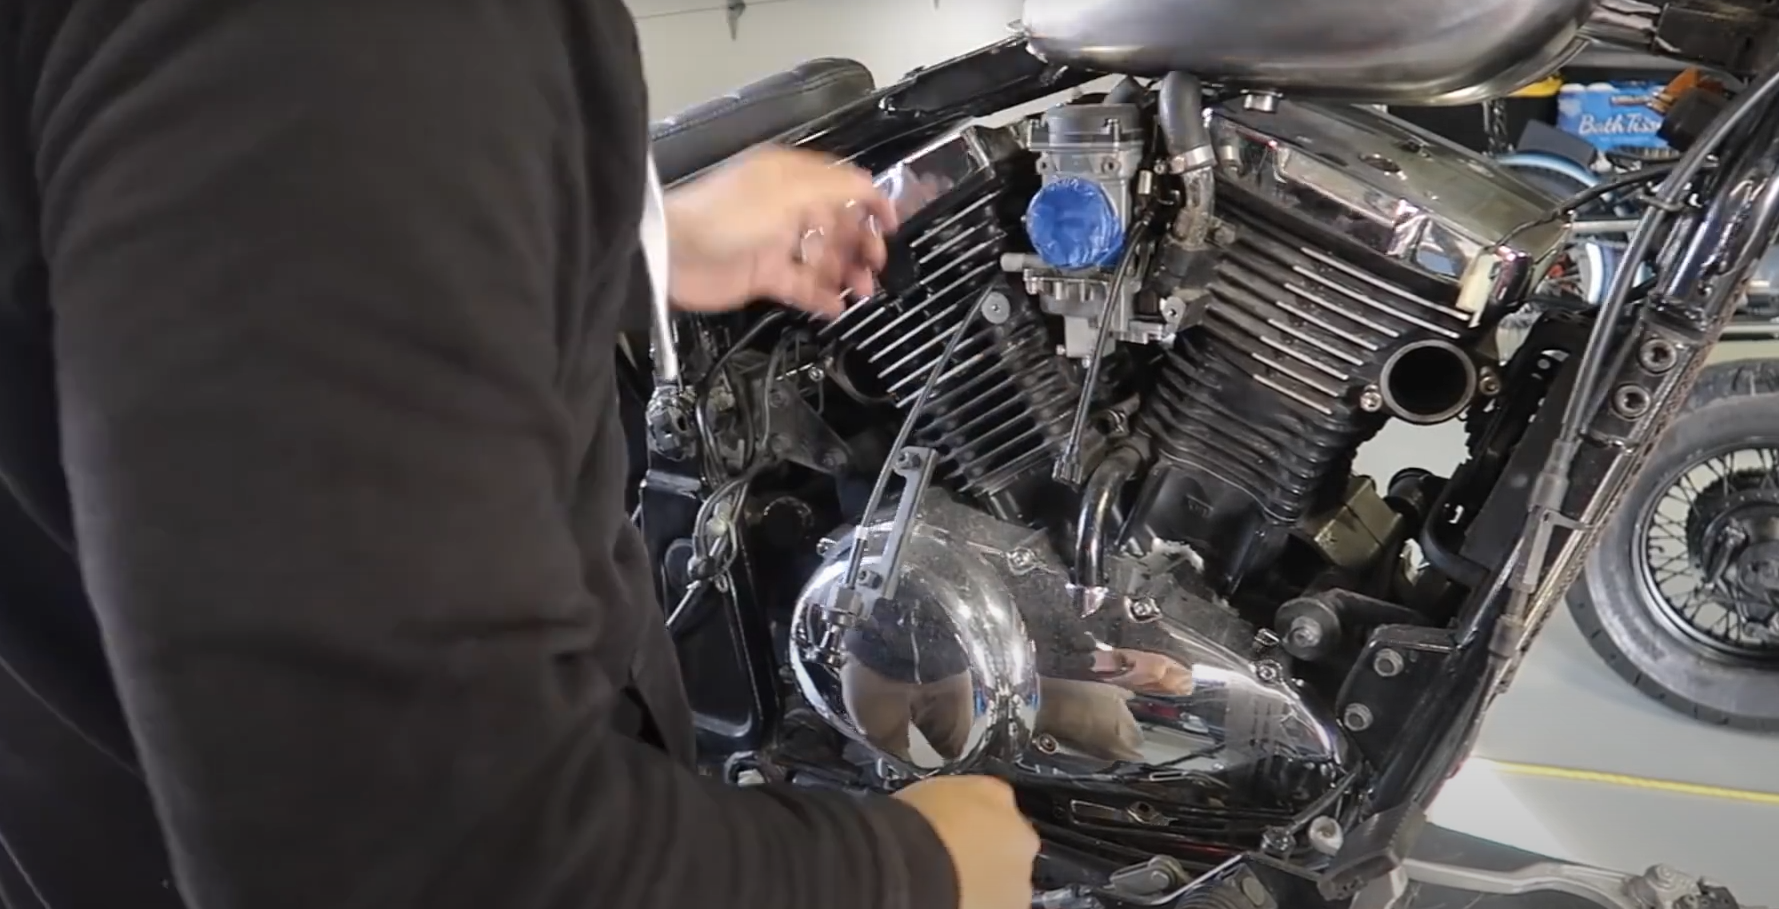
Issues with Coolant Line Clearance
With the high mount tank, the mounting tab gets in the way of the coolant lines running under the frame. The clearance is not enough, making it hard to route the lines without awkward adjustments.
A possible fix, like welding a bung, was considered but did not look or fit right for this project.
Steps for Replacing the Fuel Tank
Instead of forcing a solution, the current high mount tank will be kept for a different build. The plan is to buy a center mount tank so that the coolant lines can properly fit underneath.
Next Steps:
- Save high mount tank for later.
- Purchase center mount tank.
- Install new tank, allowing space for coolant lines.
This approach should keep everything neat and make future maintenance easier.
Seat Mounting Solutions
Using Pre-Drilled Holes for Seat Attachment
He started by using an existing hole in the frame to secure the front bracket of the seat. This method helped anchor the seat without needing to drill new holes. By making use of what was already there, he saved time and kept the mounting process simple.
Adding a Welded Cross Bar for Support
To hold the rider’s weight, a support bar was welded across the mounting points. This bar gave the seat a solid base and stopped it from sagging or shifting. The extra strength from the welded bar made the mount much sturdier.
Seat Support Overview:
| Method | Purpose |
|---|---|
| Pre-drilled hole | Front seat bracket mount |
| Welded cross bar | Weight support |
Extra Bracket to Prevent Seat Shifting
To stop the seat from moving side to side, he made another bracket. This bracket connects from a hole in the frame to the welded cross bar. Drilling a hole and bolting this bracket in place locked the seat so it stayed put. Once welded, the seat did not shift or wobble.
Attaching and Securing the Fender
First Fender Attachment Spot
The rear fender started with one mounting spot, placed to keep things as steady as possible. There was no plan to add fender struts, so the look would stay clean and simple. To add more security, another spot was chosen for a second attachment. This would make sure the fender does not shift or shake while riding. Using two points helps keep everything firm.
A quick list of the steps for the initial mounting:
- Pick the first spot for the fender.
- Bolt the fender down.
- Check for movement and stability.
Welding the Side Bung and Building the Second Bracket
For the second mounting point, a metal bung was welded onto the side of the fender. This small metal piece allowed a bracket to be attached. The bracket, made from scrap material, needed to be drilled for a bolt. After shaping and drilling, the bracket connected the fender to the frame. Using these two spots gave the fender strong support without extra struts.
Materials Used
| Part | Purpose |
|---|---|
| Weld-on bung | Extra mounting location |
| Metal bracket | Connects fender and bike |
| Bolts | Secures bracket in place |
By taking these steps, the fender stayed firm and matched the simple look. No extra support rods were needed. Everything lined up and kept the fender from moving around.
Side Covers and Pipe Adjustment
Putting the Side Panels Back On
The next step is to reattach the side panels before working on the pipes. This is important because it helps check if the pipes will bump into the covers later. The side covers need to be in place so you can shape and position the exhaust correctly.
Steps:
- Line up the side covers with their mounts.
- Fasten them securely.
- Check that everything sits flat and does not move.
| Part | Action |
|---|---|
| Side Cover | Reinstall and secure |
| Mount Points | Check alignment |
Deciding on the Rear Exhaust Path
Before building the exhaust, planning the route is key. For the rear pipe, the plan is to have it exit and run under the plastic at the back. The plastic piece in the way will need to be trimmed off. This gives enough room for the new pipe and avoids contact with the side cover.
Considerations:
- The route must clear all other parts.
- The plastic blocking the pipe needs to be cut.
- Double-check clearance from all panels.
Checklist:
- Remove or trim plastic under the path.
- Ensure the pipe does not hit the side cover.
- Measure space for bends and turns.
Next Steps in the Build
Tank Update:
The current high tunnel tank can’t be used because the mounting tab blocks the coolant lines. A new tank with a middle mount will be ordered, so the coolant lines fit underneath. The original tank will be saved for another project.
Seat Progress:
- The front bracket for the seat uses an existing hole for mounting.
- A support bar was welded to hold the rider’s weight.
- There is one mounting point now, with plans to add another using a bracket from a hole to the support bar, so the seat stays steady.
Rear Fender Work:
- The fender has one mounting point and needs another for extra stability.
- To avoid using fender struts, a bung will be welded to the fender’s side.
- A bracket will be made to bolt the fender down at a second point.
| Part | Step Completed | Next Step |
|---|---|---|
| Gas Tank | Ordered new correct tank | Install when it arrives |
| Seat | Mounted, needs support | Weld second bracket |
| Rear Fender | One mount in place | Add second mount, weld |
Side Covers and Pipes:
- Side covers will be reinstalled to check pipe clearance.
- The rear pipe will be rerouted under the plastic, which needs to be removed to make space.
- Work on the exhaust pipes will continue in the next stage, waiting for the new tank to arrive.