Put the iron down. The single fastest way to wreck a good leather jacket is to treat it like a cotton tee and press an iron-on patch straight onto the hide, because the heat that a t-shirt shrugs off will scorch finished leather in seconds and leave a shiny, stiff, discolored mark that no amount of conditioner buffs out.
Patches belong on a riding jacket. They always have. The trick is attaching them with a method the leather can actually live with, whether you are running a club rosette across the back or a small leather patch on the chest. This is the part most “how to apply patches” guides get wrong, because they assume fabric and tell you to reach for heat. On a leather jacket, a leather vest, or even a stiff leather bag, the rules are different, and getting them right is the difference between a jacket that ages well and one you quietly stop wearing.
Key Takeaways
- Skip the iron. Direct heat scorches and discolors finished leather, and the damage is permanent.
- Hand sewing is the most durable method for a jacket that flexes, rubs, and rides.
- Leather-safe adhesive suits low-flex spots; snaps, Chicago screws, or a hook-and-loop backing let you swap patches without new holes.
- Match the patch to the job. Stitched-edge, full-grain leather patches and woven patches sit flatter and last longer than bulky iron-on stock.
- Test any method on a hidden seam first. Leather does not heal.
Why is iron the fastest way to ruin a leather jacket
The promise of an iron-on patch is that you skip the needle. Lay it down, press for thirty seconds, done. That works on denim or canvas panniers because the fibers absorb heat, and the heat-activated adhesive melts into the weave. Finished leather does the opposite. It is a heat-sensitive material, and the same temperature that bonds an adhesive backing to cotton will dry the oils out of the hide, leave a glossy scorch halo, and bake discoloration into the panel around the patch edge.
Do iron-on patches work on leather at all? Barely, and never on the finished outer surface of a jacket you care about. The adhesion is weaker than sewing, the corners start to peel as the leather flexes, and that edge lift only gets worse with wear. Any residue left behind is a pain to remove without solvents that cause their own discoloration. If you have ever asked whether you can iron on patches to leather and hoped the answer was yes, this is the honest version: the risk is high, and the payoff is short-lived. Push faux leather under an iron, and it tends to bubble or warp before it ever bonds.
Heat is not the villain everywhere, though. Heat pressing is a legitimate, even standard, method when there is structure behind the patch and no delicate outer hide to protect, which is exactly how a heat-press leather patch is affixed to a cap or a flat blank. On those surfaces, a controlled press with a pressing cloth at the right temperature is fine. A riding jacket is a different animal. The hide is the finished, visible product, and once a panel shines or stiffens from heat, it is done.
The three attachment methods that actually work on leather
Here are the three that hold up on a jacket, ranked best to worst for a piece that actually gets ridden in.
- Hand sewing is the gold standard. It puts no heat and no chemistry near the leather, it survives weather and miles, and a sewn patch stays put for years, even on a high-flex back panel. The tradeoff is that the needle holes are permanent, so you commit once.
- Leather-safe adhesive, meaning contact cement or a fabric glue rated for leather, is the next best option for low-flex spots and places you cannot reach from behind to stitch. It works better after a light pass with a deglazer, and parchment paper under the work keeps the squeeze-out off your bench. It is cleaner than heat but weaker than thread, and edge lift becomes likely on any panel that bends constantly.
- Snaps, Chicago screws, or hook-and-loop backing let you mount a patch on a removable base, so you can swap it without putting another hole in your favorite cafe racer jacket. A Velcro backing is the move for riders who rotate club spots and event patches, and it is the only approach here you can undo cleanly.
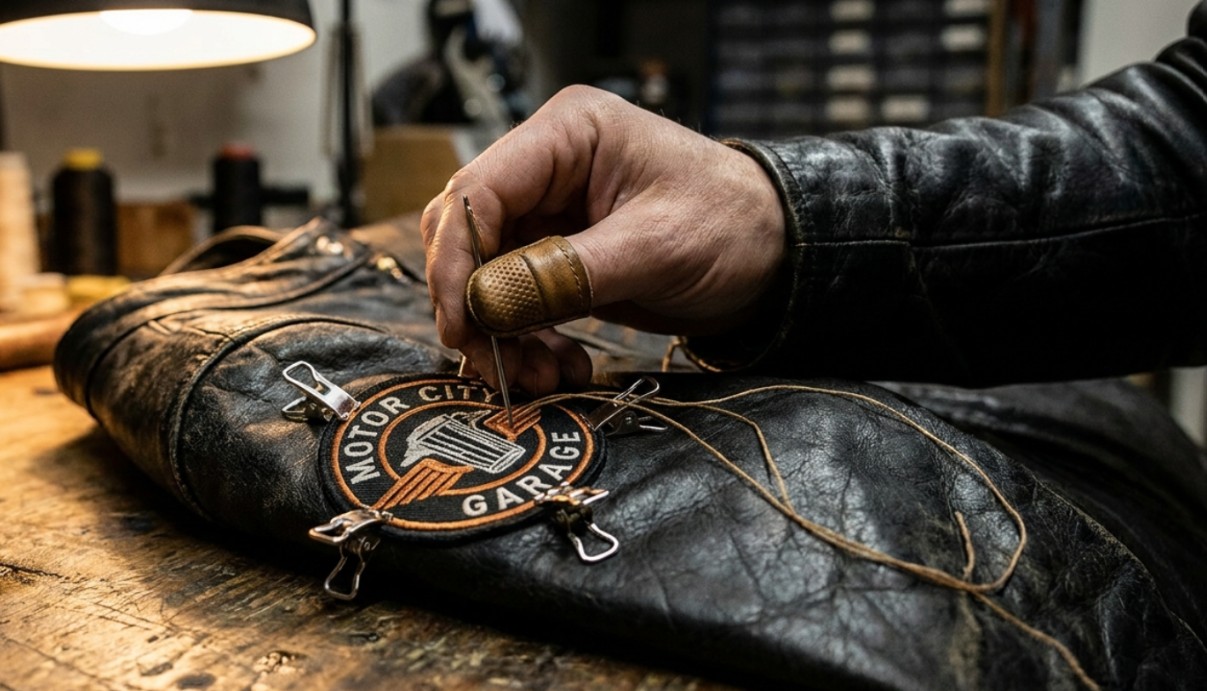
Sewing a patch on by hand, the cafe racer way
Sewing patches on leather by hand sounds intimidating until you have done one. The whole job is slow, deliberate, and very forgiving as long as you set up right, which is more than you can say for the iron. Before you stitch anything, check the inside of the panel so you are not sewing through the lining, a pocket, or hidden hardware.
Start with the right needle. A leather needle, or a glover’s needle, has a blade-shaped tip that slices through hide rather than fighting it, and for thick panels, a heavy-duty needle paired with a thimble or a sewing awl saves your fingers. If the leather is genuinely thick, punch your stitch holes first with an awl or a small leather punch so that every pass lands cleanly and evenly spaced. Pre-punching is what separates a tidy border from a row of torn, wandering needle holes.
Thread matters as much as the needle. Use heavy-duty polyester thread, bonded nylon thread, or a waxed thread, all of which shrug off abrasion far better than cotton. Hold the patch in place with fabric clips rather than pins, since pins create holes you have not yet committed to, or tack it down with a few basting stitches or a strip of double-sided tape, then mark your line with tailor’s chalk. A whip stitch around the border is the simplest strong option; a running stitch or a backstitch works too, and a saddle stitch is the most durable if you are willing to put in the time. Keep your thread tension even, because tight-then-loose stitching is what causes puckering and the wavy edge that makes a good patch look homemade. If the finished stitches feel scratchy against your arm, add a soft backing patch on the inside.
If you would rather run it through a machine, machine sewing can work, but only if your machine can genuinely feed leather. Fit a leather needle, lengthen the stitch length so the seam does not perforate the hide like a tear line, and use a walking foot or a Teflon foot so the leather feeds without dragging. Test on a leather scrap of the same thickness first, and if the machine bunches or skips, go back to hand sewing rather than forcing a bad seam into a jacket you cannot un-sew.
Picking a patch that survives weather and miles
Not every patch is built for a jacket that lives outside. The patch type decides how it sits on a curved panel and how it holds up to rain, wind, and the constant flex of riding, and the same logic applies whether it is going on a jacket, a leather vest, a bag, or a leather hat.

An embroidered patch made with dense embroidery is the classic look and is plenty durable, though the thickness adds bulk at the edge and requires a stronger needle to sew through. A woven patch sits flatter and conforms better to a curved chest or sleeve, which makes it the easier choice for smaller spots. A PVC patch or a chenille patch brings more weight and stiffness than people expect, so keep those off the highest-flex zones. For the patch base itself, full-grain leather and top-grain leather hold up best and take a clean debossed or embossed leather logo, while cheaper bonded and faux leather stock crack and curl faster. Suede and nubuck look great but stain easily, so they need extra care and almost never tolerate adhesives.
The detail that quietly decides longevity is the edge. A sew-on patch with a stitched, finished border resists fraying and edge lift far longer than a raw-cut one. If you are having something made, this is where custom patches earn their keep, and a maker worth using will give you real design guidance on backing, border, and thickness before anything goes into production. Once a patch is on, keep the leather fed with a conditioner and weather it with a proofing wax, and clean around a sewn patch with a damp cloth and a mild leather cleaner rather than soaking the border.
Placement and the patch tradition
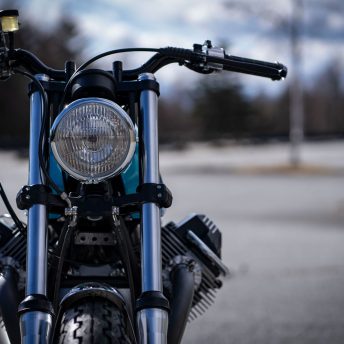
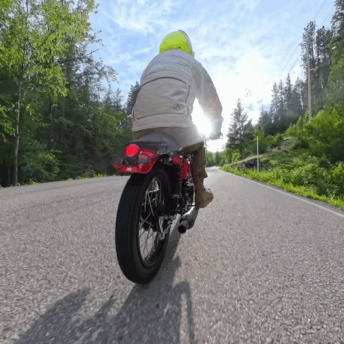
Where you put a patch carries almost as much meaning as the patch itself. The cafe racer look grew out of the Rockers and the ton-up boys who hung around places like the Ace Cafe in London, and the places they used to hang out in still read as the real thing today. There is a reason riders plan a cut like a tattoo.
The back panel is for the statement piece, a club rosette or a big back patch, and it needs even, well-spaced stitching to keep it from sagging across the shoulder curve. The chest and upper sleeve are for smaller marks, a name, a shop, a one-off. Lay the whole arrangement out and live with it for a day before you commit, because on leather, a repositioned patch leaves evidence the way denim never does. The holes are forever, so plan like it.c
Last word
A leather jacket earns its patches over the years, not in one afternoon with an iron. Sew the ones that matter, save adhesive and snaps for the ones you might move, and keep heat away from any finished panel you would hate to scorch. Do that, and the patches become part of the jacket’s story instead of the reason it ends up at the back of the closet. Your future self, twenty thousand miles in, will be glad you took the slow way.