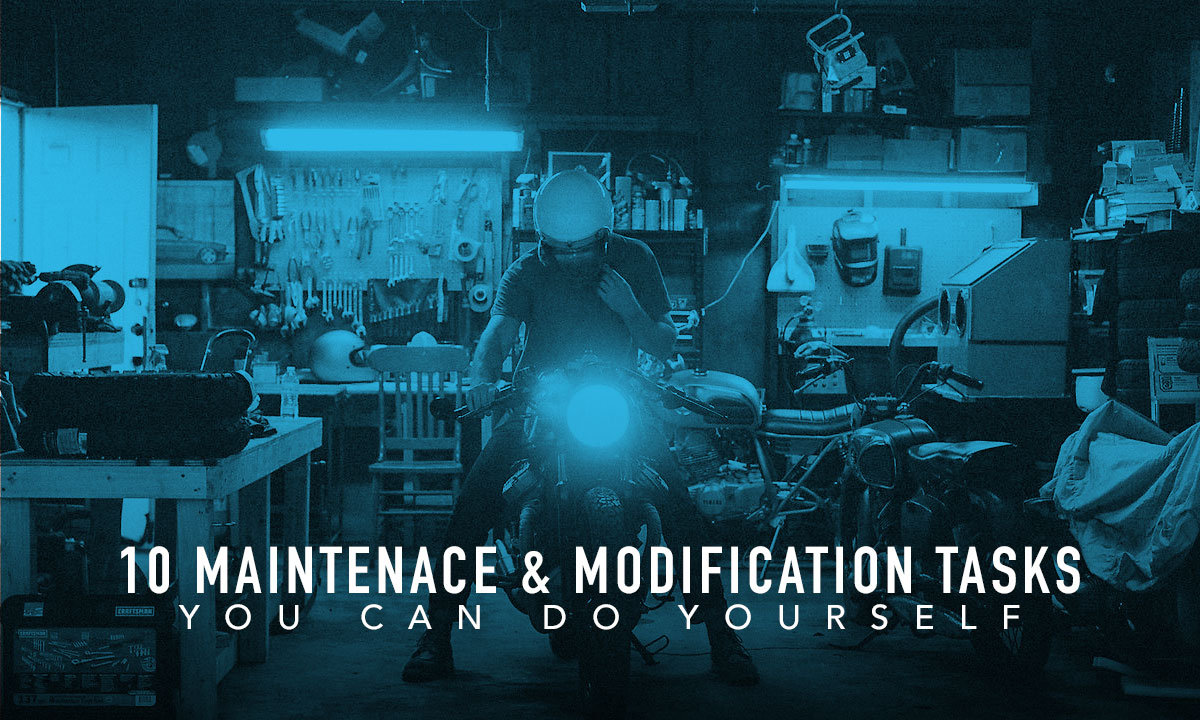
If you’re up in the northern hemisphere old man winter will soon be knocking on your door. For some of you, that means your beloved motorcycle is going to be going into hibernation. As depressing as that sounds this is a great opportunity to pamper your beloved bike. With your motorcycle off the road, it’s the perfect time to perform some motorcycle maintenance or do some basic modifications. Here’s our list of 10 motorcycle maintenance and modification tasks you can do yourself with basic skills and tools.
First things first, go buy yourself a good workshop manual for your bike. For older bikes try Clymer or Haynes, for newer models check out Service Manual Warehouse online. Once you’ve got a decent manual you’re ready to tackle these tasks and many more.
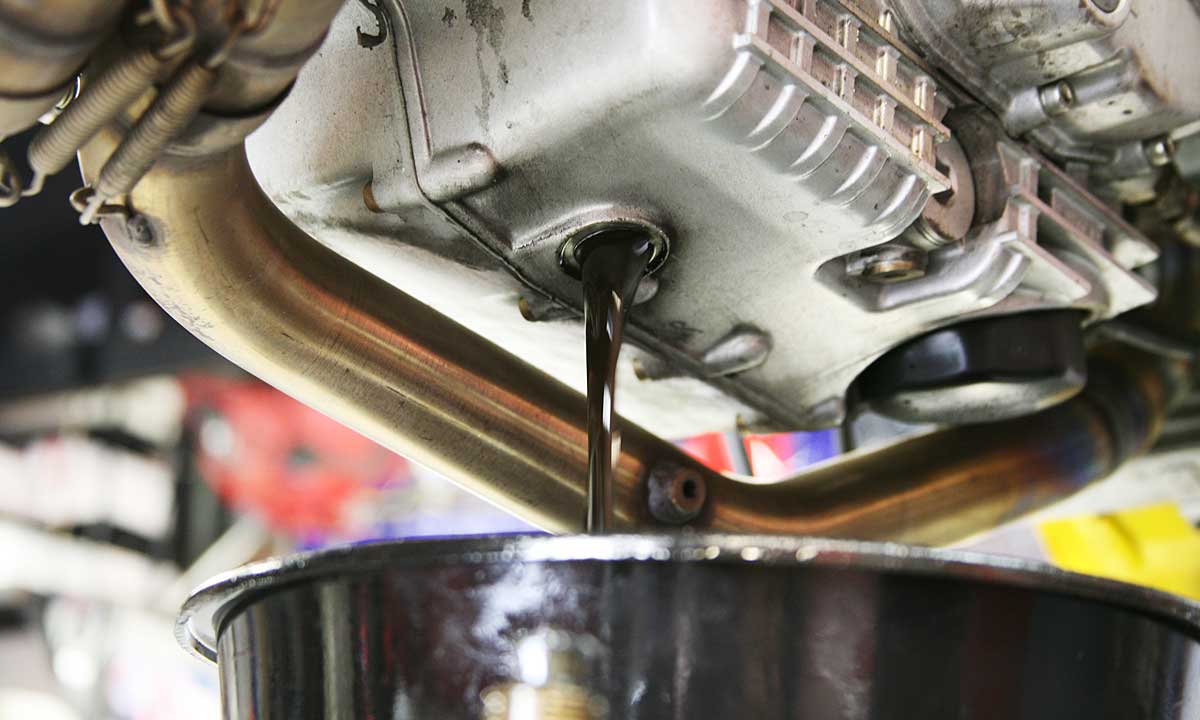
1. Change your motorcycle’s oil
Changing the oil of your motorcycle is a task everyone is capable of and should learn to do. It’s quick and easy and can be done for a fraction of the price a mechanic will charge you. The first step is to buy the right consumables. For advice on this just call the local dealer of your brand of bike, give them your bike details and they will let you know what you need. In most cases, it’ll be just some oil and a new filter. With some motorcycles, you’ll also be told to replace the crush washer on the sump plug. As for the process, it differs slightly with each motorcycle. Basically, you warm the bike up a bit to help the oil flow out better, drain the oil, swap out the filter and put the fresh oil in. For a detailed run-through of the process check out the Revzilla ‘Oil Change 101’ article or watch the video below which explains how you can do this task in under 20 minutes.
Note: If you’re about to store your bike for the winter you may want to wait until just before the new riding season begins to do your motorcycle oil change.
2. Lubricate your motorcycle’s chain
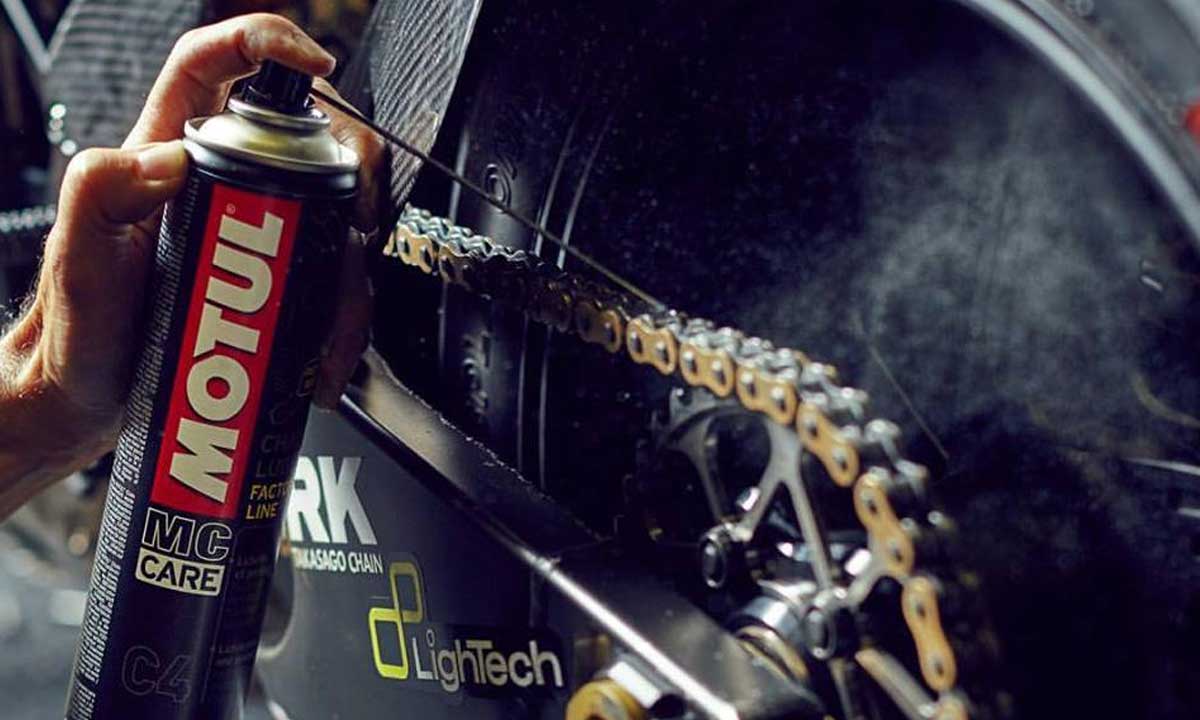
Until maintenance-free motorcycle chains become commonplace you should be lubricating your chain more often than you think. The pros say you should be applying a lubricant to the chain every 300-600 miles (500 – 1000km). Personally, I go with the lower number to be safe. So for daily commuters that could easily be less than 2 weeks worth of riding. Not lubricating your chain often enough can drastically reduce its lifespan and in extreme cases be a danger to your bike and yourself.
There are several ways to lubricate a motorcycle chain but our recommendation for an easy approach is to purchase a quality chain lube spray. A paddock stand or centre stand makes the job a cinch, but if you don’t have either, rolling the bike, cleaning the chain, applying lube then rolling it and repeating works just fine. Be sure not to spray other parts of the bike such as your wheels and brakes. Holding a rag under the area you’re spraying helps to prevent this.
Again the folks at Revzilla have a great video demonstrating the process which you can watch here.
3. Add some aftermarket handlebar grips
Changing your motorcycle’s grips is a great way to add a custom touch to your ride. It’s also a good way to fit more comfortable alternatives or simply replace worn items. For starters, you need to know what diameter handlebars you have. You can look this information up online or measure them yourself. Just be sure to measure them near the end of the bars as some handlebars taper and will be thicker at the triple tree. To save you any guesswork, you’re either going to have 7/8th or 1-inch bars.
Once you’ve purchased some flashy new motorcycle grips you’ll need to get the old one’s off. If you’re not planning on saving the old ones they can be easily cut off with a blade by slicing along the length of them. Use caution on the throttle side because you don’t want to cut into the throttle sleeve and damage it. If you want to save the old grips slide a flat head screwdriver under the edge and spray in some isopropyl alcohol. Rotate the screwdriver around the grip spraying more isopropyl alcohol as you go. This will lubricate the inside of the grip making it easier to remove (Note: if you have bar-end weights you’ll need to remove them first).
Once you have the old grips off you’re ready to fit the new ones. First, inspect the new grips to see which one has a larger internal diameter. The larger one goes on the throttle side of the handlebars. Next, spray some isopropyl alcohol on to the bar and inside the grip then simply pull it on to the handlebar. Once the throttle grip is on, check that the throttle turns easily and does not stick. If it sticks back the grip off slightly and test again. Now do the same on the other side of the bars with the smaller diameter grip (minus the throttle test). Be sure to let the alcohol completely dry off before you go riding and you’re all done!

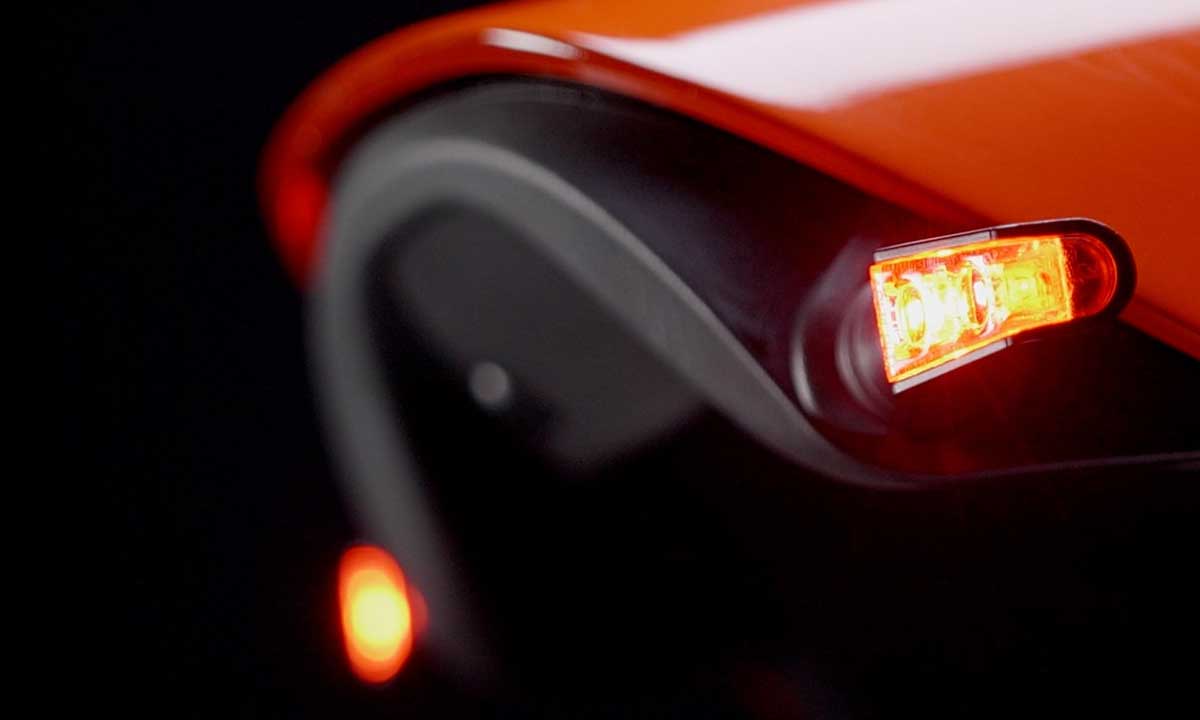
4. Install some smaller indicators
Most motorcycles come with huge, goofy indicators. These are a product of both strict safety regulations and cost-cutting by manufacturers. If you want to replace those oversized plastic indicators with something much more streamlined you can do it yourself with some basic tools and know-how. Most decent aftermarket indicators will come with instructions that walk you through the process but a quick search on Youtube will return several videos that demonstrate the install process in detail.
When choosing new indicators it’s best to go for items that are approved for use in your country to avoid any woes with the law. LED indicators are our preference since they look great and can be very, very small yet super bright. Bar-end indicators and multifunction tail lights are great for reducing clutter too, but they can be a little trickier to wire up yourself. Just bear in mind when buying new indicators you may also need brackets to mount them and if you’re moving to LED from incandescent you’ll need resistors to ensure they flash at the right speed.
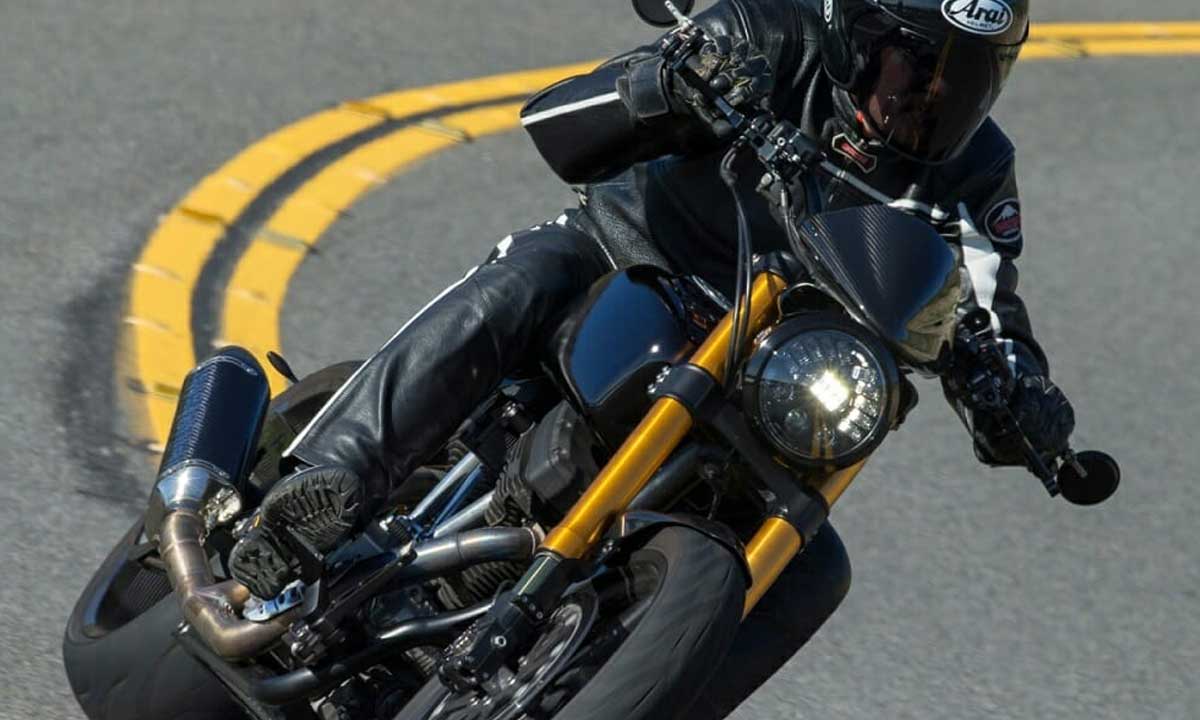
5. Upgrade at an LED headlight
LED headlights have become all the rage in the custom scene. They feature a unique look and come in a wide range of shapes and sizes so their placement can be modified to suit the look you’re after. Prices vary from affordable to insanely expensive and their performance can vary just as much. The trick here is to spend the money and go with a tried and tested brand. Sure you may find one cheaper out of China, but it’s cheaper for a reason.
Our favourite brands of LED Headlight are JW Speaker and Motodemic. They are both premium brands and the prices reflect this. With these units not only are you getting amazing quality but they also feature some pretty snazzy technology. Sitting at the high end of the price range are their adaptive LED headlights. These headlights feature inbuilt gyrometers. With a normal headlight, the beam will shorten on one side as the bike leans over. Adaptive headlights detect when your bike tilts and in which direction. They then activate additional LED’s to keep the light pattern even and your line of sight wide open.
Most LED headlights are relatively plug and play but you may require new brackets to mount them to your ride. Basic tools and some basic electrical know-how is enough to get the job done. Be sure to check on the manufacturer’s website for any specific requirements for your particular motorcycle.
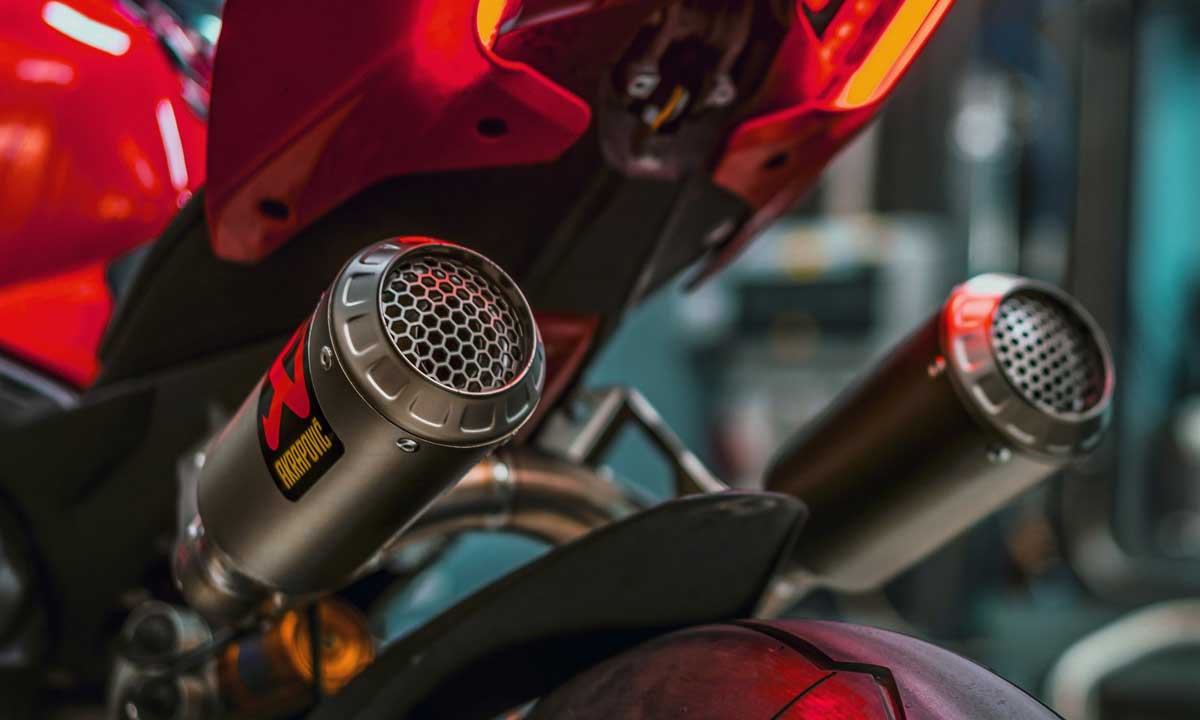
6. Make some noise with a slip-on muffler
Another area of your motorcycle that’s suffered thanks to strict laws is its exhaust. Both how it sounds and how freely it flows are affected by said laws. The easiest way to improve your bike’s bark and unleash a few extra horses is by fitting a slip-on muffler. While it may sound like a big change, in most cases it’s simply a matter of unbolting the old and bolting on the new (hence the name slip-on).
I’m sure it’ll come as no surprise that there are literally thousands of aftermarket mufflers out there. Our rule of thumb is to go with the Goldilocks option – not too cheap, not too expensive – and you’re sure to end up with a decent pipe. With modern bikes, such as the Kawasaki Z900RS or Ducati Scrambler you’ll find brands like Akrapovic are producing mufflers made specifically for them. So all that’s left to do is pick the style you like.
With some of modern bikes, you may not even need to remap the ECU after fitting a slip-on muffler (Disclaimer: do your research!). With older bikes, you may need to rejet the carbs, but generally speaking, a slip-on muffler alone won’t make a huge difference to the air/fuel mix. Regardless of how the bike rides after you’ve installed the new muffler it’s always a good idea to get it checked out on a dyno…just incase. Telltale signs that something is up will be poor performance or discolouring of the pipes. Do some online research and you may find someone who has already done the same modification and can advise on what’s necessary, or better still, speak directly to the exhaust manufacturer.
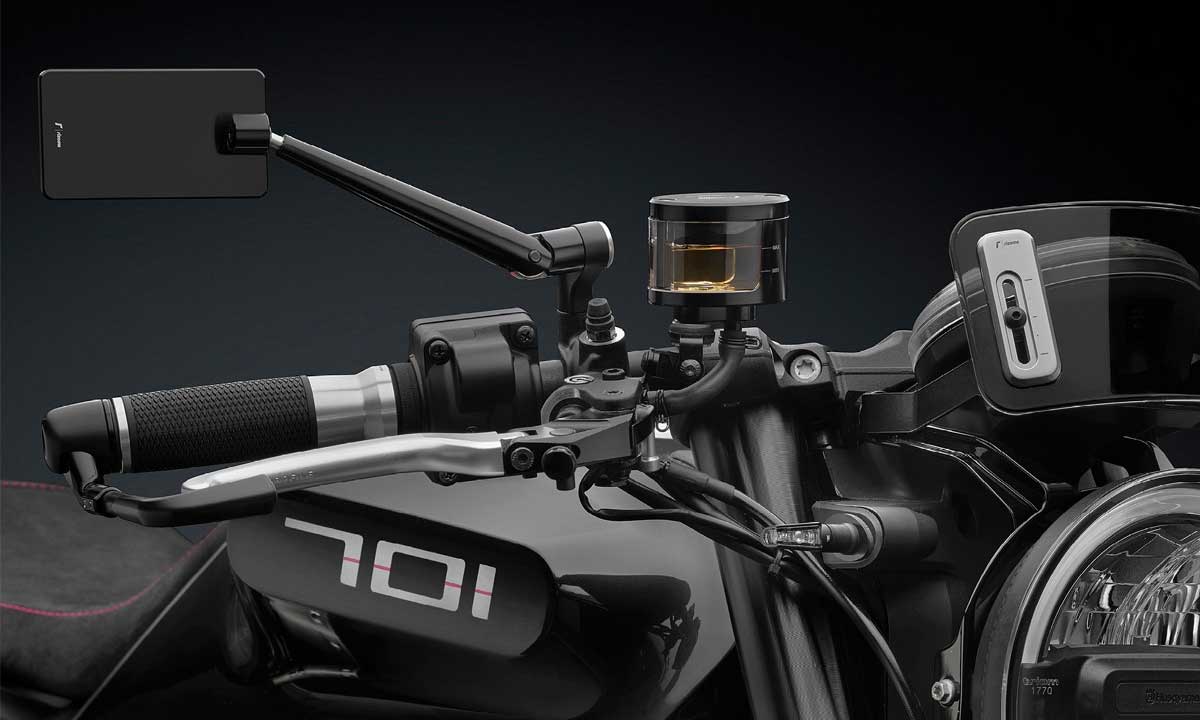
7. Tidy up your cockpit with some aftermarket mirrors
Aside from bulky indicators, my biggest pet peeve with stock motorcycles are the mirrors. In most cases, they simply look cheap. In more extreme instances, such as the Husqvarna Vitplien, they look ridiculous (Escargot anyone?).
Swapping your mirrors is by far the easiest task on this list and in some cases can be done without any tools at all! For high quality, slick looking aftermarket mirrors, check out brands like Rizoma and Motogadget. Alternatively, in this case, it’s fine to go with cheaper options from eBay since there’s not much that can really go wrong with a mirror. Just make sure you check the thread direction on both of your current mirrors as some bikes use a reverse thread on one side.
If you want to challenge yourself a bit more and get more of a classic cafe racer look, bar-end mirrors are a great option. Just be aware that fitting them may require you to cut holes in your handlebar grips (or buy open-ended ones) and you need to space them correctly on the throttle side so the throttle moves freely.
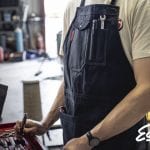
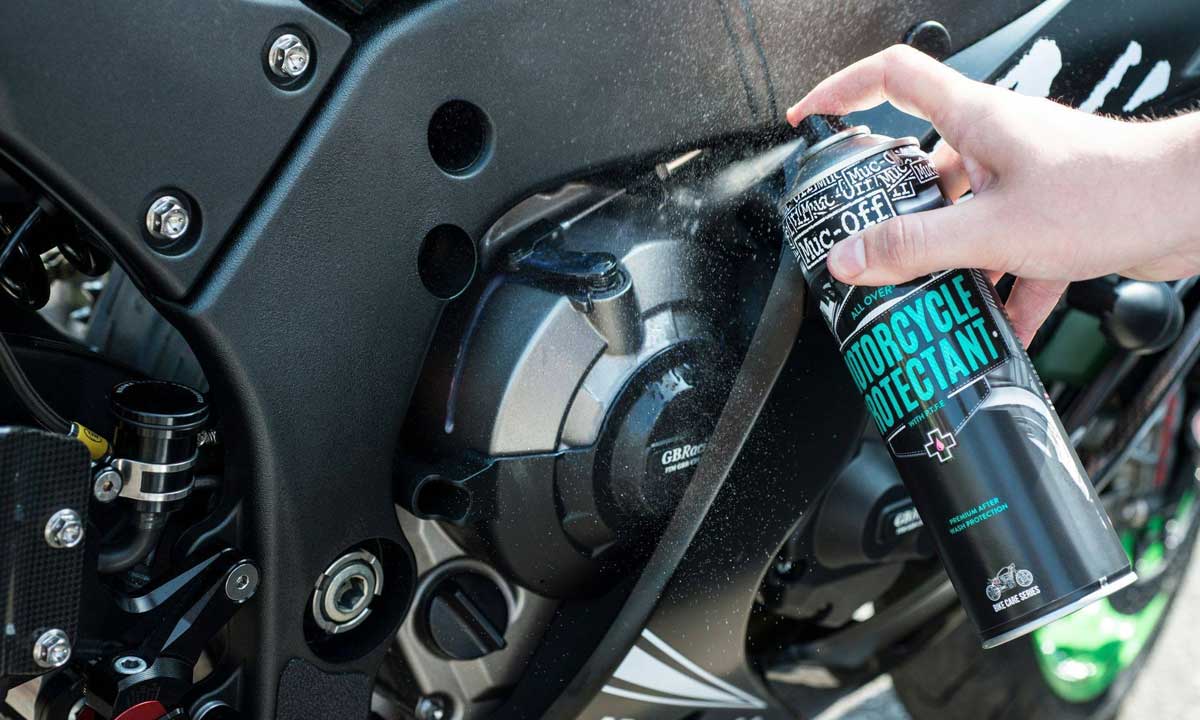
8. Give your motorcycle a really, really good clean
This one sounds pretty obvious, but with your bike off the road for a while, you can now give it a good wash. We’re not talking about your regular spray with a hose on the front lawn though. We mean a full clean, inspect and detail. Grime build up on the underside of your engine, around the front sprocket and anywhere where grit can adhere to for long periods can lead to corrosion. Getting up close with your bike and looking in areas you usually wouldn’t is also a great way to spot any problems. Keep an eye out for things like cracks in the frame or engine cases, fluid leaks and signs of rust. If you find any of these get them checked by a pro for peace of mind.
Now grab yourself a sponge, plenty of old rags, an old toothbrush or soft bristle brush and some dedicated grime removal products. We’d also recommend getting a good wax product to really pamper your paintwork.
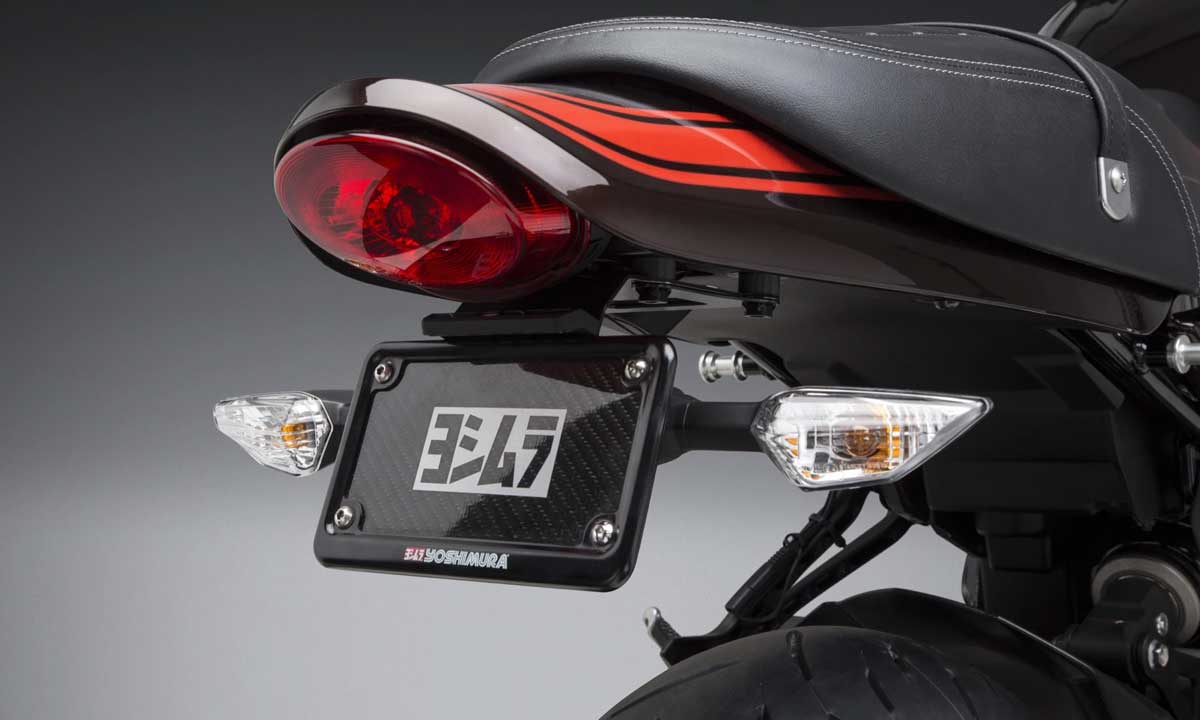
9. Tuck in that rear end with a tail tidy kit
Once again the man has made his presence known in the motorcycling world. Strict laws have forced manufacturers to install huge, ungainly plastic fenders on the back of our bikes. This is more of a problem with modern classics but can apply to older bikes too. The quickest solution to an oversized rear end is to install a tail tidy kit or fender eliminator. For modern bikes, you’ll need to find one made specifically for your make and model. For older bikes, you can clean up the rear with a shorter fender (buy one or trim the current one down yourself), a smaller aftermarket taillight and even a side-mounted license plate holder (if it’s legal where you live).
HINT: Tail tidy kits are usually quite expensive for what they are. If your budget is tight we’d suggest broadening your search to include sites like Aliexpress. Most kits are nothing more than some laser cut and machine bent steel and an LED rego plate light.
10. Help your bike breathe with a new air filter
Finally, let’s finish off this list with a very easy motorcycle maintenance task, installing a new air filter.
If you’re satisfied with your bike’s stock performance (yeah right!) you can purchase a new filter from your local dealership. Check your manual to see when and how often this should be done. If you’d like to access a few extra horses (now you’re talking!) then an aftermarket performance filter is the way to go. All filters are model specific so if you have the right one installing it is a simple matter of out with the old and in with the new. Check your service manual to find a set by step guide for this task.
K&N filters are one of the big players in this area. You’ll probably baulk when you first see the price but bear in mind many of their filters are washable so they’ll outlast a factory version tenfold. As with the slip-on mufflers, you will want to consider getting your fueling checked after installing a performance air filter, especially if you’re pairing it with exhaust modifications.