After weeks of waiting, the rebuilt front shocks finally arrived from the shop. The original ones had worn out and lost their firmness, making rides rough and unstable. With the new parts ready, the goal was to restore the bike’s handling and bring it back to a steady, reliable feel. The rebuild marked a big step toward getting the project back on the road.
Once the forks and wheel were installed, the bike could finally be lowered to the ground for the first time in a long while. Seeing it stand on its own again showed how far the project had come. The engine ran smoothly, and everything fit together as planned. Even though there were still small issues to handle, the results felt rewarding and worth the effort.
Key Takeaways
- The rebuilt shocks arrived and replaced the worn-out parts.
- The installation restored balance and stability to the bike.
- The project ended with the bike fully assembled and running well.
Receiving the Rebuilt Shocks
Problems With the Previous Shocks
The old shocks leaked badly and had almost no resistance. Every time the bike hit a bump, the suspension bottomed out. This made the ride uncomfortable and unstable.
Issues noticed:
| Problem | Effect on Ride |
|---|---|
| Oil leaks | Reduced damping strength |
| Weak compression | Frequent bottoming out |
| Poor control | Less safe and rough ride |
Because of these faults, the rear of the bike sat uneven for a long time, leaving the project incomplete.
Improvements After Rebuilding
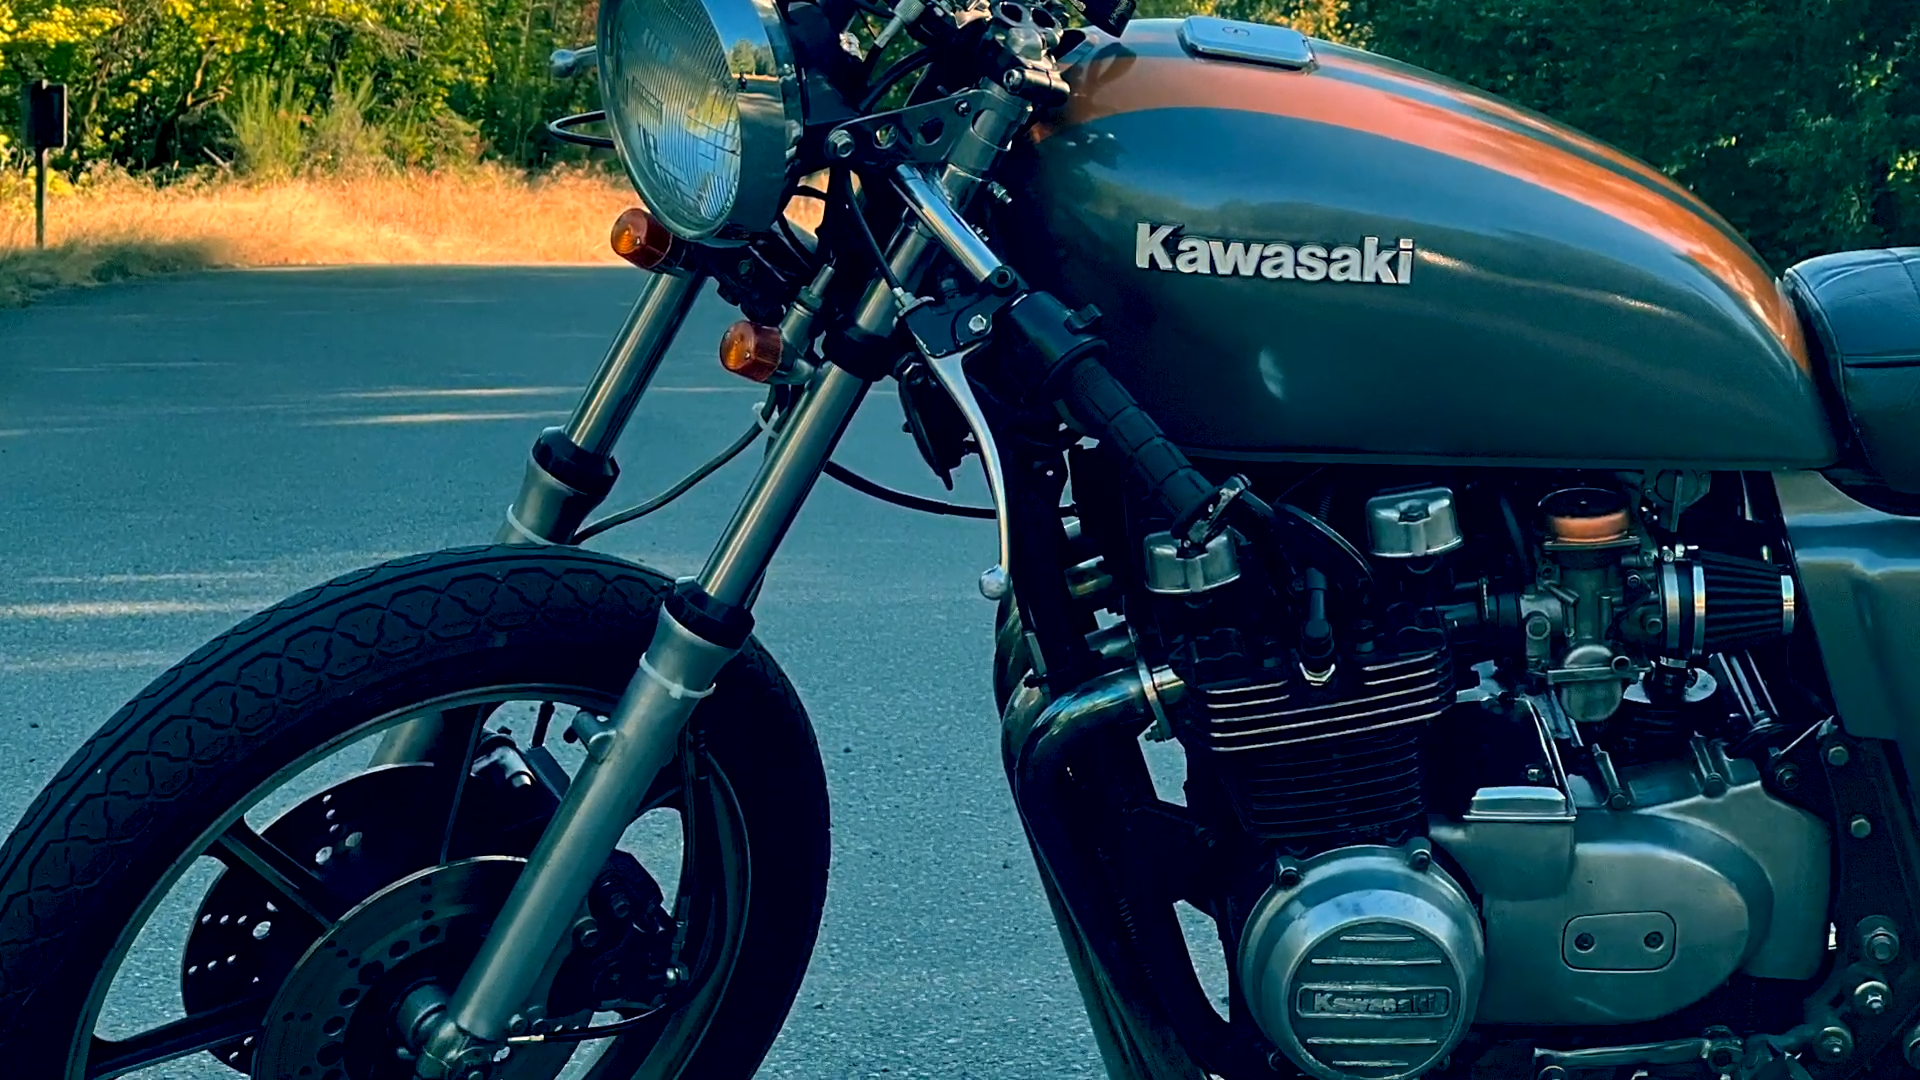
The rebuilt shocks arrived looking clean and tight. They felt firm when pressed and no longer leaked. After reinstalling them, the bike’s stance finally looked correct again.
Key changes:
- Stiffer response when hitting bumps
- Improved control and stability
- Restored balance of the suspension system
When the wheel and forks were mounted, the bike sat back on the ground for the first time in a long while. Once started, it ran smoothly and handled far better, marking a major step toward getting the project fully ready for the road.
Installing the Forks and Wheel
Getting Ready for the Setup
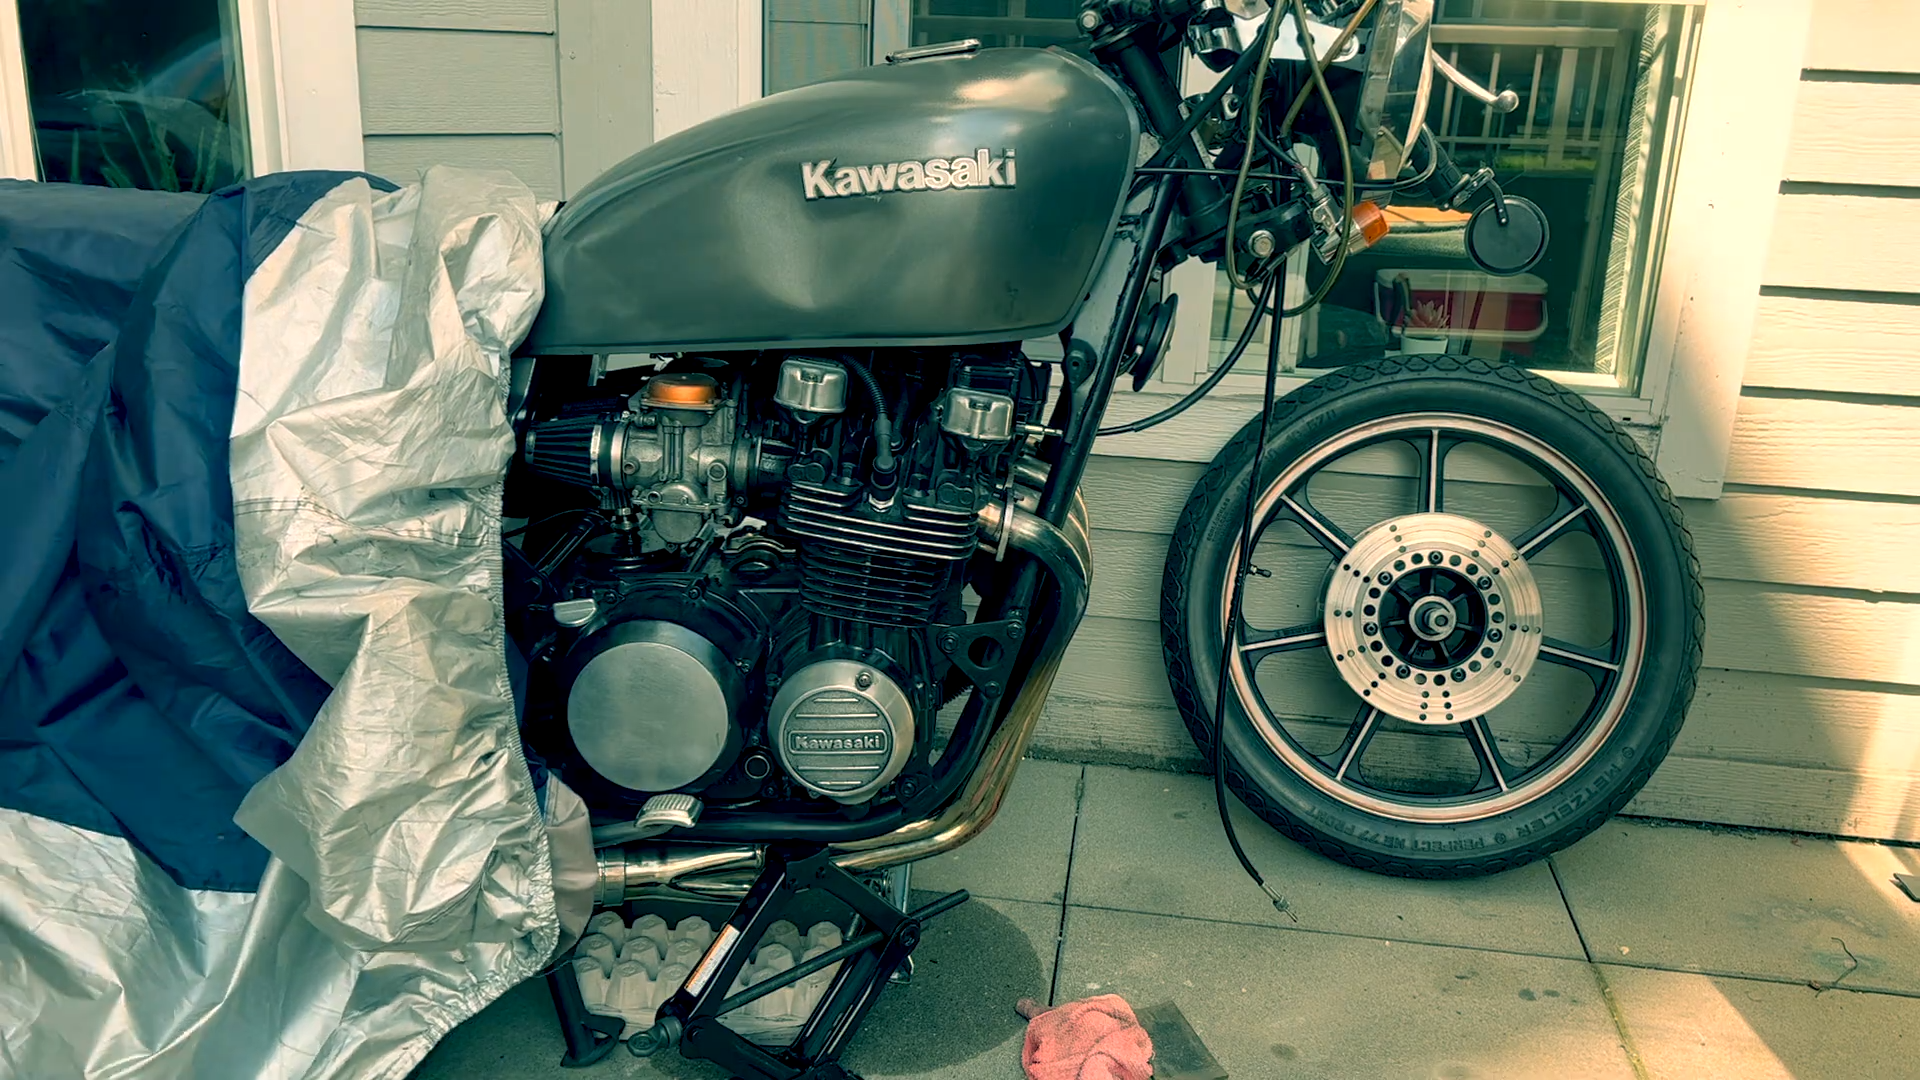
Before mounting the forks, they returned from a full rebuild. The old ones leaked and compressed too easily, bottoming out on bumps. Now, they feel tighter and much more stable. The area around the bike should be clear, and tools such as torque wrenches and sockets should be within reach.
| Item | Purpose |
|---|---|
| Rebuilt forks | Replace old, leaky units |
| Front wheel | Attach after forks are mounted |
| Torque wrench | Ensure proper tightening |
| Socket set | Adjust and secure bolts |
Step-by-Step Mounting Instructions
The forks slide into place and align with the triple clamps. He gently secured them first to keep them even. Next, he mounted the wheel between the forks and verified that it spun freely.
Sequence of steps:
- Place rebuilt forks into position.
- Tighten lower bolts lightly to hold alignment.
- Fit the wheel axle through the fork bottoms.
- Confirm that the wheel centers correctly.
- Lightly tighten the axle nuts.
The forks now sit where they should, and the bike starts to take shape again after being apart for a long time.
Final Tightening and Safety Inspection
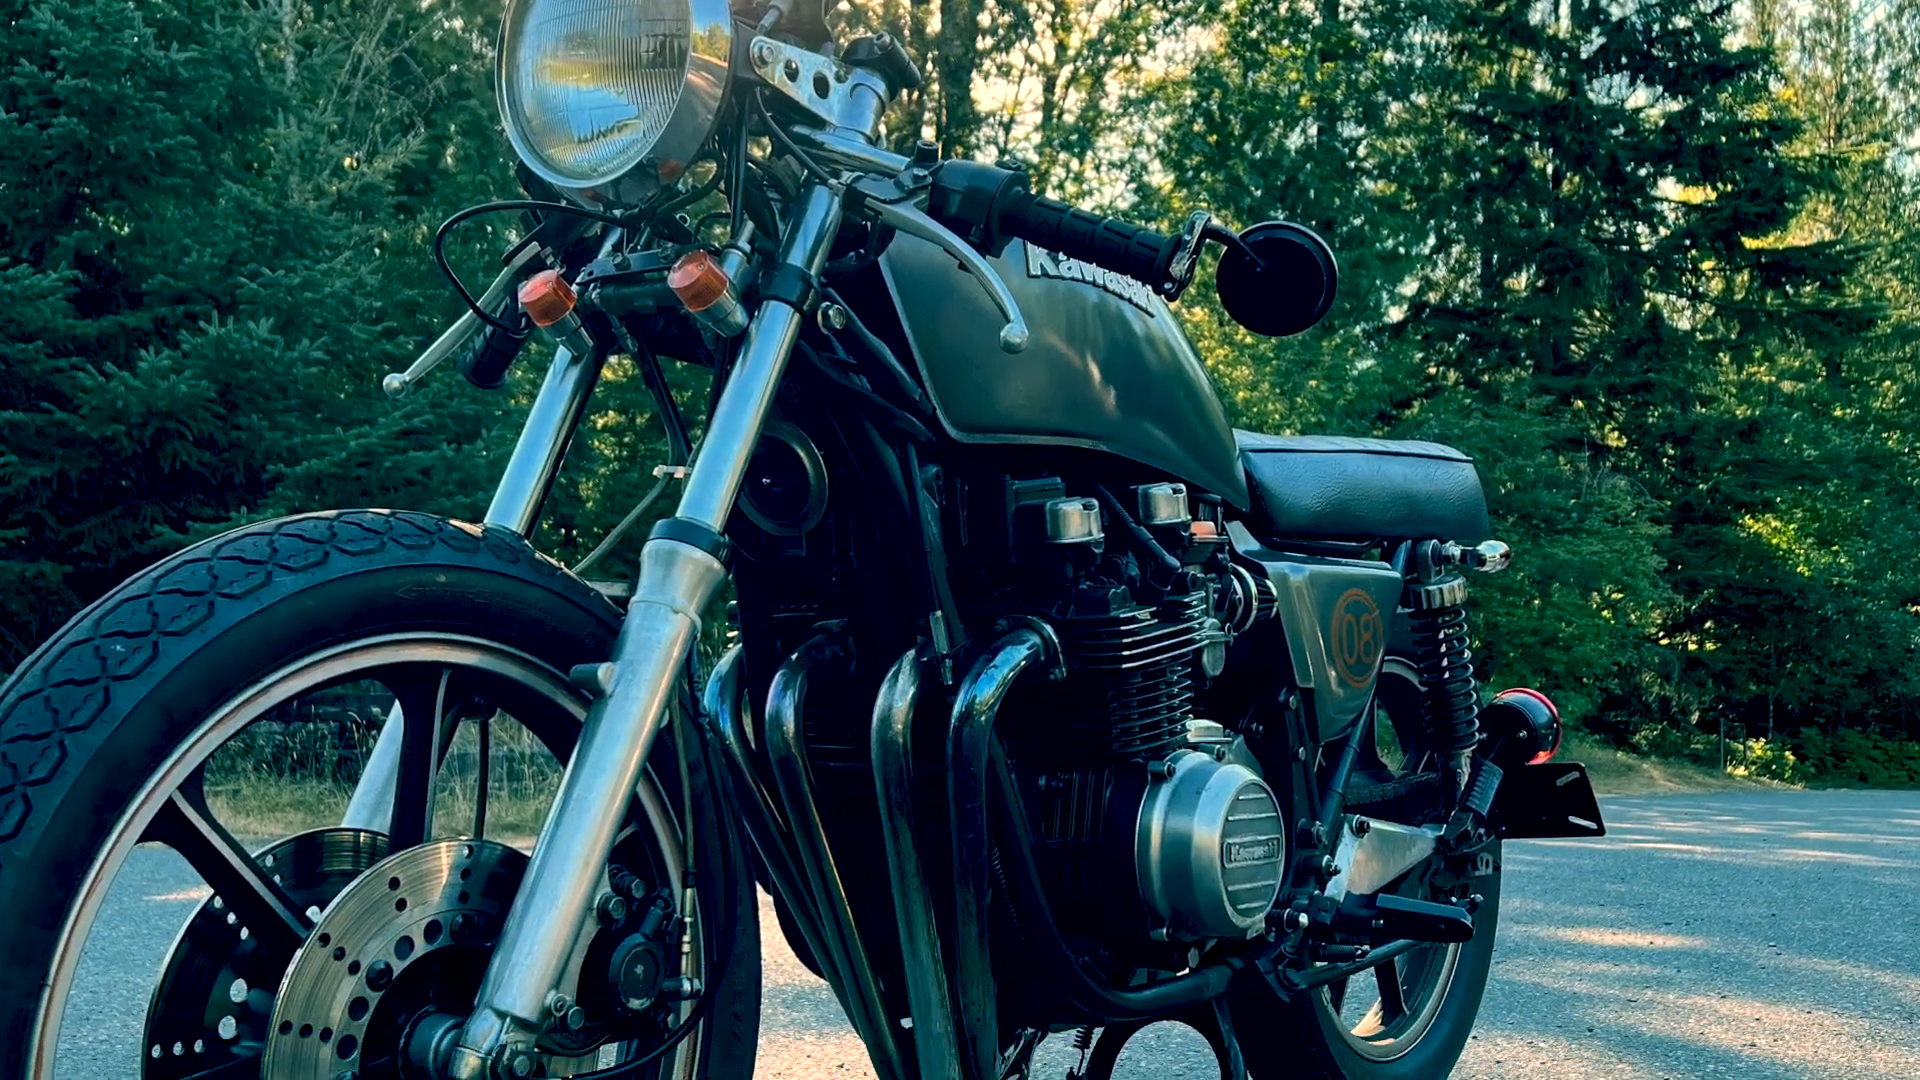
He tightened the upper bolts firmly, checked that each fastener met the proper torque, and lowered the bike to the ground for the first time in months. Once the suspension settled, he tested how the forks and wheel moved together. The rebuild proved successful—everything looked even, stable, and ready for the next ride.
Lowering the Motorcycle to the Floor
Visual Check
He placed the wheel securely and tightened the fork bolts with care, starting with the lower clamps and working up to the top ones. Each fastener seated neatly, giving the front end a balanced look. After a long wait, he lowered the bike carefully until both tires rested flat on the ground.
Observation Table
| Step | Task | Result |
|---|---|---|
| 1 | Attach wheel | Front end aligned |
| 2 | Tighten lower fork clamps | Secure base |
| 3 | Tighten upper fork clamps | Steady finish |
| 4 | Lower frame to ground | Bike sits evenly |
The bike, now upright, appeared firm and ready. Its front end no longer sagged, and the rebuilt forks kept it from dipping too far with pressure.
New Add-On Details
He pointed out the fresh pods, noting how clean and sharp they looked. The new parts added a small but noticeable change in appearance, complementing the bike’s restored stance.
Highlights:
- Fresh pods installed
- Rebuilt front suspension functioning properly
- Complete reassembly achieved after long downtime
The finished motorcycle stood strong, marking the first time in months it had rested on its own wheels.
First Impressions After Assembly
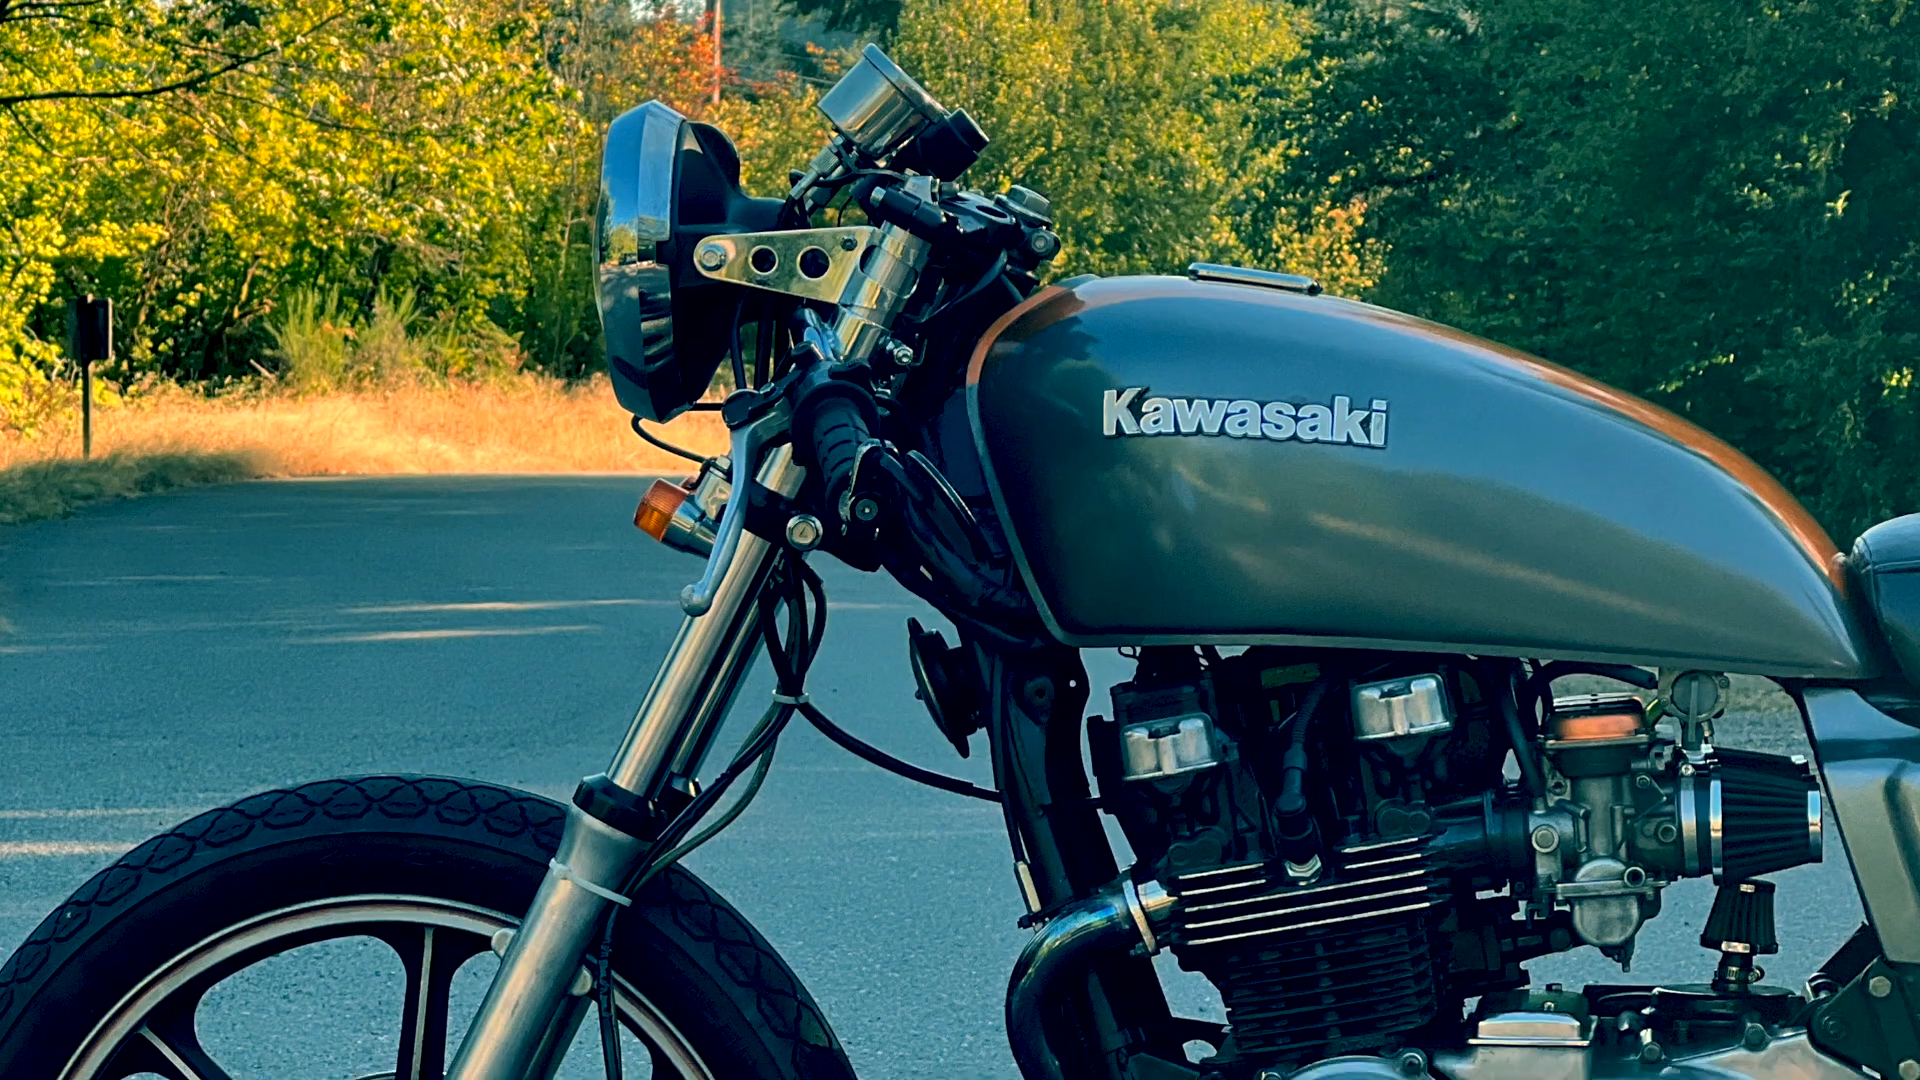
After reattaching the rebuilt forks and securing the front wheel, the bike finally rested on the ground again for the first time in a long while. The rebuilt shocks felt firm and no longer leaked, fixing the constant bottoming out that used to happen over bumps.
The new pod filters added a clean look, matching the refreshed front end. Once everything was tightened down, starting the bike showed that it ran smoothly and sounded steady.
Bike Status Summary
| Feature | Condition After Assembly |
|---|---|
| Front Forks | Rebuilt, no leaks, firm compression |
| Pods | New and installed correctly |
| Engine | Running smoothly |
| Legal Status | Title issue still pending |
| Frame and Setup | Fully reassembled |
The bike ran well for its age and held steady on the stand. Even though it remained an older model, it performed reliably and showed no major issues after the rebuild.
Project Completion Overview
Performance and Riding Feel
After reassembling the bike, the rebuilt front suspension made a clear difference. The new forks replaced the old, leaky ones that bottomed out easily. The bike now feels firmer and more stable when hitting bumps, which improves handling on the road.
| Component | Condition Before | Condition After |
|---|---|---|
| Forks | Leaking, too soft | Rebuilt, solid feel |
| Ride Height | Uneven | Correct and balanced |
| Stability | Poor on bumps | Improved and predictable |
The rider noted smoother control and a more responsive front end after installation.
Ongoing Registration Problem
Although the bike now runs well, it still cannot be legally driven. A title issue remains unresolved, preventing registration. The owner plans to address the paperwork later, but for now, the focus is on restoring function.
Current Status:
- Mechanical Work: Complete
- Paperwork: Pending
Preview of Upcoming Engine Adjustments
Engine tuning is next on the list. The upcoming work will focus on the carburetors to improve performance. Brandon, the owner’s roommate, will assist in that project. Future changes aim to make the engine run smoother and reveal what caused past performance issues.
Planned Focus Areas:
- Inspect and clean carburetors
- Adjust fuel and air mixture
- Test overall engine response
Conclusion and Viewer Engagement
The rebuild process reached a key turning point once the forks and shocks came back from the shop. After reinstalling the parts and lowering the bike for the first time in months, the setup showed clear improvements in stability and stiffness. The repaired components gave the bike a fresh, balanced stance that restored its full structure.
The speaker mentioned that the bike now runs smoothly for its age, even though it still needs title work before it’s road-ready. Viewers can expect another video soon that focuses on engine tuning and carburetor adjustments handled by the speaker and a friend.
Ways viewers can engage:
- Like the video to support future rebuild projects.
- Subscribe to stay updated on upcoming mechanical work.
- Leave a comment sharing restoration tips or experiences.
| Status | Detail |
|---|---|
| Rebuild | Completed |
| Road legality | Pending title issue |
| Next video | Engine and carburetor tuning |