So, you rode your pride and joy to the last bike night of the summer, and after several enthusiasts mentioned your dilapidated side covers, you rode home without either intact. First, you deny it. It’s called a patina, you say. But then you reluctantly agree that years of oxidation really isn’t doing your motorcycle any favors. It might look smooth to the naked eye, but that old aluminum surface is bristling with tiny peaks and valleys that dissipate light every which way, giving off a dull, underwhelming appearance. Since it’s the brink of winter, you decide to go the full Monty and commit to spending the cold season polishing aluminum.
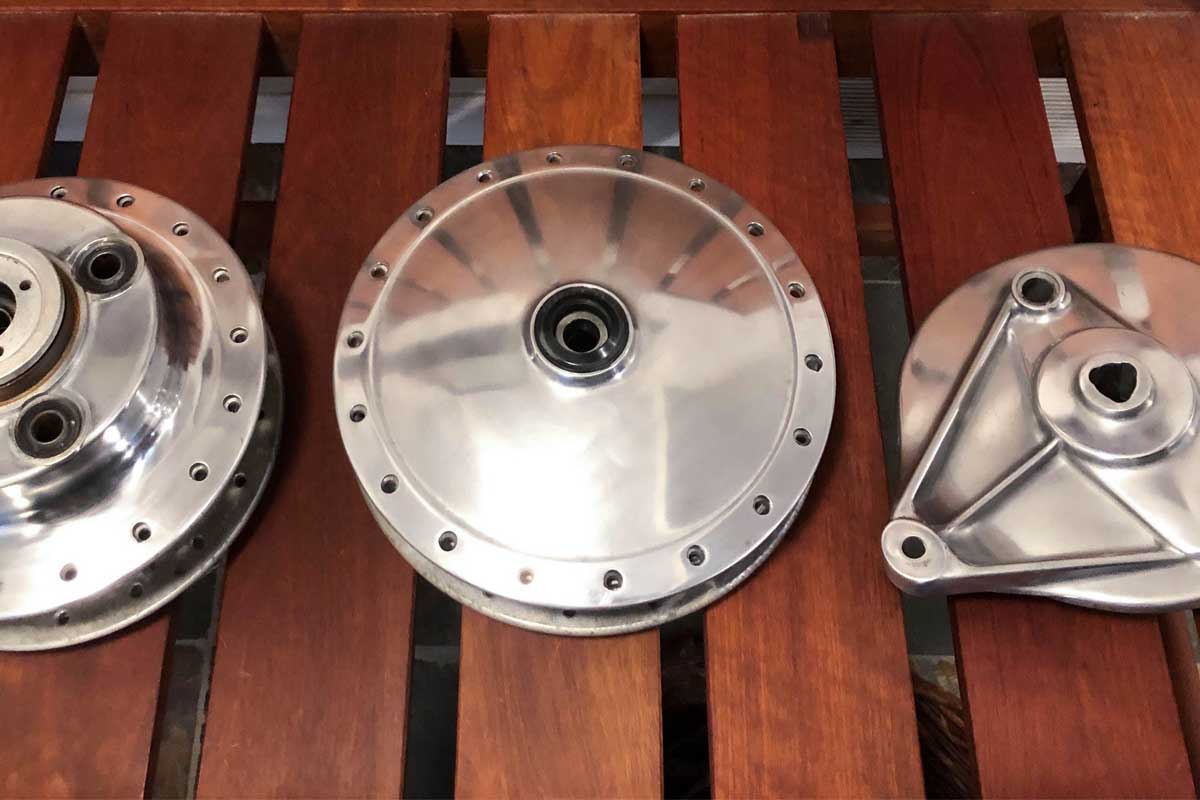
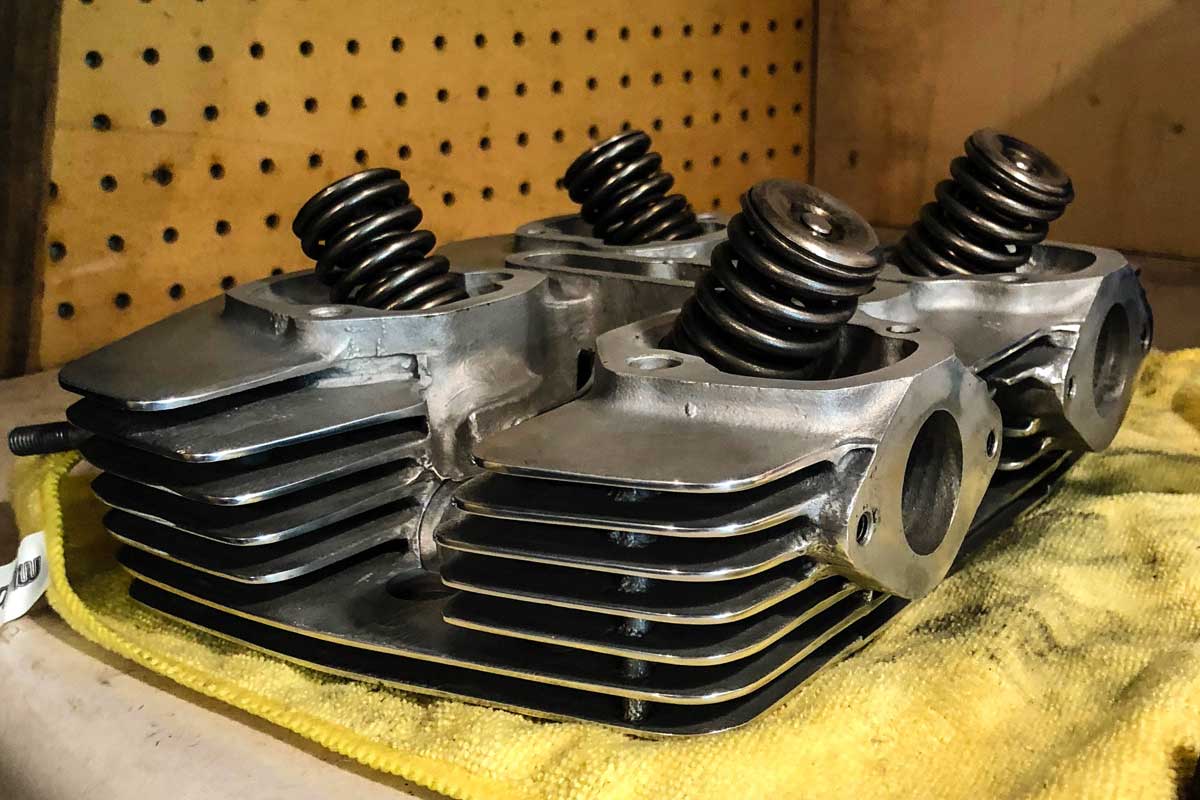
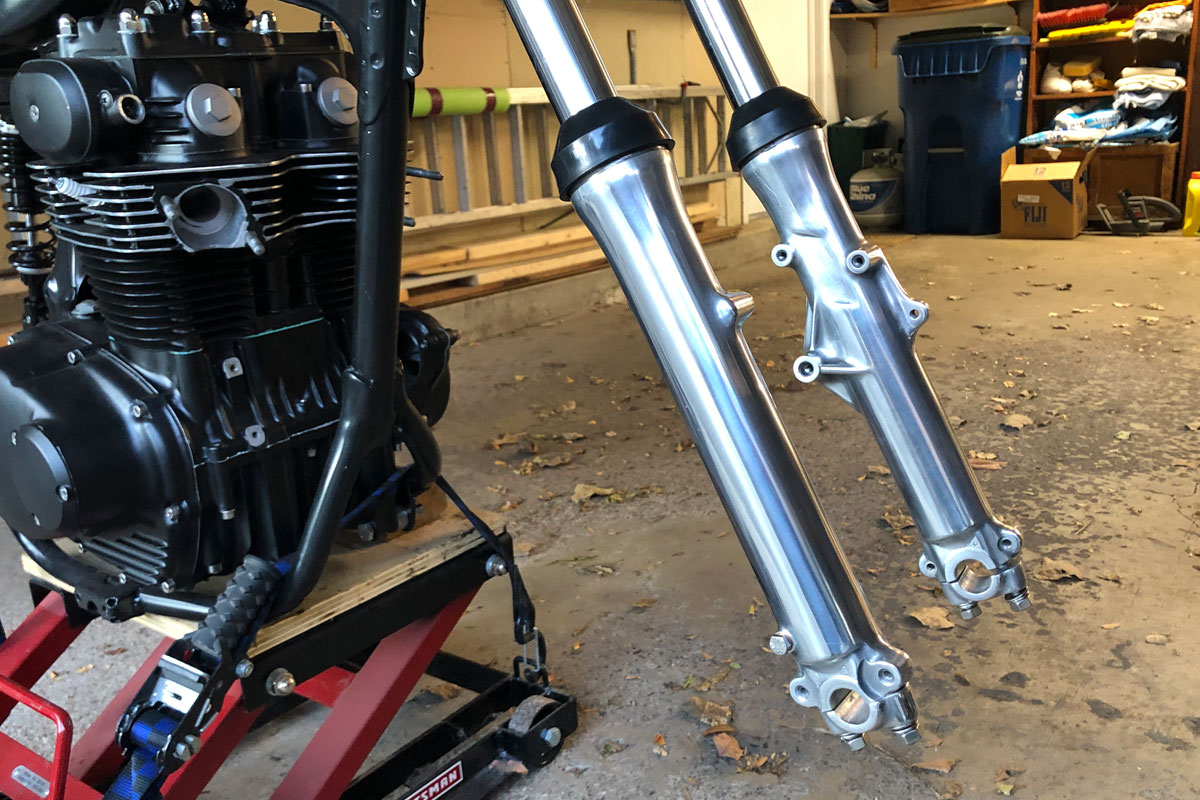
The good news is that, by repeated abrasion, you can smooth out those jagged surfaces, reflecting blinding rays of chrome-like brilliance directly into the eyes of enthusiasts who loiter around your beautiful machine. Even without much technical knowledge, you can put a mirror finish on any aluminum—from side covers and brake drums to wheel hubs and cylinder fins.
The bad news is that it’s super repetitive and time-consuming. But be warned. Rushing your aluminum polishing is the fast track to only lackluster results, causing heaps of rework and frustration. Instead, cozy up to a six-pack and be Zen with your motorcycle maintenance! There’s nothing more satisfying than looking back with admiration on the hours spent with your bike, gaining intimate knowledge of every nook and cranny. Just think of that lustrous shine! If this all sounds good to you then read on for our Workshop Series step by step guide on how to polish aluminum parts.
How to polish Aluminum – What you’ll need.
Still with me? Alright, let’s set up shop.
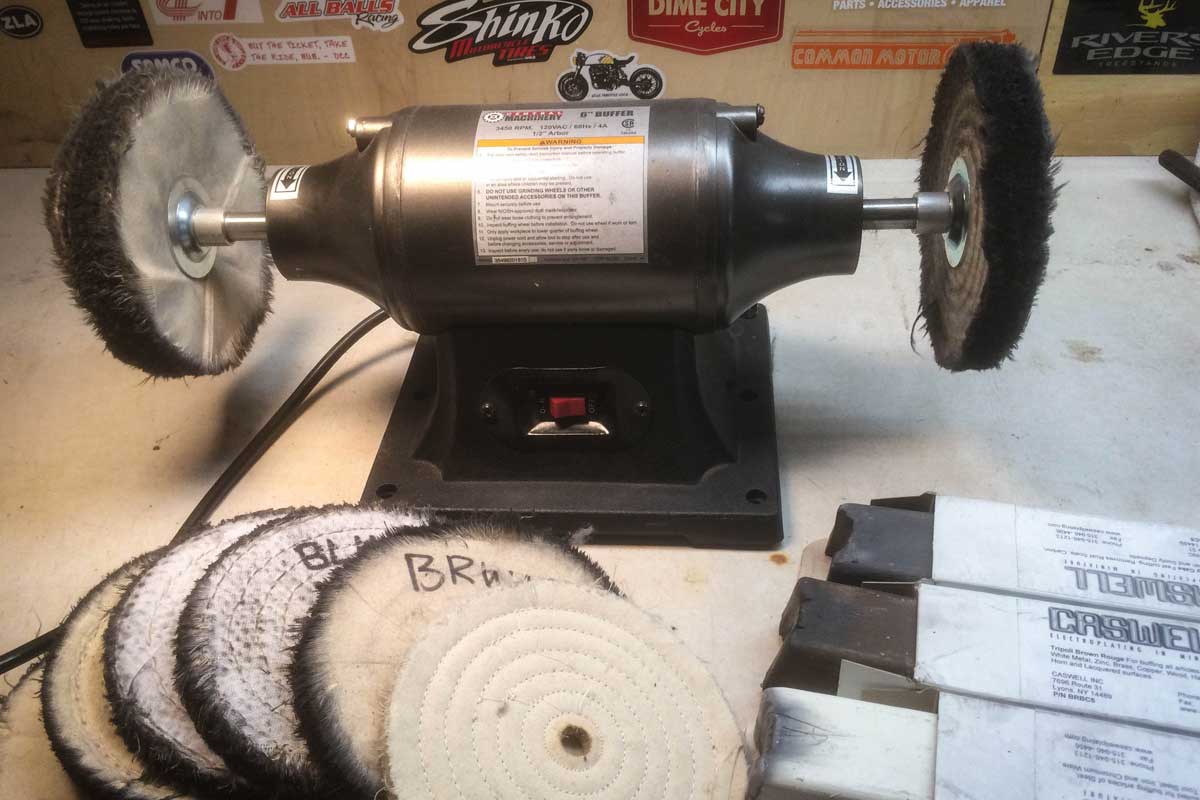
First, you’ll need a bench buffer. There are many options out there, ranging from a repurposed washing machine motor to the latest and greatest 1 hp behemoth at Home Depot. For aluminum polishing like this, I recommend settling somewhere in the middle with a ½ hp bench buffer from Amazon, especially if you’re a beginner. Here’s why.
For best results, your buffing wheel should maintain 3,600 to 7,500 surface feet per minute (SFPM), a metric that describes the continuous length of material that passes over your part each minute.
SFPM = 0.25 x wheel diameter x RPM
Using this simple formula, you can determine which buffer and wheel size are right for your shop and budget. For example, a ½ hp buffer averages about 3450 RPM, so combined with 6-inch diameter wheels, it puts you right in the middle of the permissible SFPM range.
5175 SFPM = 0.25 x 6” x 3450 RPM
You could go with a faster motor to cut down on buffing time, but you’ll also increase your risk of burning the part. It just depends on your budget, confidence, and working area.
Next up, you’ll need some buffing wheels. Thicker wheels are more efficient, but thinner ones are nimbler. I run ½-inch thick wheels to reach those awkward contours of most motorcycle parts. Different wheel styles are suited for different jobs, and the following three will tackle just about any aluminum you throw at them (but don’t actually throw your parts).
Sisal Wheel: Made from twine, cord, and rope, its hard fibers give your parts a good thrashing for quick cutting action.
Spiral Sewn Wheel: The muscle of most buffing jobs, plies of loose cotton are sewn together for increased density. It cuts and polishes.
Loose Cotton Wheel: This wheel cuts and polishes like the spiral sewn wheel but the cotton plies remain loose, bending and collapsing under pressure for easy access to awkward areas of the workpiece.
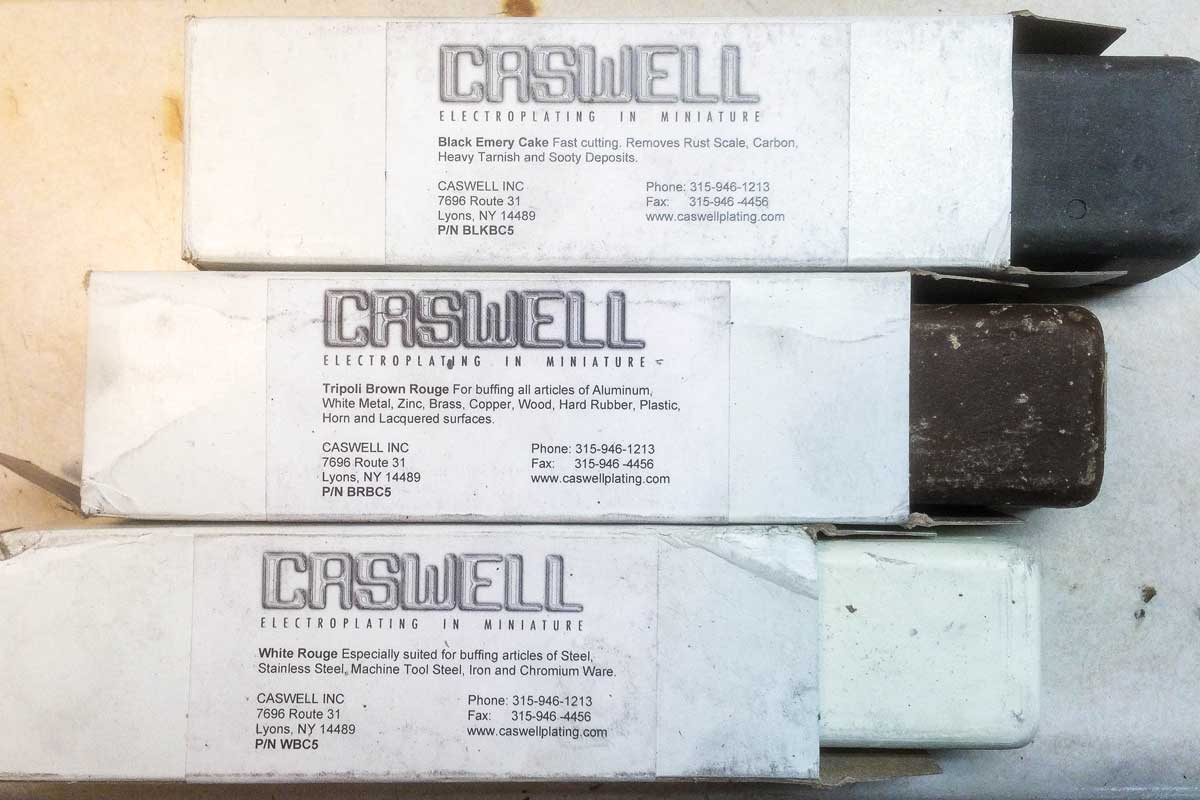
Your aluminum polishing arsenal isn’t complete without buffing compounds. These hard bars of wax and abrasives melt from friction against the spinning wheel, depositing a thin layer of cutting power onto the wheel’s edge. Again, you’ll need three types, each with its own level of abrasive force.
Black Emery Bar: This bar has excellent cutting properties and you should start almost every job with it. You’ll save tons of time and materials.
Brown Tripoli Bar: A general-purpose workhorse for buffing soft metals. It will both cut your piece and color it to a high shine.
White Rouge Bar: With little to no cutting properties, it is used almost strictly for coloring. It will put the final glow on your piece.
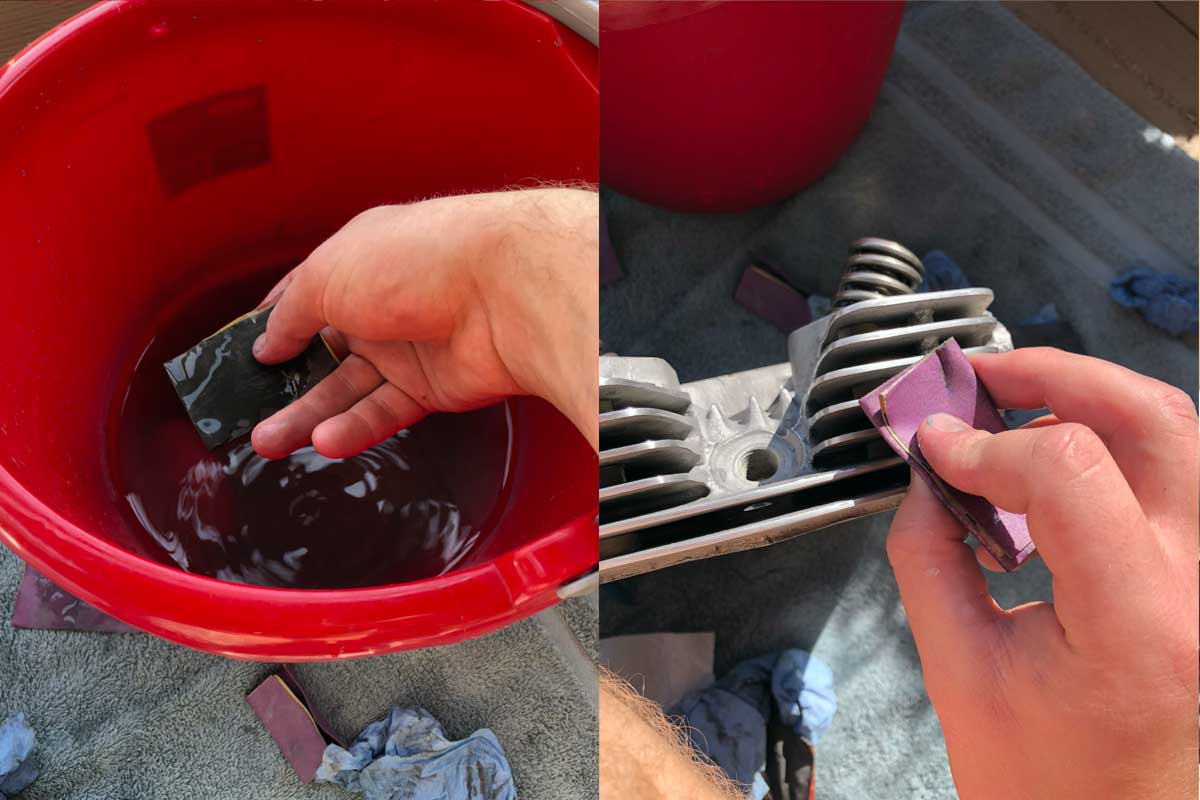
Lastly, get some good wet/dry sandpaper, a bucket of water, and a lot of elbow grease. The grits you use depend on the starting condition of your part, but I like to have everything from 220 to 800 on hand. If you aren’t dealing with deep gouges or bad oxidation, you might get away with jumping straight to 400 and working up from there.
Cut the sandpaper into manageable squares, dip one in your water bucket, and sand in parallel strokes. Wet the paper often and switch to a new piece as soon as you notice diminished cutting power. Don’t be shy when it comes to swapping paper—you’ll save a lot of time and effort without using much more material. Periodically wipe the part with shop towels to assess your progress. When it all looks uniform, you’re ready to move to the next grit.
Do your best to sand in one direction and rotate the part 90 degrees each time you change sandpaper grits. This helps eliminate scratch marks as you go. You’ll also remove most of the material with the first few grits, so patience upfront is a must. Once you finish with the 800 grit, you’re almost ready to let your buffer whir! But first, a few tips.
Aluminum polishing tips.
Apply compound in small amounts and often. Touch the bar to the wheel for only 1/2 to 1 second. Any more and you’ll clog up the wheel and diminish buffing efficiency. But don’t worry if you do. It happens.
In such an event, you can “rake” the spinning wheel by touching a saw blade perpendicularly to its edge to remove residual compound and metal. Specialty rakes are available but use what you have unless you plan on making it big time in the polishing biz.
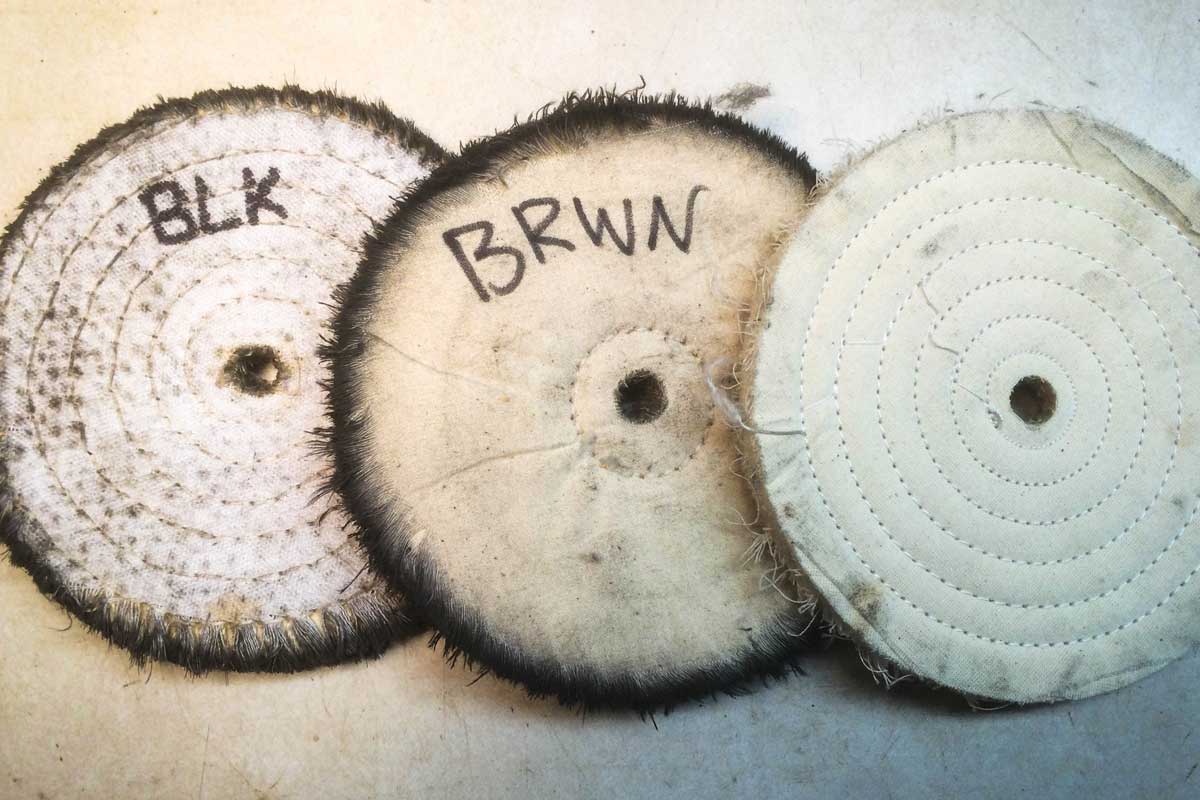
Use only one compound per wheel and never mix them! Using a permanent marker, write the compound color on each wheel so you don’t make a mistake during your next job. If you’re feeling particularly thorough, change gloves between compounds, too.
Use only the bottom quadrant of the buffing wheel. Anywhere else could launch the part from your grip, causing damage to the part, other equipment, or YOU. Just try to explain to the emergency room how that oil filter cap got lodged in your skull!
With that in mind, it pays dividends to be safe. Wear gloves, eye protection, and a breathing mask when sanding or buffing aluminum — aluminum oxide is hazardous to your health if inhaled.

The aluminum polishing process.
Got all that? Then let ‘er rip!
First up is the sisal wheel with the black compound. This combo offers the best cutting properties and is a suitable transition point from the 800-grit sandpaper. Buff the part, applying moderate pressure and moving it against the rotation of the wheel to further enhance cutting power.
Continuously move the contact point with the wheel to avoid burning the part. Occasionally turn it in 90-degree increments and work it until it is quite smooth, and its color is uniform. When you’re satisfied, clean the part with a microfiber cloth to remove any lingering compound.
Now move to the spiral sewn wheel and brown Tripoli bar, which will lightly cut and prepare the surface for coloring. Buff as before, moving the part against the rotation of the wheel but applying less pressure. If you notice any black streaks on the part from buffing too long in one area, remove them with a microfiber cloth or on the wheel. By now, your part should be completely smooth and really starting to pop!
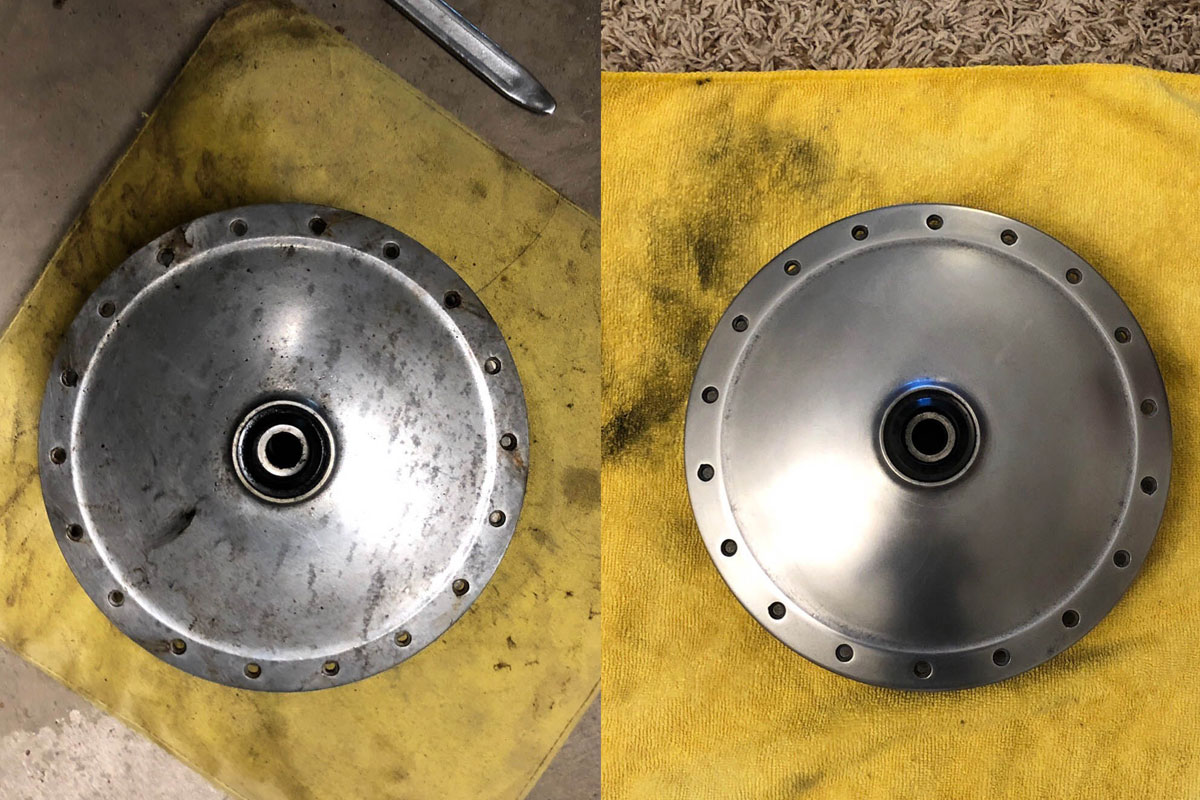
The coup de grâce is the loose cotton wheel paired with the white rouge. In this stage, you aren’t removing any surface material. You’re just bringing out the maximum shine, known as coloring. This time move the part in the same direction as the wheel and apply little to no pressure. Take your time and don’t let the part get hot. When you’re done, your part should have a gleaming mirror finish.
To seal the deal, apply a metal polish like Autosol and buff it out with a microfiber cloth. This will protect your finish from oxidation for a while. Reapply as needed unless you opt for a clear-coat or permanent sealant. That’s it! Now you can spend the rest of the winter plotting your dazzling entrance to the first bike night of next year.
Story by Michael A. Miller // Instagram
With a Panigale and a CL350 project bike in the stable, Mike loves anything with two wheels. Drop him a line with an interesting story idea or just to commiserate about having to winterize your bikes.