“As a teenager I always wanted to build a custom motorcycle and spent my time (when I wasn’t riding) drawing up plans to modify some of Dads “spare” bikes” reminisces Craig. “However the timing and funding never seemed to align. Having just had my first child and getting into the property game might not have sounded like the best timing, but I had the space I needed and it seemed like the perfect time.
I’m all about using new technologies and materials whilst keeping in touch with the design heritage of the past. Often my work is subtle at first glance, understated, almost traditional, until you look closer and realise modern technologies and process have been employed to create them.”
“The build of Thassophobia was spread over 9 months in between holding down a full time job in London, becoming a new Dad and moving country. So it was a very busy schedule inside and outside of the build, often working late at night after our daughter had gone to bed. At the time of building the bike I also proposed to my fiancé with a 3d printed ring and custom made wooden box.
The build was a purely personal exercise. It had been on my list of things to do for the last 15 years, but timing had never been right. It was just an excuse to let my design and hand skills lose on 2 passions that have run through my life.”
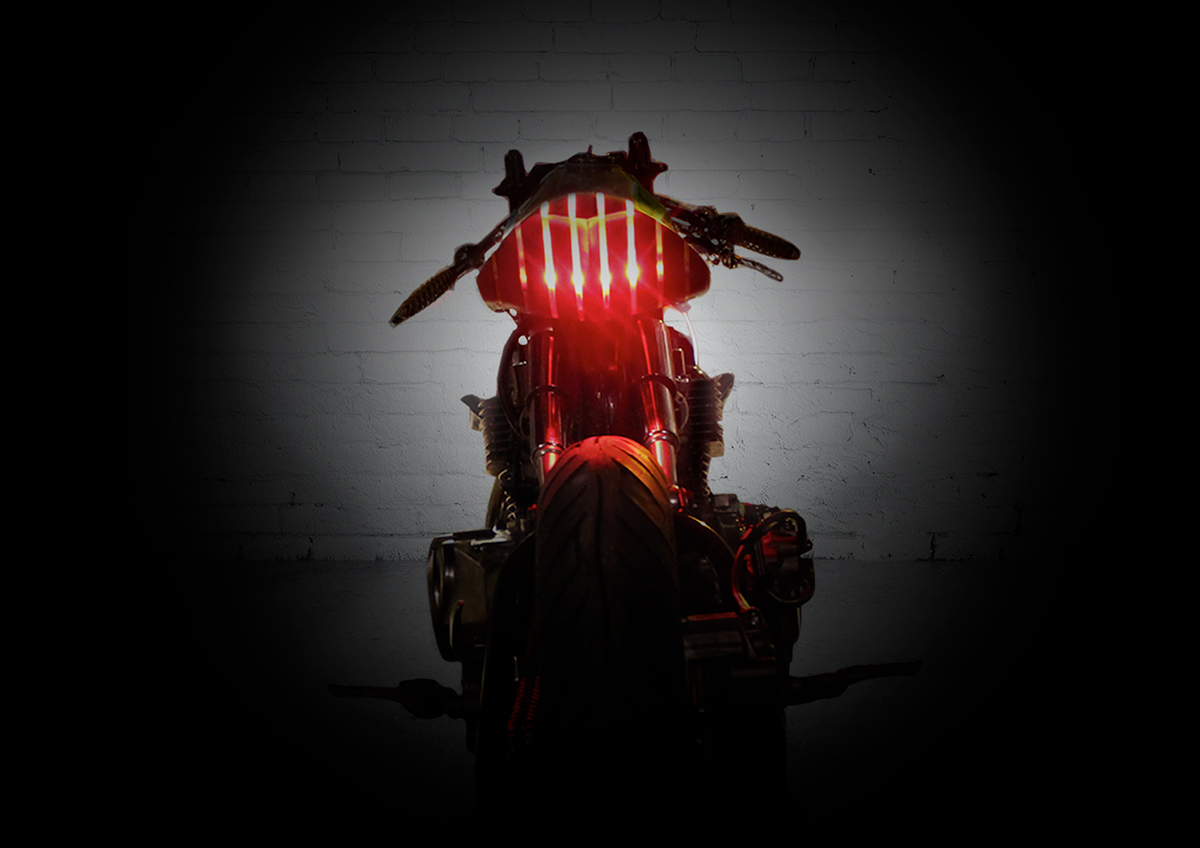
“I completed the design, fabrication and welding, 3d design, hand carving, servicing, spraying and polishing myself. SoLo Choppers managed the mounting of the rear suspension, which now connect to the frame under saddle. For the electrics my wiring guru father, Stuart Tyler, stripped the loom back to the bare minimum. We discarded the key ignition and replaced it with a simple flick switch and starter button, which provides a personal sense of satisfaction for me. It’s clean and quick to use. When you flick the switch the whole rear light cluster illuminates through the wood and it looks other-worldly!”
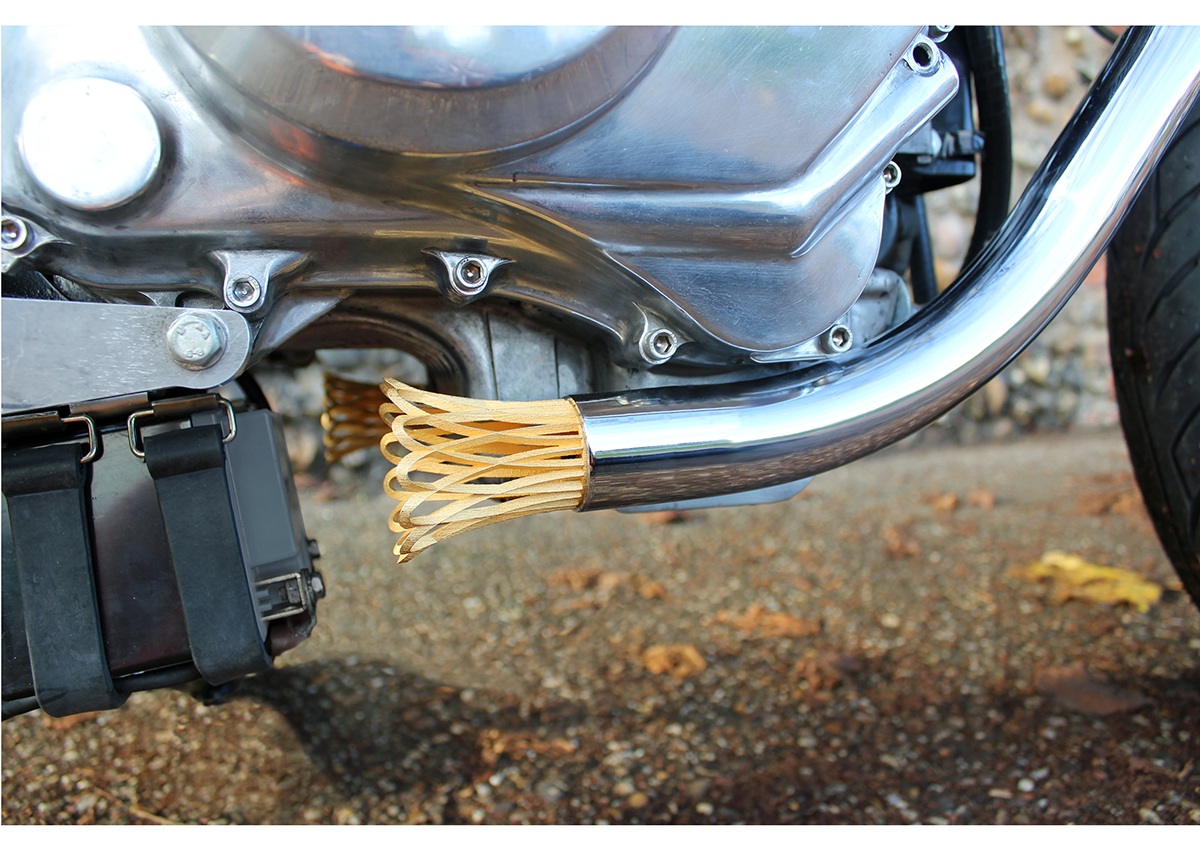
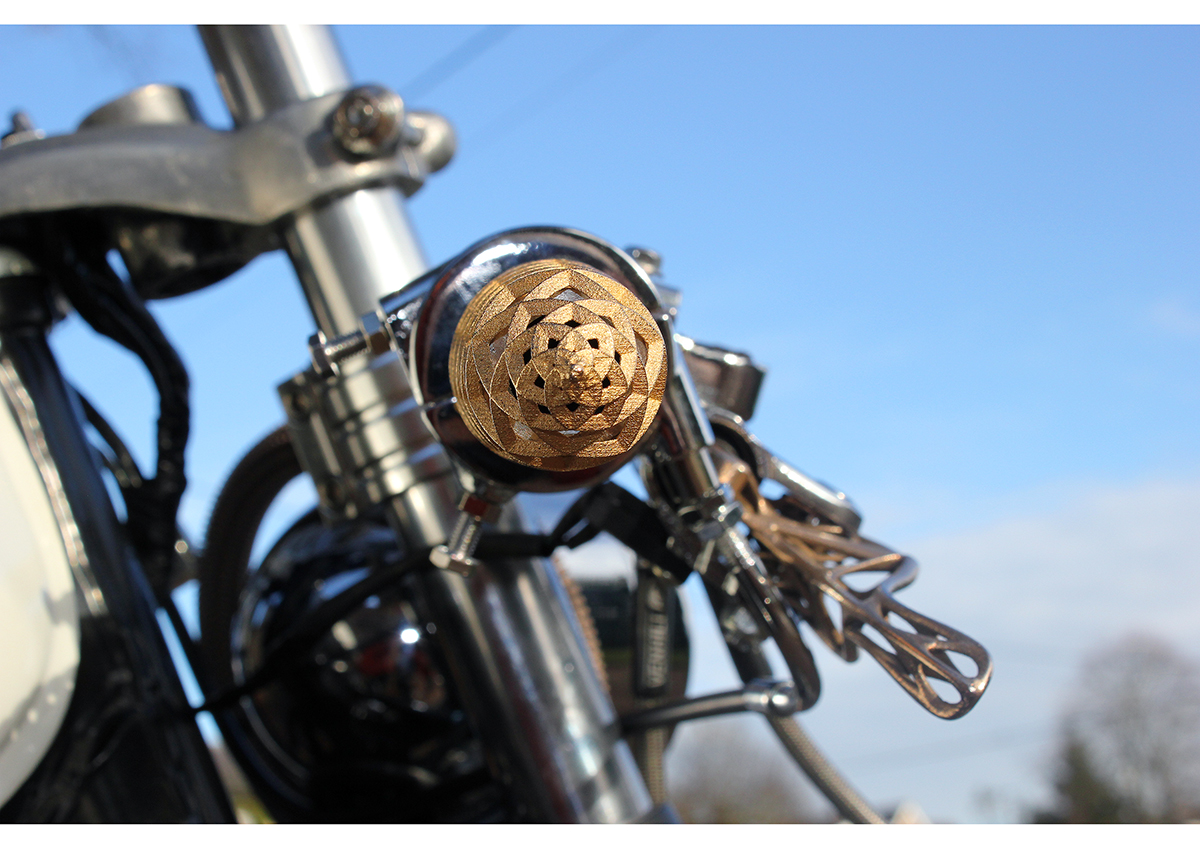
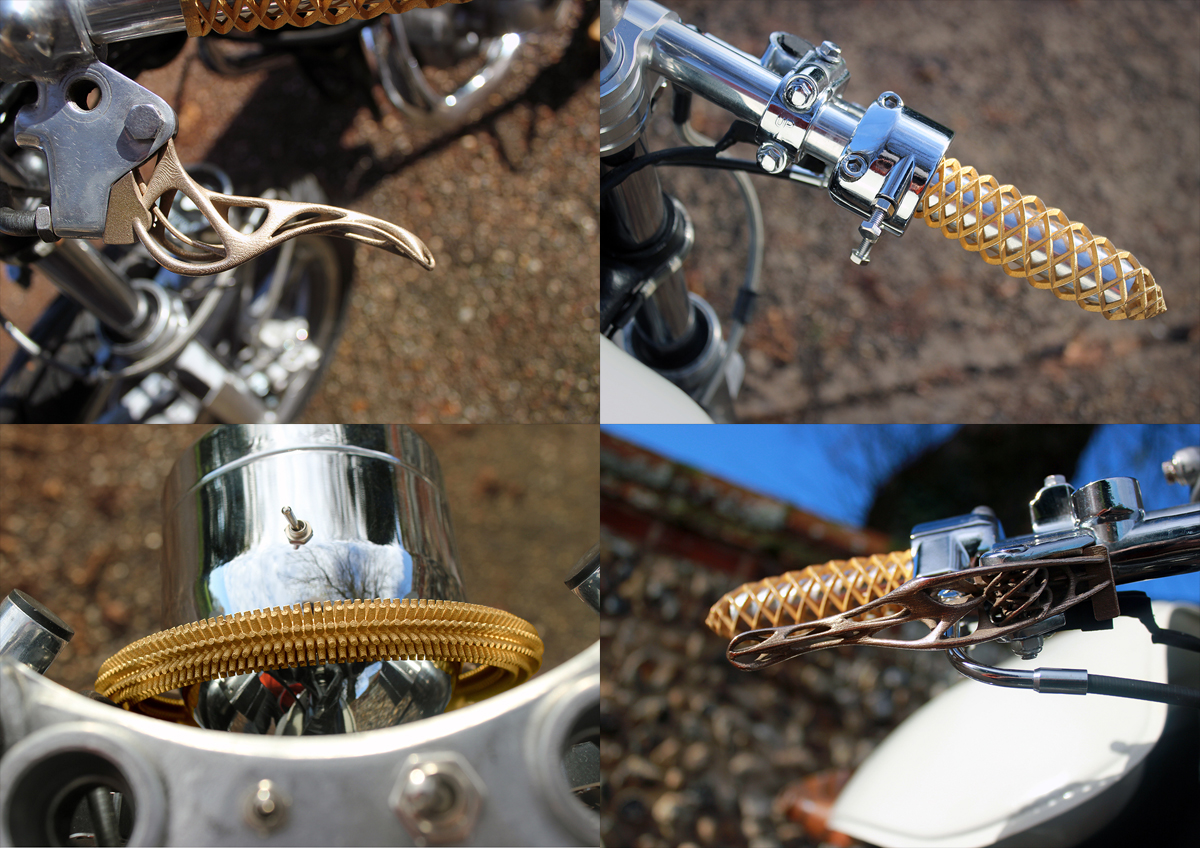
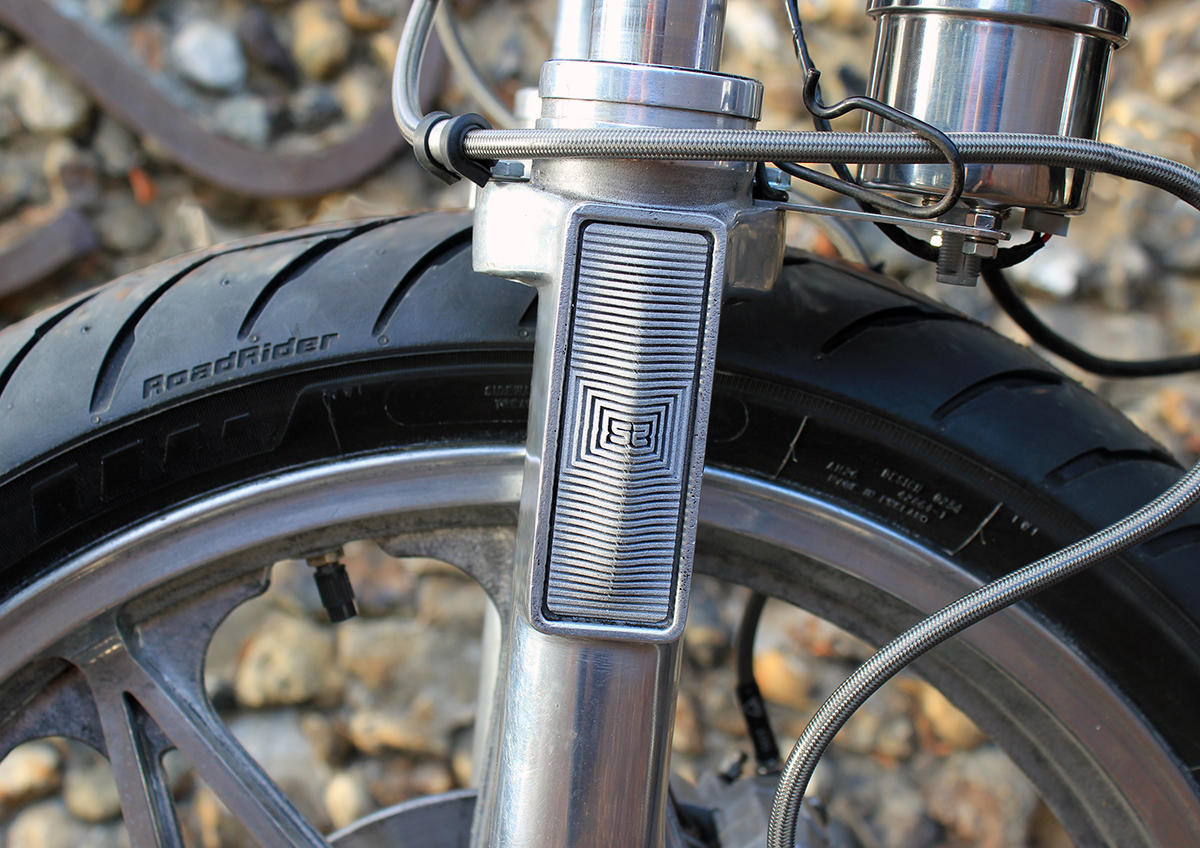
“Several of the functional parts on the Thassophobia were 3D printed. The trellis grips, brake and clutch levers and exhaust crowns were all printed in steel before being plated in 24K gold and bronze. They were designed with a high strength to weight ratio, using as little material as possible whilst retaining structural performance. This was particularly critical on the grips and levers which are in continuous use. The production of these parts was a personal achievement for me considering our small setup. Product testing is limited so simulations were completed using CAD software to measure the tensile pressures of riding.”
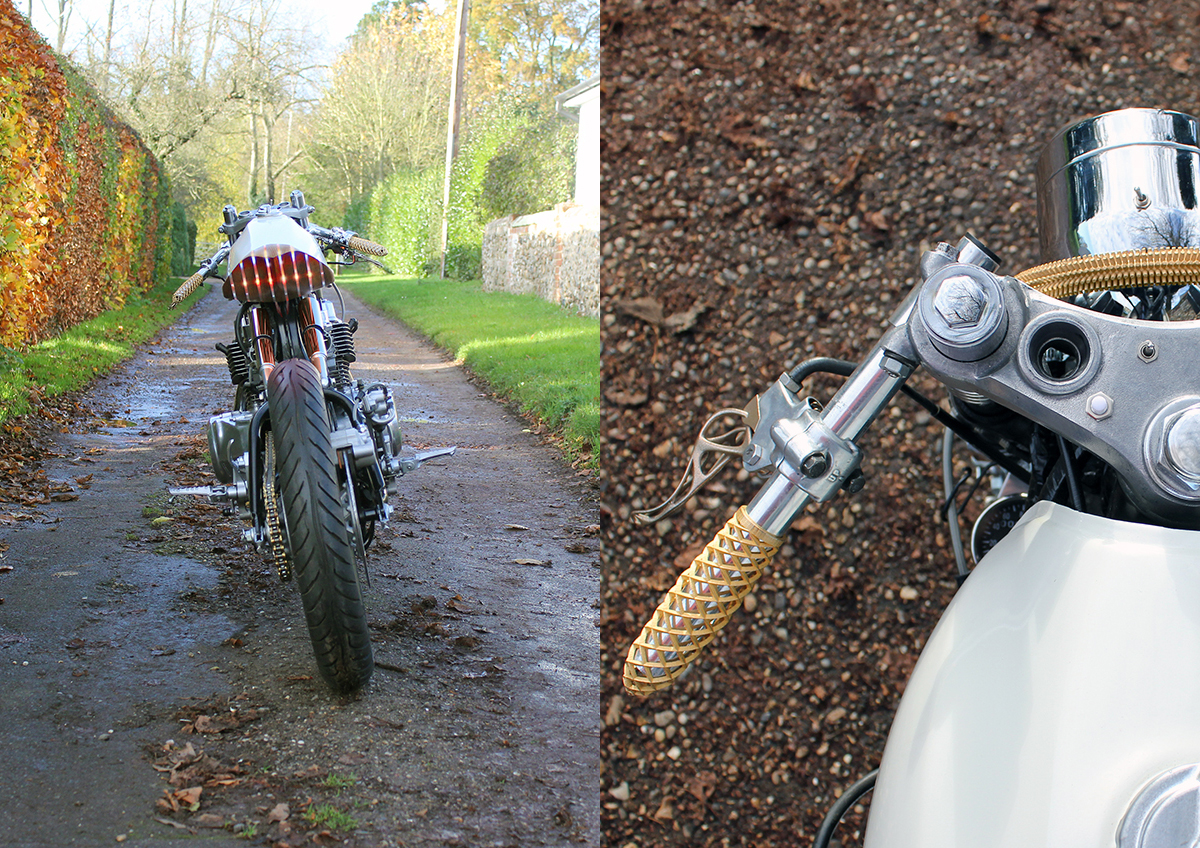
“The halo radiator that surrounds the headlight was also printed in steel and plated in 24K gold, but unlike the levers and grips it had to perform under different circumstances. It’s design allows it to shed heat and is of course, water (oil) tight. On the forks are two 3D printed plaques that bare the number 52 as a nod to Danny Kent’s efforts ending a 38 year British drought in Moto GP. The exhaust crowns are not identical, one has 13 loops the other has 14, which accumulates to my lucky number 27 and I’ve created an online store where I now sell most of the functional 3D printed parts on this bike.”
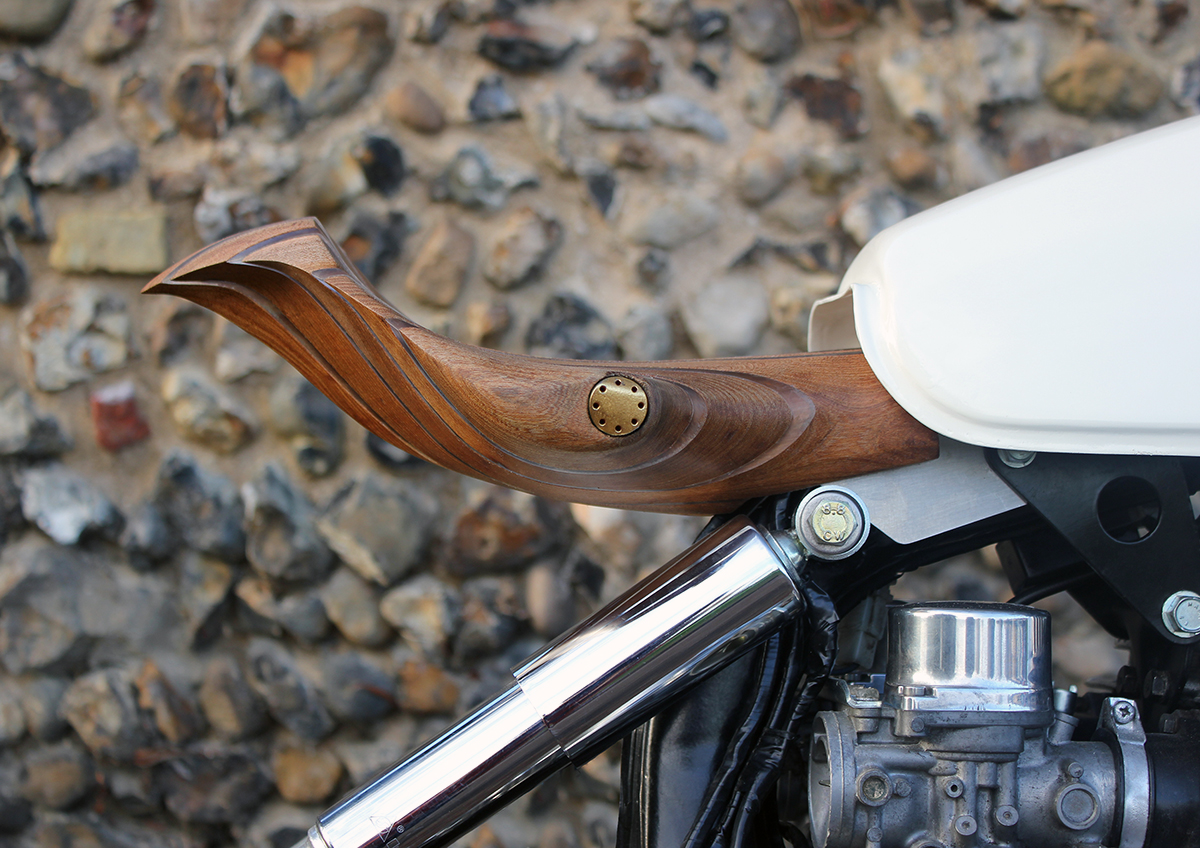
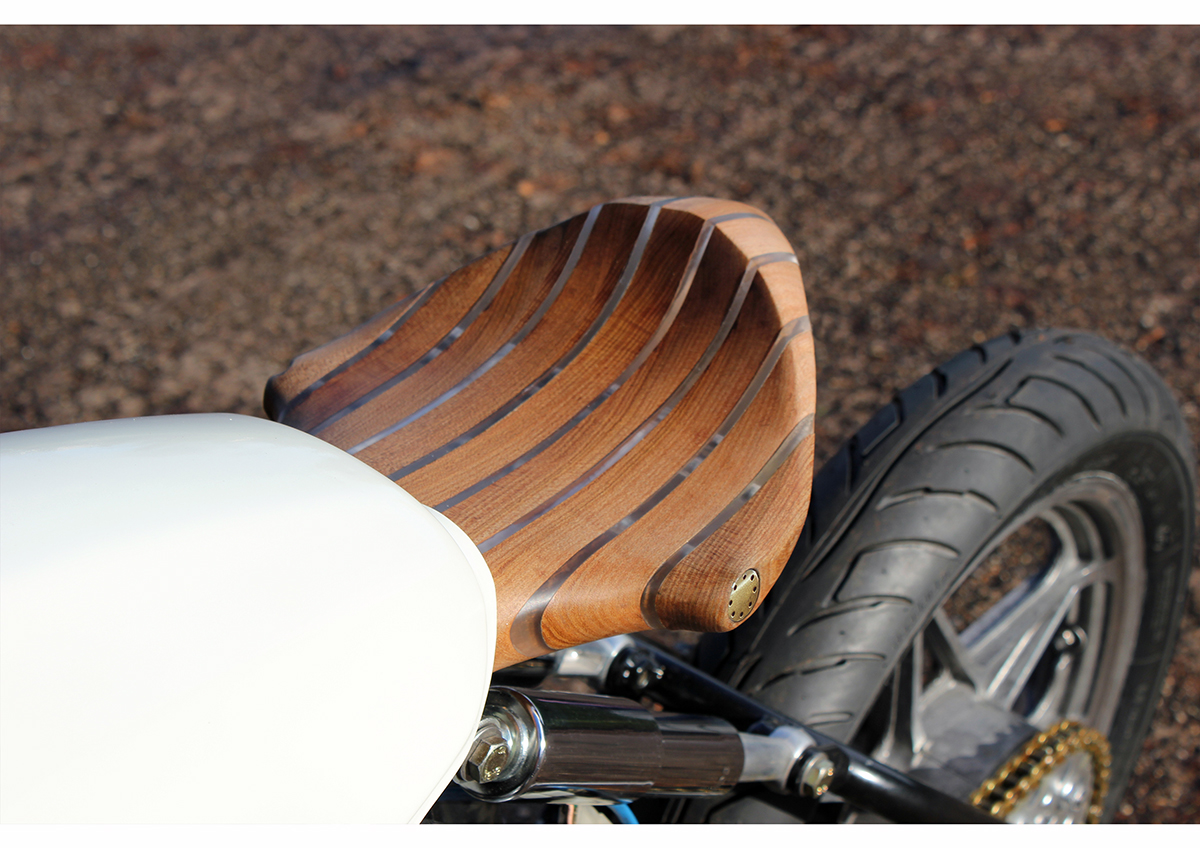
“Always relishing a challenge and wanting to get my hands dirty, I elected to do the design and fabrication of the seat myself. Several designs were modeled in CAD including a 3D printed tubular steel option, however I wanted to build this part myself. Time was also an issue as by now my young family and I had decided we were moving to Finland. The final saddle design was completed in Solidworks utilizing wood as the predominant material and housing a hidden LED light cluster inside. The Elm wood was obtained sustainably from North Aberdeen courtesy of British Hardwoods. Plenty of prior planning meant this part was relatively painless to produce. I completed the cutting, sanding and polishing at home in approximately 30 hours.”
“The nightmare part of the build was mounting the Suzuki Van Van tank. Once the frame arrived back from the powder coaters I started the build, designing and sourcing parts as I went. I chose the tank because of its slender form, but of course, it didn’t bolt straight on. I set about cutting and fabricating what became one of the most labour intensive and mentally testing parts of the build. I hadn’t done much welding before and now have so much respect for people who can.
I’ve learnt that getting a strong weld is relatively easy, once you have a basic understanding of welding. Getting a strong weld that looks good is a challenge and getting a weld that looks good and is liquid (petrol) tight is bloody difficult! Doing this over the distance of a meter inside the confined space of a small petrol tank is near impossible for a beginner, but we got there in the end!”
Build Sheet:
- Grips, levers, oil cooler, saddle fasteners, exhaust crowns 3d printed and gold plated
- Hand carved Elm & Acrylic Seat/subframe with integrated LED light cluster
- Van Van tank modified to fit frame
- YZF 400 foot pegs modified to fit
- Lithium ion battery mounted under engine block
- Rear subframe chopped and suspension remounted under the seat
- Custom headlight
- Clip-ons handlebars
- Venhill braided brake lines front and rear
- Custom speedo mounted to left fork leg
- Custom loom, ignition switch and start button
- Avon road rider tires front and rear
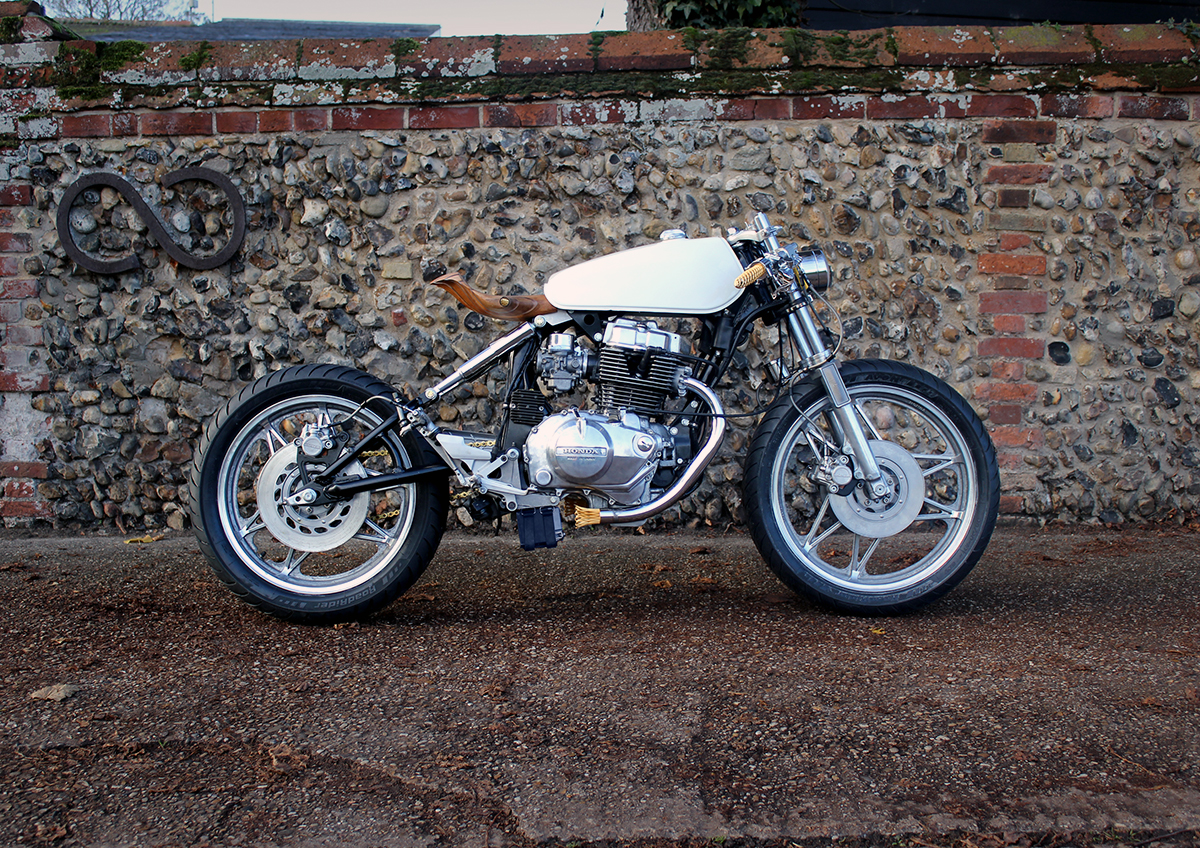
C.S. TYLER 3D PRINTED PARTS STORE
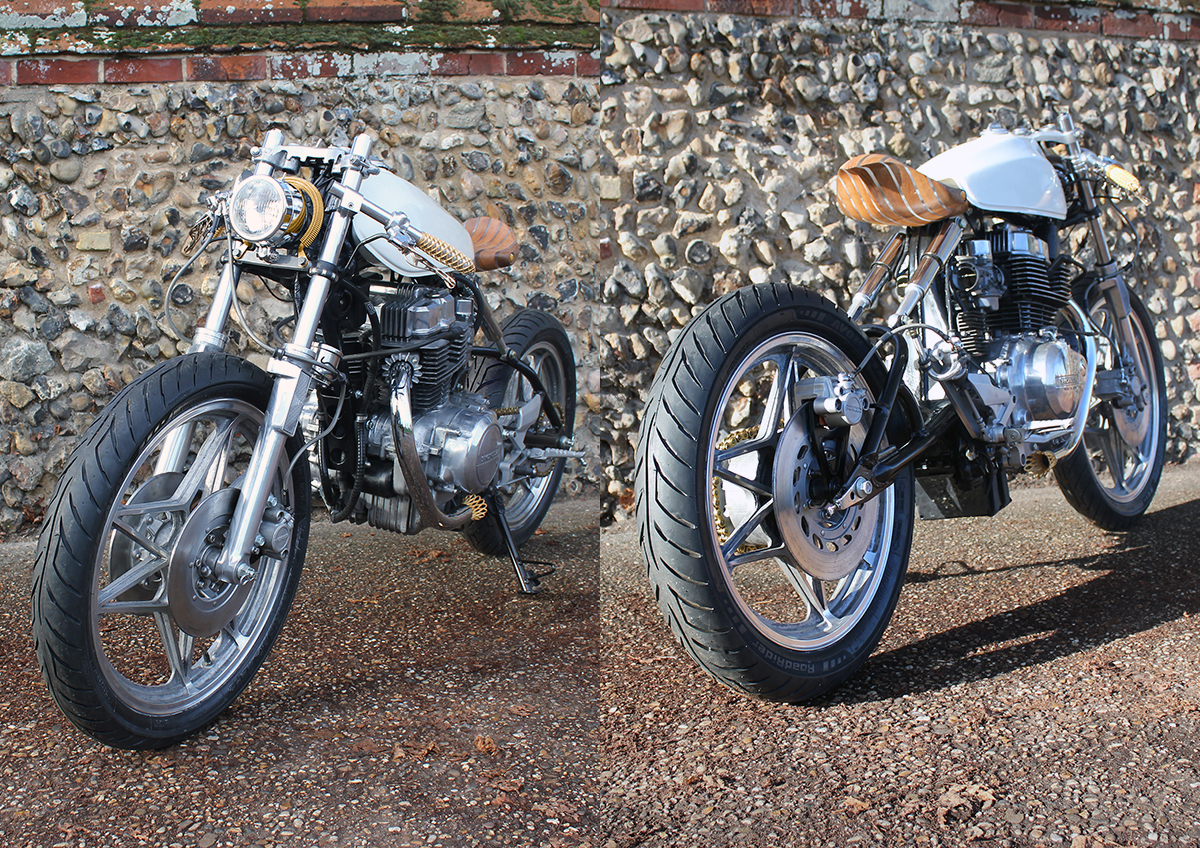
As 3D printing technology becomes a readily available manufacturing process we’re slowing starting to see it being applied to custom motorcycle builds. Craig Tyler, a British product designer living in Finland, has leveraged his skills to build a motorcycle adorned in 24k gold plated, 3D printed parts. His ’92 Honda CB450 named ‘Thassophobia’ (the fear of being idle), was created using an elaborate cocktail of new and old fabrication technologies to create a machine that blurs the line between form and function.