“I’m Jim Alonze from Scarborough, North Yorkshire in the United Kingdom. I’ve been into bikes my whole life, from off road to road and old vintage bikes. I just love ‘em. After working at a sheetmetal factory for almost 8 years things started to get boring.I needed a change that would allow me to make things the way I wanted to make them. So I left my job and set up a business (Alonze Custom) with my Father, Dom. We had no idea what we were going to make, but wanted to specialise in one off fabrications. My first Alonze Customs bike was a 1954 Triumph bobber. I left this bike bare metal, just spraying it with oil now and then to stop it rusting. After the last car I built I wanted something rough and ready that I didn’t mind abusing a bit!”
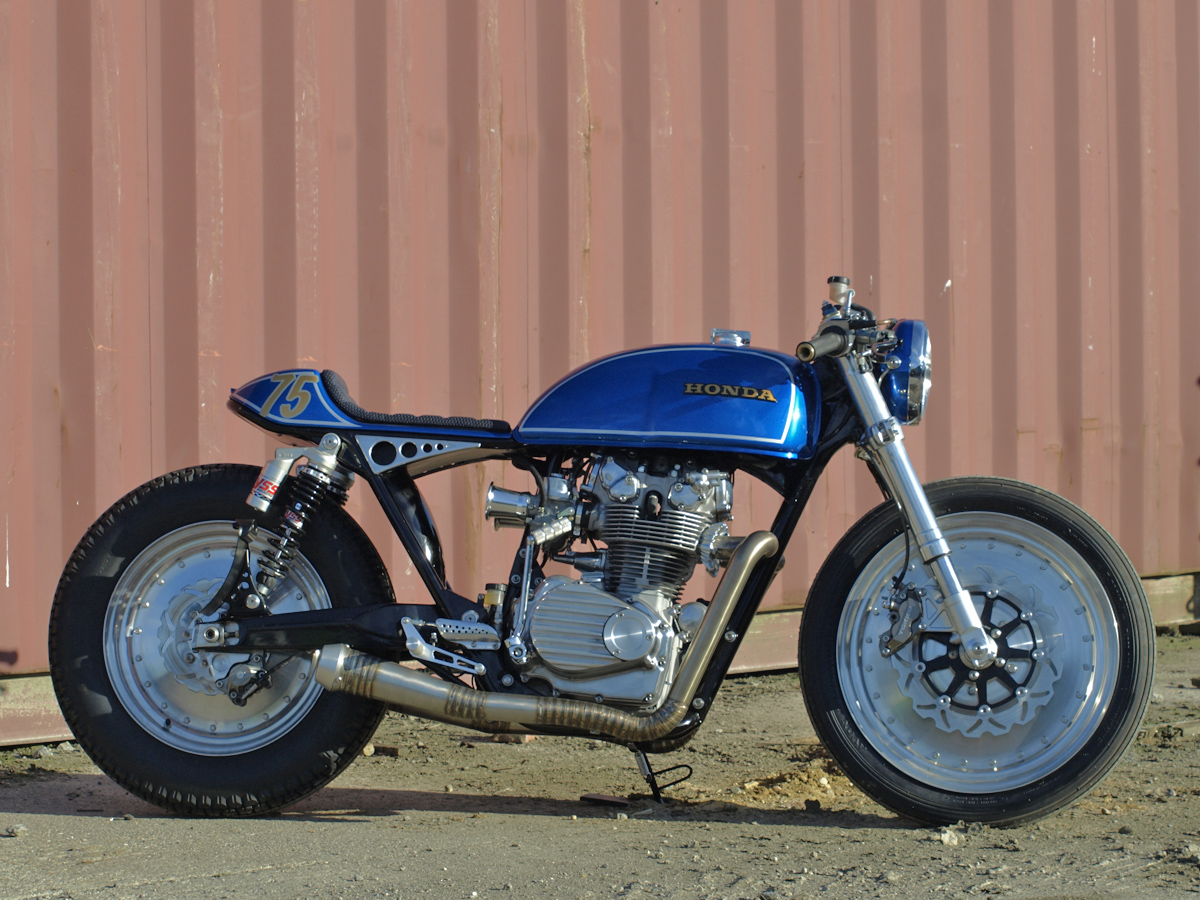
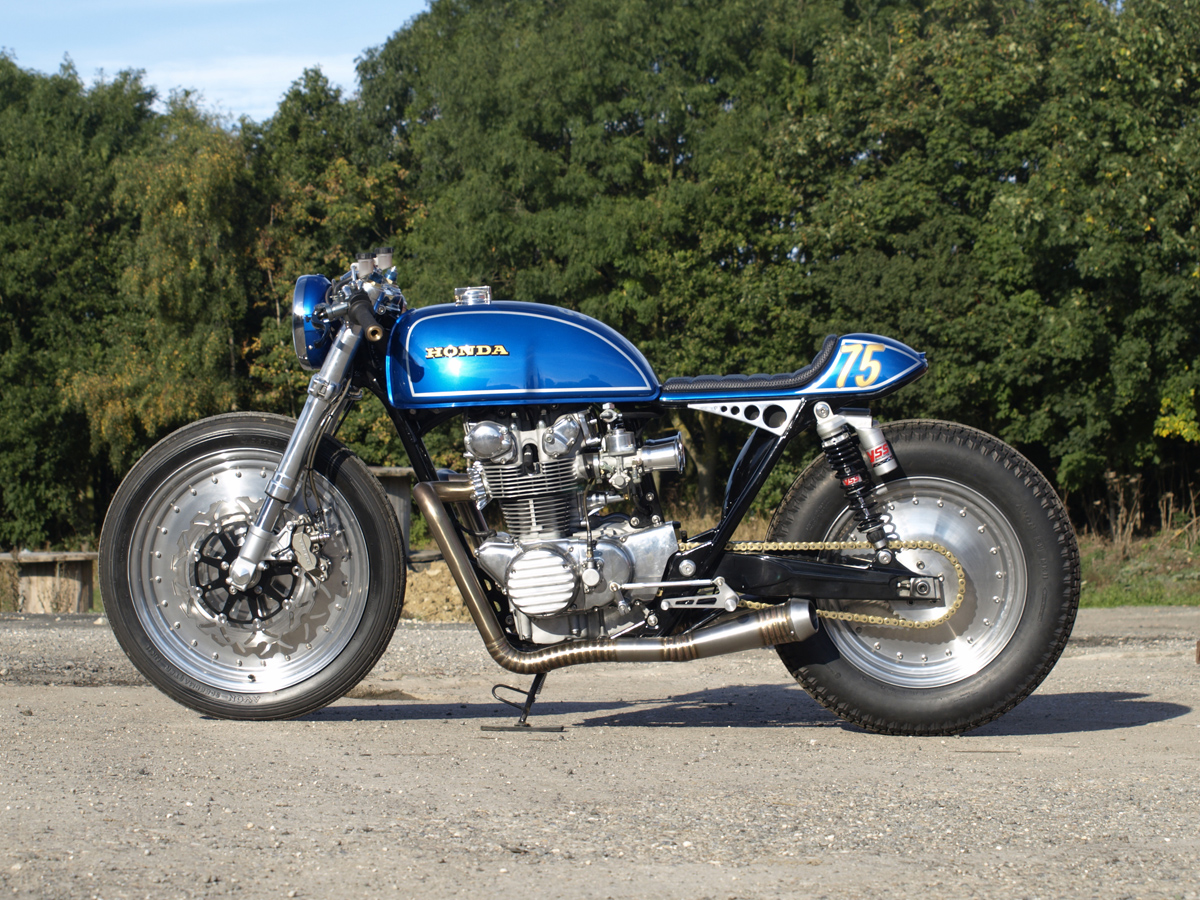
“After completing my Triumph I needed another winter project. I’d seen loads of photos of cool Cafe Racers online and decided that was the sort of thing I wanted to create for myself, so I found a 1975 American import CB500t to base it on. The bike was a total mess, but that didn’t matter, I love spending way too much time fixing things up!
I knew the look I wanted so I just figured things out as I went along. The first job was to strip the bike of anything that wasn’t staying on it, which was pretty much everything really. Then I found a set of Suzuki GSXR750 upside down forks at an auto jumble which I mounted to the frame. After fitting the forks I stood back to look at the bike and realised that the rear swing arm looked stupidly skinny compared to the fat USD forks, so I needed to find a chunkier one.”
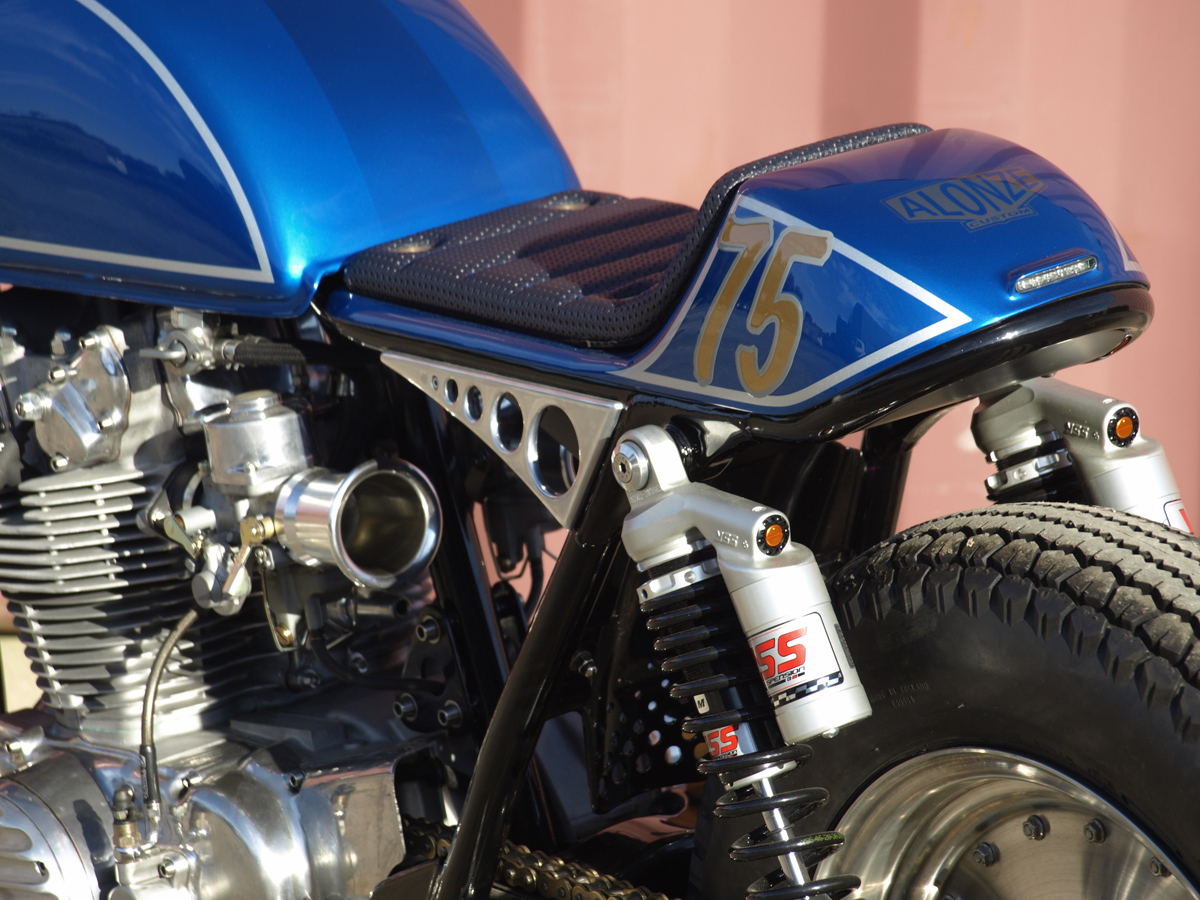
“When I got home that night I walked past my KTM Enduro bike and out the corner of my eye its swing arm caught my attention. That was it, I needed one for the CB! No measurements were taken, that didn’t matter to me. All I wanted was a swing arm like that on the CB. I made the purchase and when it arrived it was too big in every direction. In the end it got shortened by 3.5 inches, narrowed by an inch and had some shocker mounts welded on. The standard rear shocks then looked spindly, so I added YSS shocks with piggy back chambers.
At this point my plan changed slightly. The bike was looking pretty modern with its fat USD forks, box swing arm and piggyback shocks. Although I had diverted from the original picture in my head, it wasn’t a bad thing. The bike was looking good and now I was aiming for a classic Cafe Racer silhouette, with modern tweaks. I decided that the spoked wheels looked daft between the USD forks and KTM swing arm and found the perfect alternative sitting right there in my workshop. A few months prior I’d bought a job lot of Harley parts that included a pair of spun alloy wheels. As soon as I offered them up to the bike I knew they were perfect for the job.”
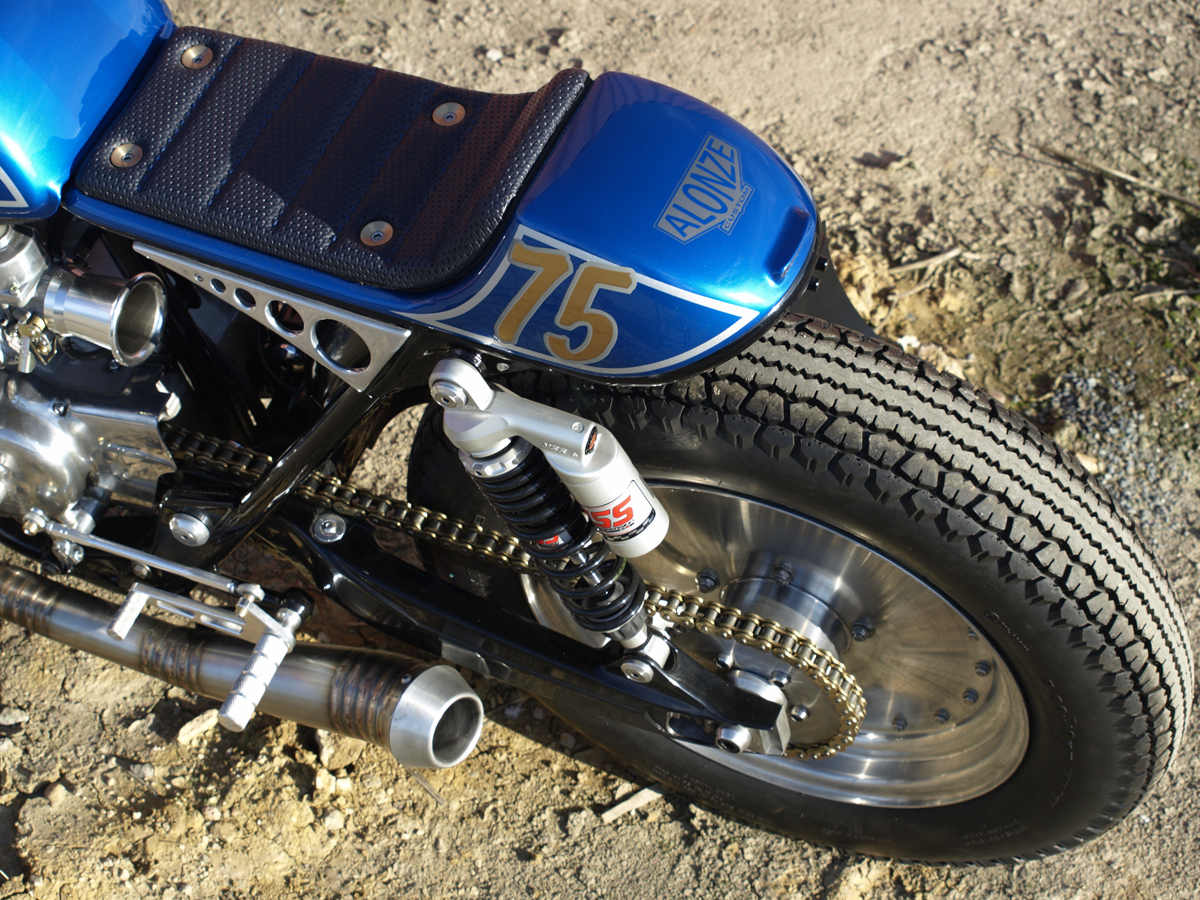
“Next I chopped the back end off the frame and welded in a short loop, ready for a one off seat bump. After a few hours of smashing sheet steel on the leather bag and a bit of smoothing on the English wheel, I had a pretty cool seat unit and the main outline of the bike done. Then I was on to the exhaust.
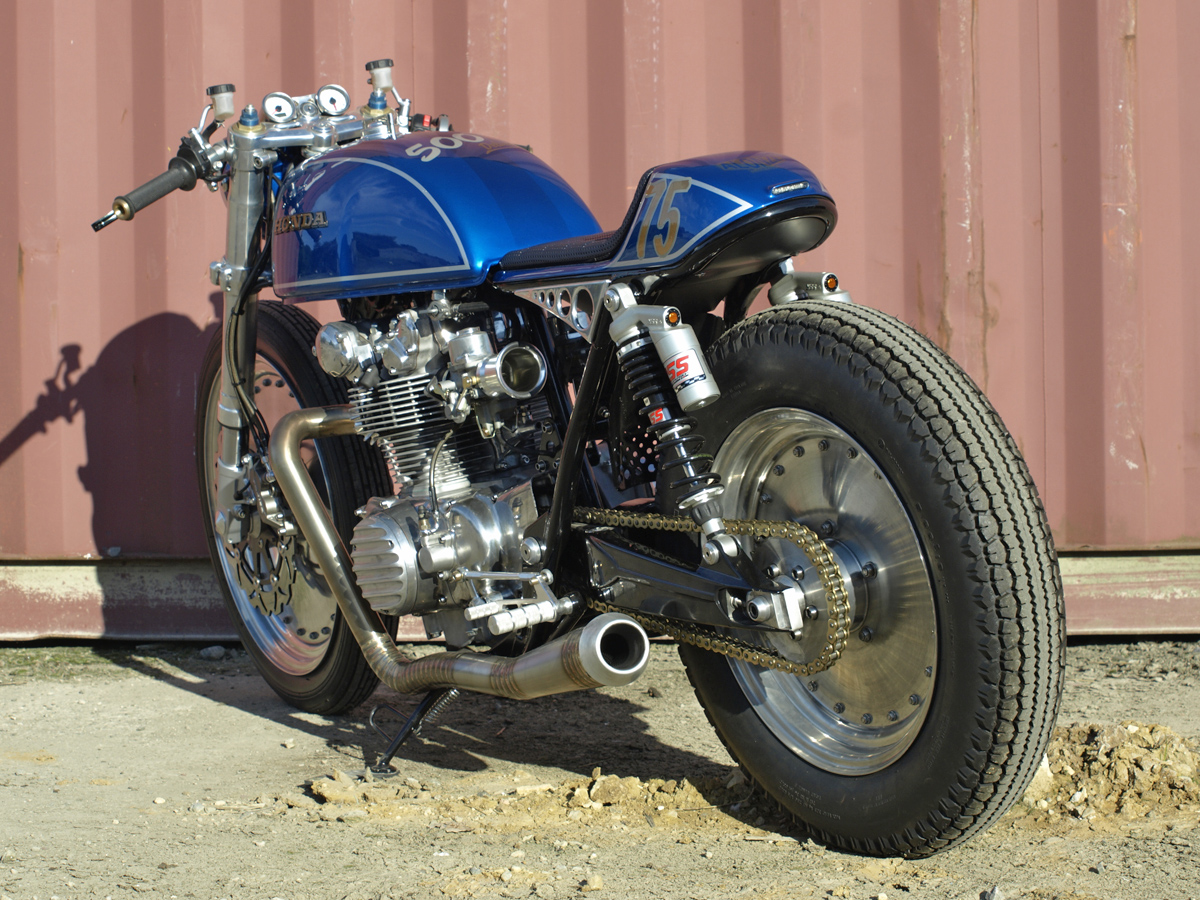
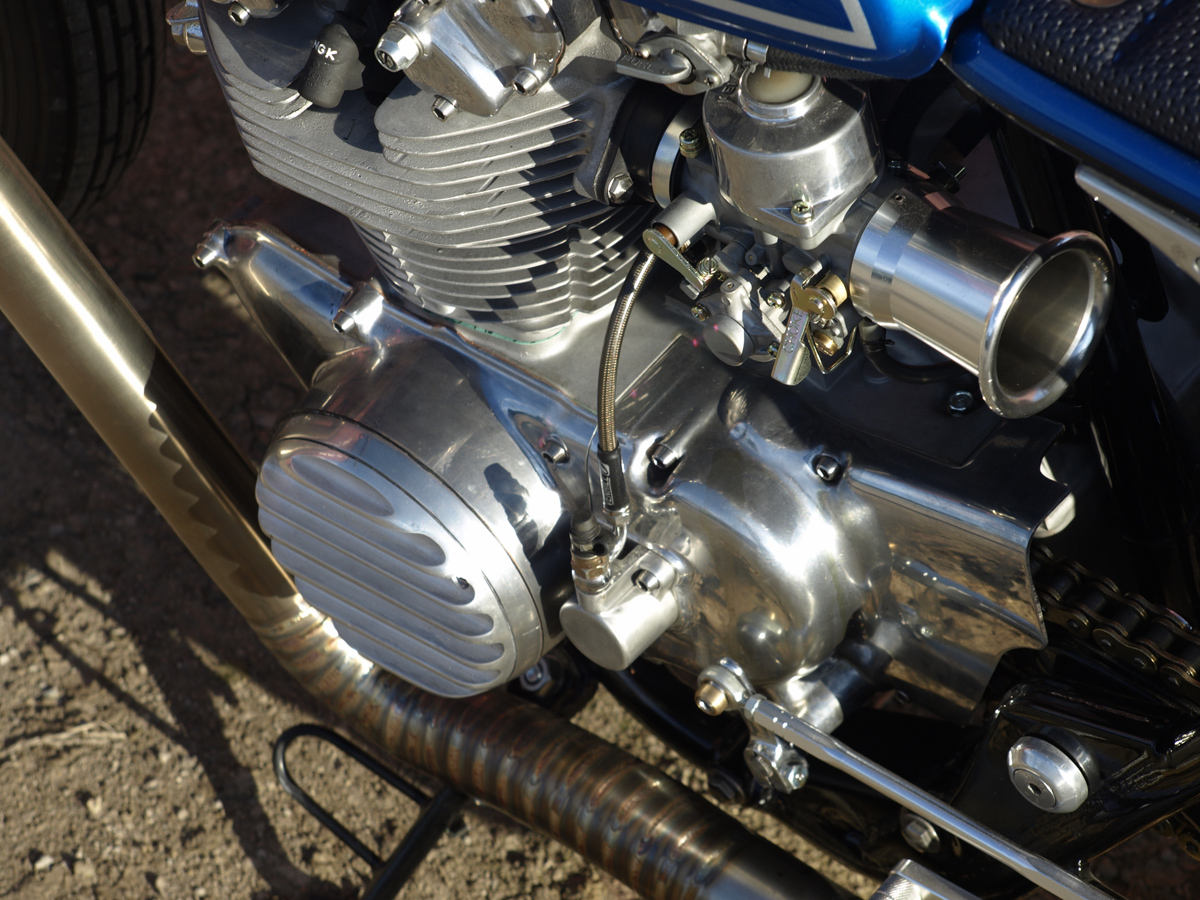
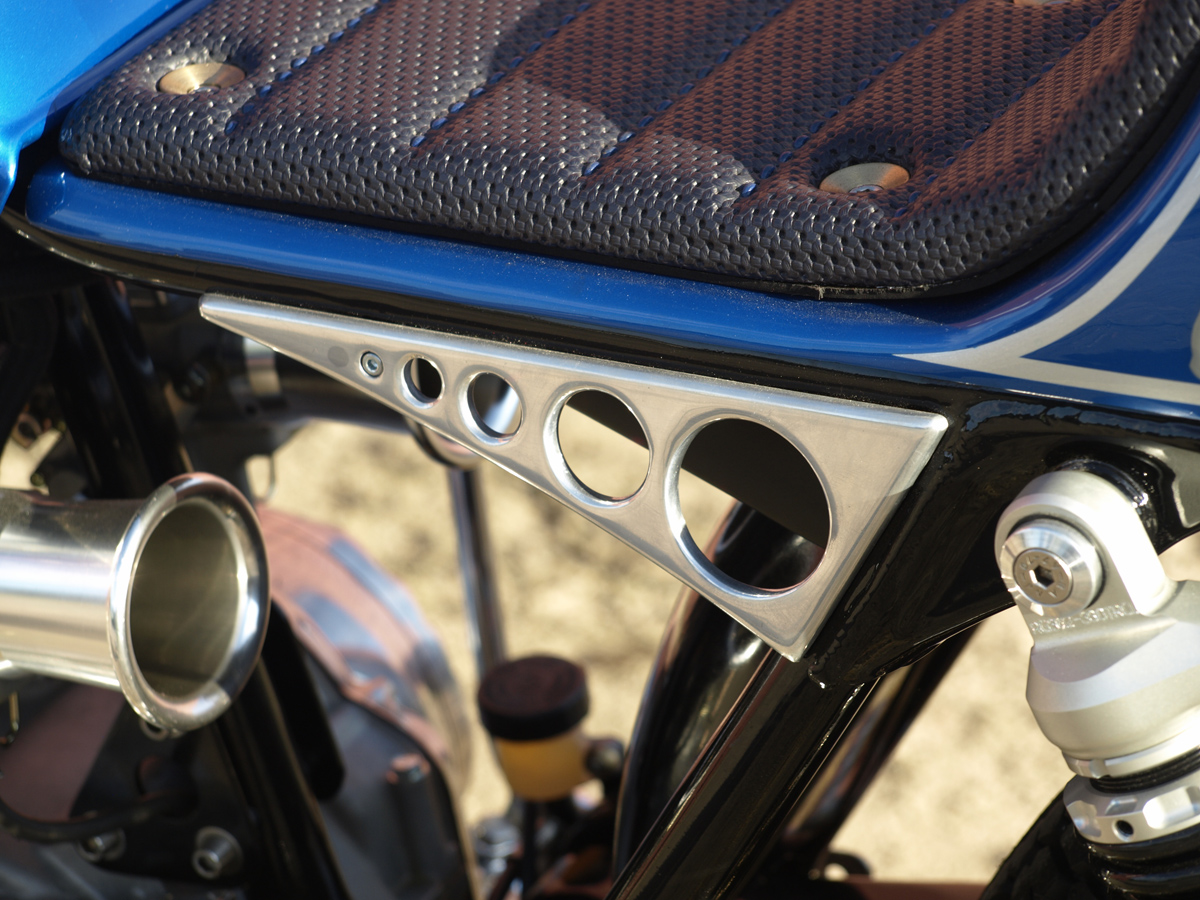
Exhausts would have to be one of my favourite things to make. I love getting them to flow around stuff and making them symmetrical. I tacked together a load of one and three quarter inch stainless steel elbows for the header pipes, being very careful to get each side the same and to follow the down tube of the frame. I then made the rest of the pipes and the silencers in sections and finished the ends off with billet reversed cones I turned out on our lathe.”
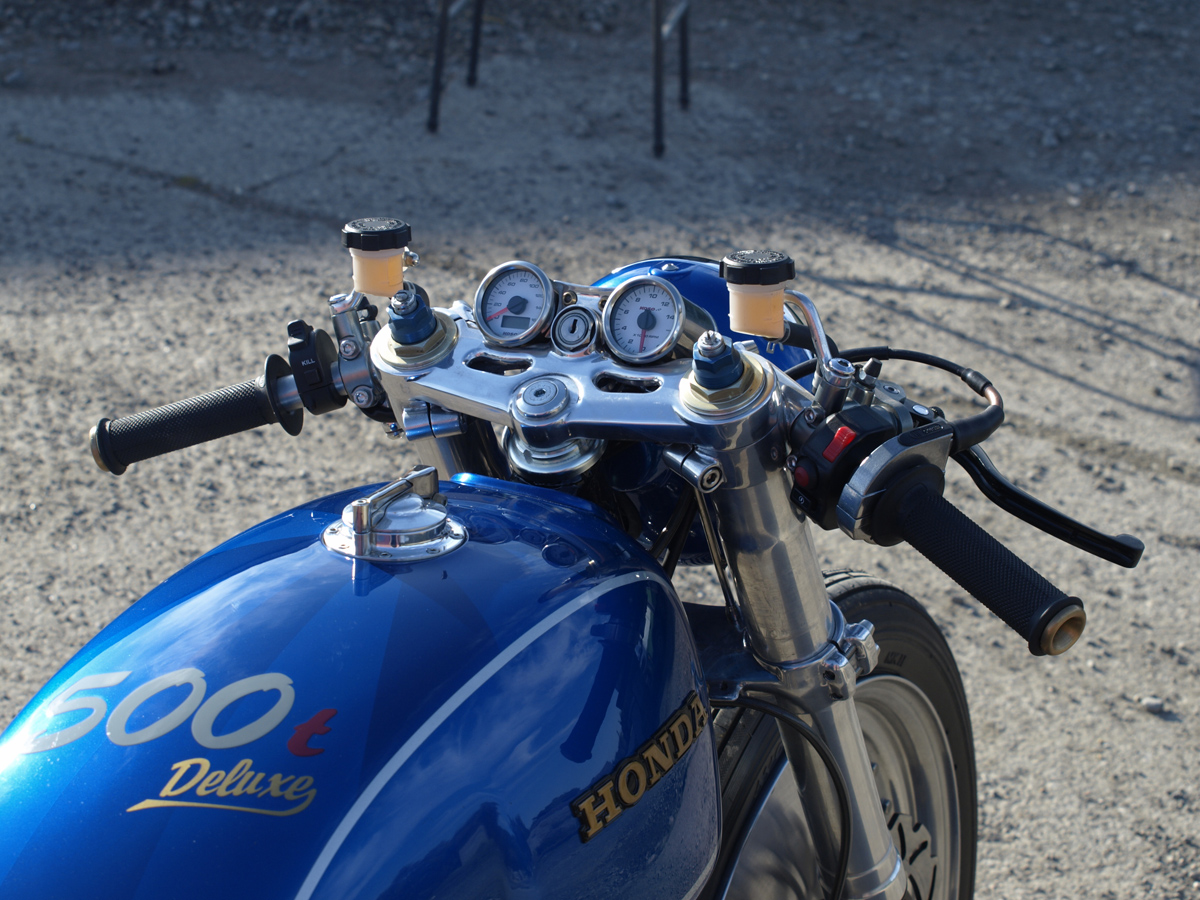
“For the bikes top yoke I rounding all the corners off the GSXR one, taking out all the casting marks. I also notched in my mini dials, keeping them nice and snug. I also integrated the ignition key and cut some holes in the top to slim it down even more. I then integrated the tail light into the seat bump and it turned out to be one of my favourite parts of the build.
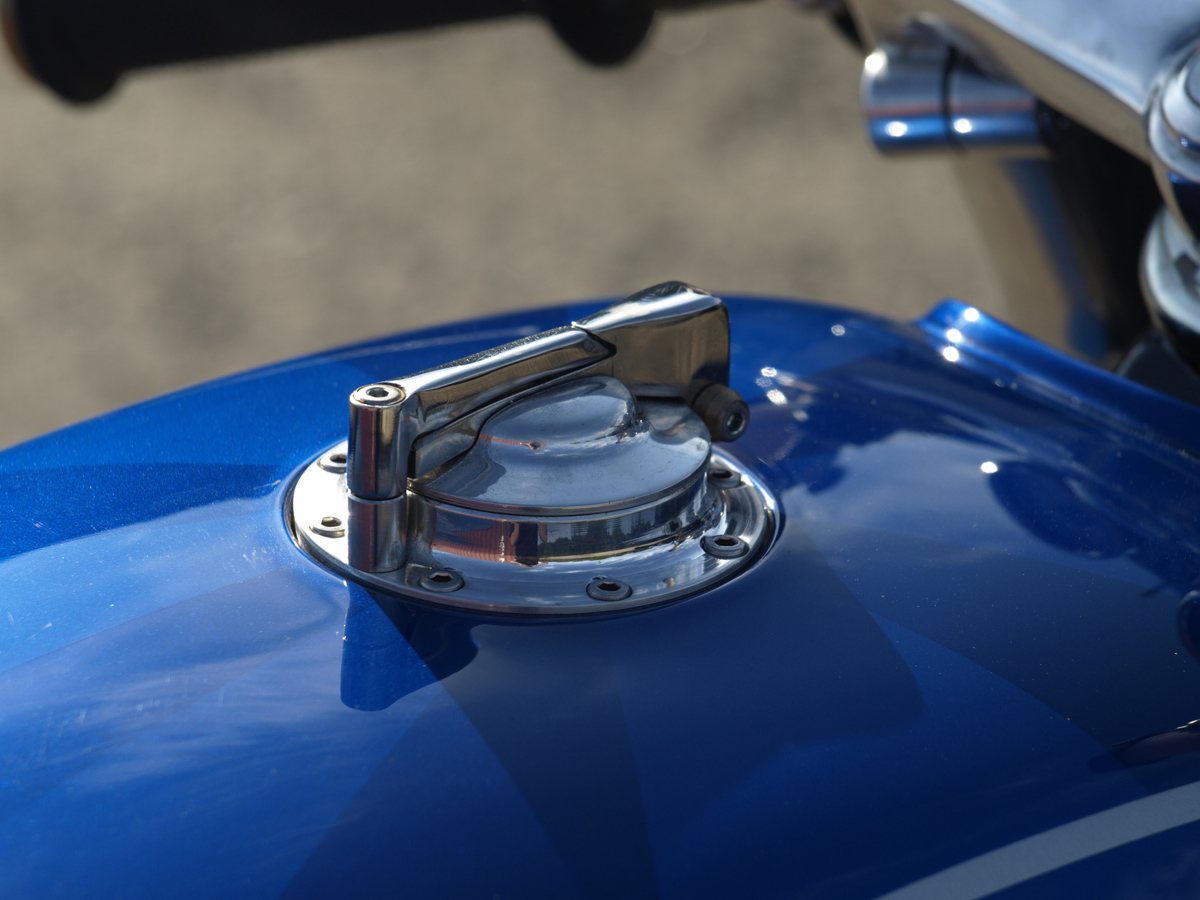
I didn’t have the key for the original fuel cap and didn’t want to just buy another standard one, so I made a one off flip top cap. The cap is held shut by the top arm that swings round to allow the cap to open. I spent quite a bit of time on this one part, but it was well worth it and looks like something pulled off an old steam engine.”
“The next job was to do all the wiring on the bike. Probably my least favourite job to do as it takes so long and there isn’t really anything to show for all the time and effort. Some of it is actually threaded through the frame and swing arm and I also managed to hide a full size battery under the seat bump.
With the dry build pretty much finished it was time to strip it all down and start polishing and painting all the parts. I did all the paint myself. Gloss black for the frame and swing arm and satin black for the under tray and other small brackets. I spent ages painting the bodywork up one weekend. After a few hiccups and some failed attempts to fix the mistakes, I cut my losses and sanded it all off so I could start over. The second time round I changed my approach with the graphics and thankfully they came out much better.”
“Dad and I stripped the engine down ready to be rebuilt. I had a mate vapour blast the casings, barrels, heads and carbs so they looked like new and re-plated all the original nuts and bolts. While the engine parts were away for blasting I dug out my old furnace and sand cast some finned casing covers. These were then welded to the original casings. I also modified the clutch to take a hydraulic slave cylinder and that was it!
The bike was built for me. Even though I love riding bikes I think I like building them more. It was 8 months in the making, just a few hours in the evenings and the odd weekend. I’ve got another bike build planned in my head for this winter so this one might be up for sale quite soon.”