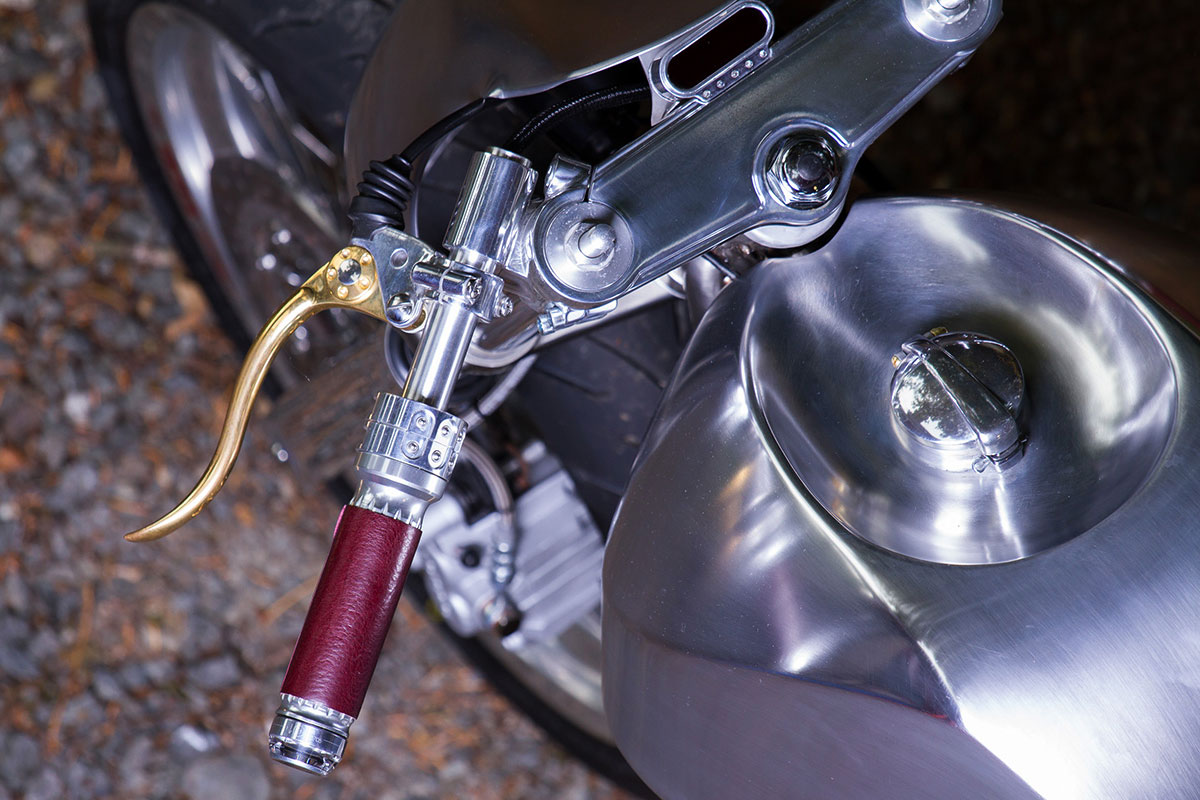
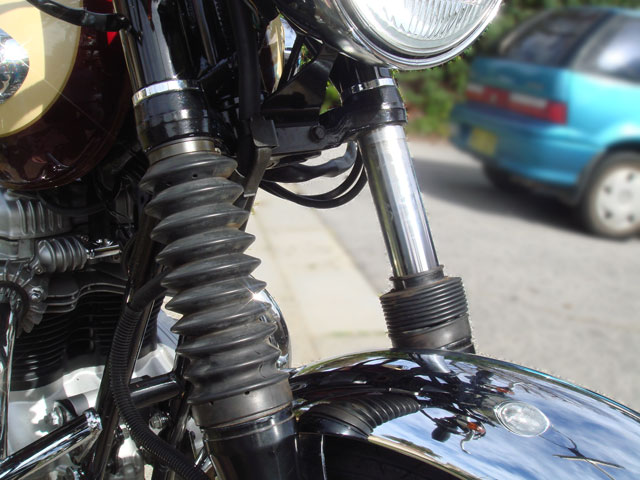
In this edition of our ‘Workshop Series’, we’ve teamed up with the crew at Revival Cycles to bring you this in-depth overview of MotoGadget’s Motoscope Mini. This tiny digital gauge is the ultimate addition to any custom build. Its minuscule design is perfect for keeping the front end of your motorcycle clean and can be mounted just about anywhere. To give you a full rundown on the Motoscope Mini here’s Revival Motorcycles head engineer, Stefan Hertel…
“In the Motogadget catalog, there are two digital gauges. There’s the Motoscope Pro, which is the granddaddy with the most features, but it’s also the biggest. And then there’s the Motoscope Mini. The Mini is the smallest of the digital gauges from Motogadget.

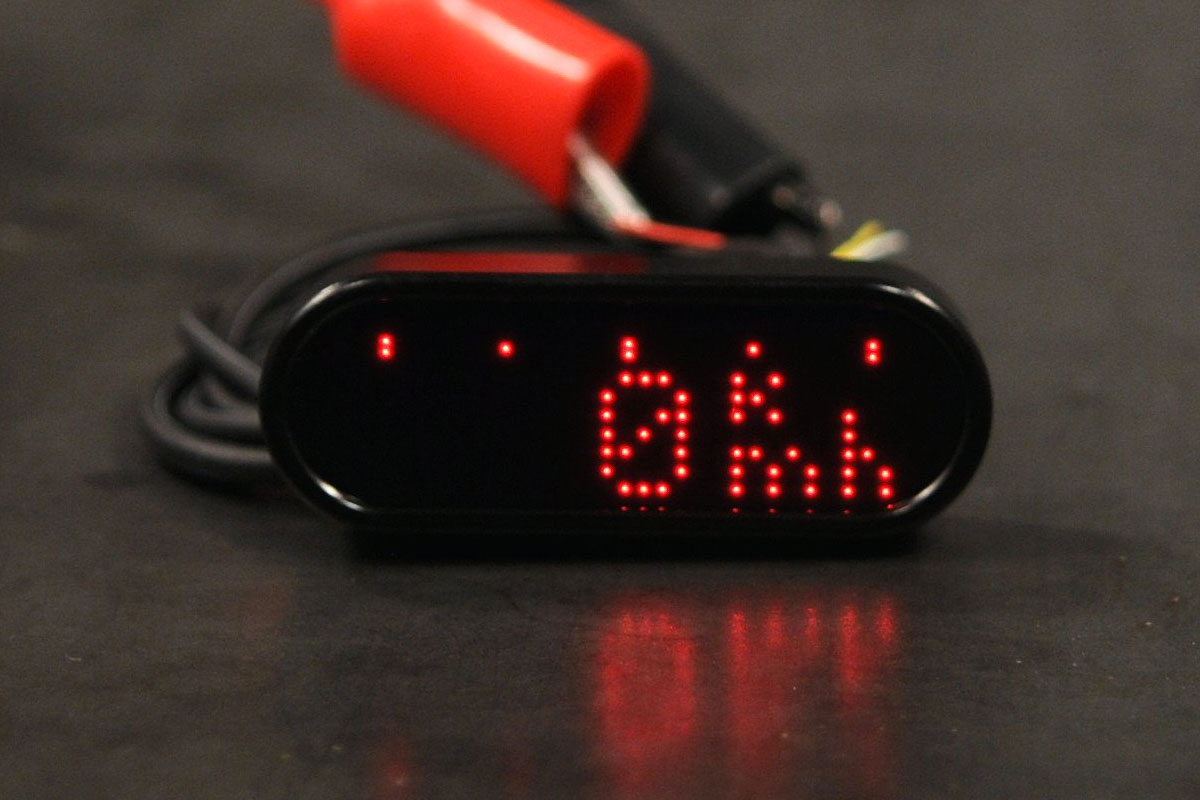
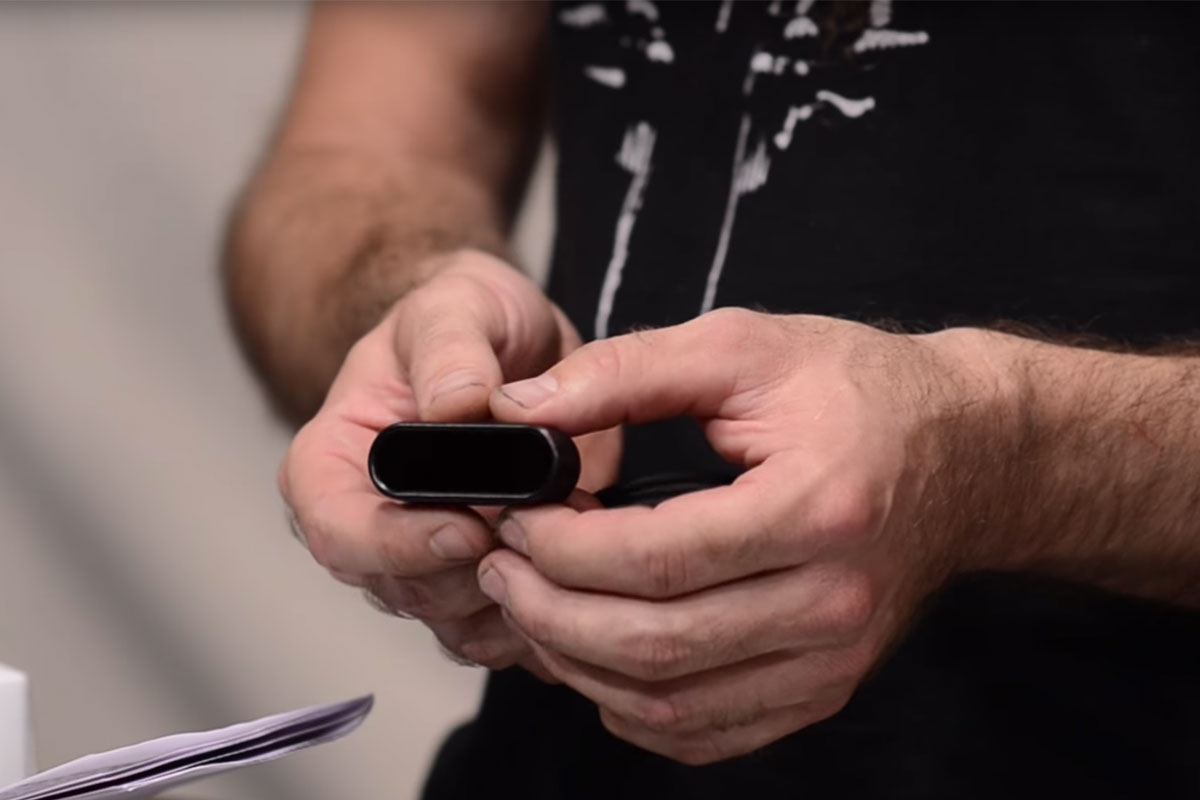
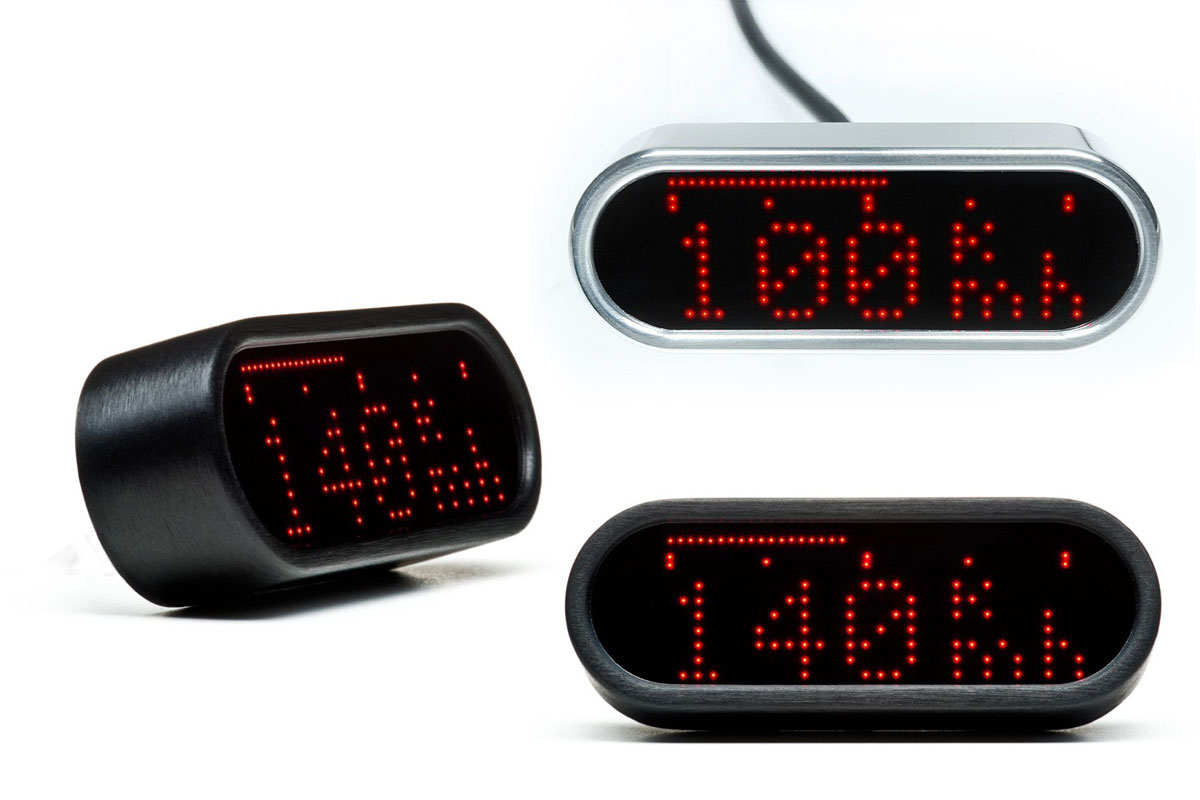
With the Motogadget Motoscope Mini, it’s a case of less is more. This gauge has fewer features than the Motoscope Pro, but it’s also a lot smaller and easier to hide. It still has all the information that you need such as a tachometer, speedometer, odometer, trip meter but that’s pretty much it. There is a timer that you can use to track your lapsed riding time, but I’ve never really found much value in that. Like other Motogadget products, the Motoscope Mini is really well built. You can feel it’s got a nice weight to it when you take it out of the box. This is not some cheap thing off eBay. It was made by people that really cared about what they were doing. It features an aluminum housing, crystal-clear glass, really nice mounting holes in the back and a very small, discrete wire that holds all the various conductors that carry the information the gauge needs from the bike.
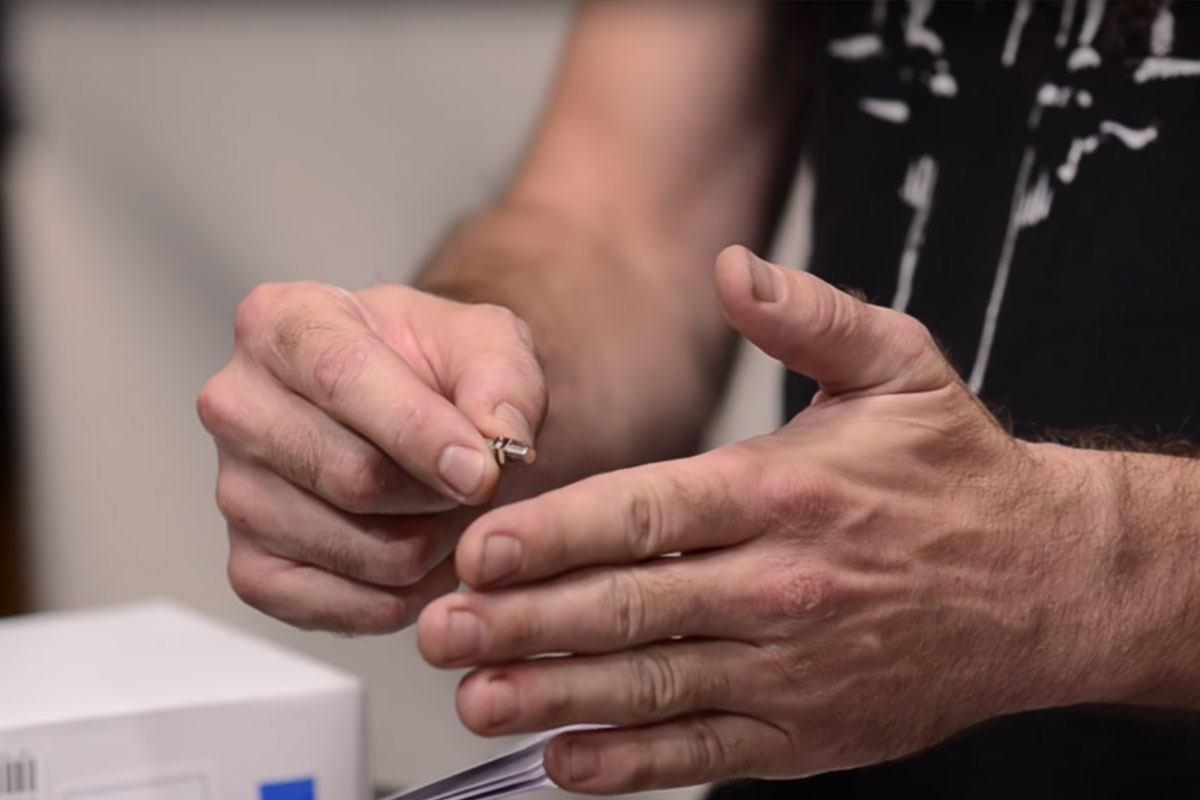
Along with the gauge itself, the Motoscope Mini comes with a speed sensor, and I’ll use that term loosely. This is really a dry contact, magnetic reed switch that is used as a speed sensor. If you’ve got a vintage bike the Motoscope Mini doesn’t have any way to interface with cable-style speedometers, so you need to have a way to tell this gauge what the motorcycles speed is. The reed contact switch works by passing a magnet near the switch to send a signal to the gauge, letting it know that the wheel has made one revolution. We need a magnet in order to make that switch work, and conveniently Motogadget has included one in the kit. To install the magnet you can either drill a hole in the head of a bolt, or in the face of a rotor or pretty much anywhere that you would want to place it. Just make a small hole, and then you can glue the magnet in place so that it passes near your reed switch, sending a signal to the gauge.
In the bag of mounting hardware, you’ll also find a bunch of crimp connectors. I hate these things and would suggest throwing these in the trash and then finding a proper connector, or soldering and heat shrinking your connections. Included with the gauge is also a little push button. This can be used if you don’t have a spare switch on your motorcycle’s existing switchgear and can be installed anywhere on your bike. The switch is used to cycle through the various features on the Motoscope Mini, and also to configure and calibrate the gauge. It will allow you to reset your trip meter or cycle through to the digital RPM readout. It’s worth noting this type of switch is a solder contact so you will need to be able to solder wires to the back of it in order to install it. And lastly, we get a couple of screws and a couple of washers. These screws match the holes in the back of the gauge. This makes it a little bit easier to mount and saves you from having to go out and find your own M3 screws.
There’s one last important piece to note in the mounting, and that is you need to use a fuse to protect these very small wires from the unfortunate event of a short circuit. Motogadget has included a convenient little fuse holder. It can be crimped directly to the wires and is a really convenient low-amp application.
Looking back at the gauge there are five wires coming from it. They are all colored and the easy one to pick out first is the black wire. That’s the ground. The next one, also pretty obvious, is the red wire which is the power input. Make sure that the red one goes to the fuse. After that you have yellow for the tachometer input (more about that later), white is for the speedometer input, and lastly, the green wire is for the configuration/calibration button.

The yellow wire (the tachometer input) gets connected to the ground side of the bikes ignition coil. About 90% of motorcycles will have this. You simply attach it to the ground side and you’re done. It’s that simple. There are a few cases though where a motorcycle may be running a true CDI system. CDI means Capacitive Discharging Ignition, this means it generates its own power, and the voltages in the ignition system are actually higher. Motorcycles running a true CDI system are not compatible with this gauge without an isolation sensor, which is available at revivalcycles.com. If you have questions about your ignition system, or you have reason to suspect you have a CDI and you want to make sure, you can contact us to find out.

The Motogadget Motoscope Mini is a really discrete and convenient little gauge that’s jam-packed with the information you need, and nothing you don’t. It keeps things simple. It’s easy to install. It’s easy to configure, and honestly, this is one of my favorite gauges for the digital set.”
If you’ve already bought yourself a Motoscope Mini and need help calibrating it watch this video.
Special thanks to Chris and Stefan.